|
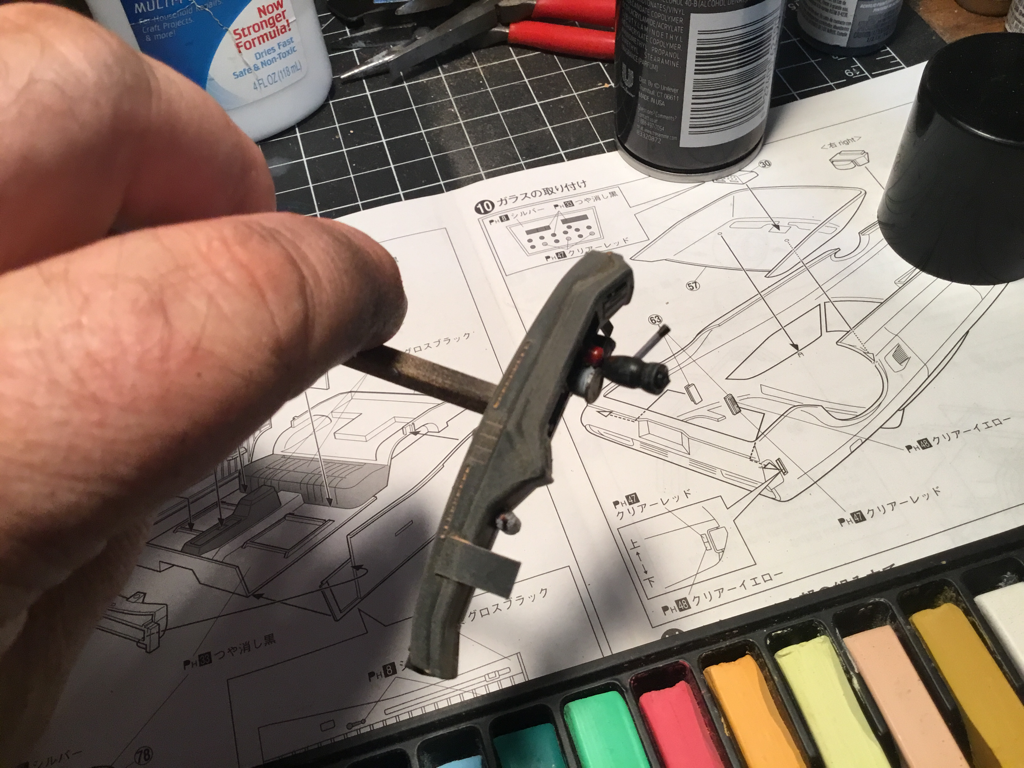
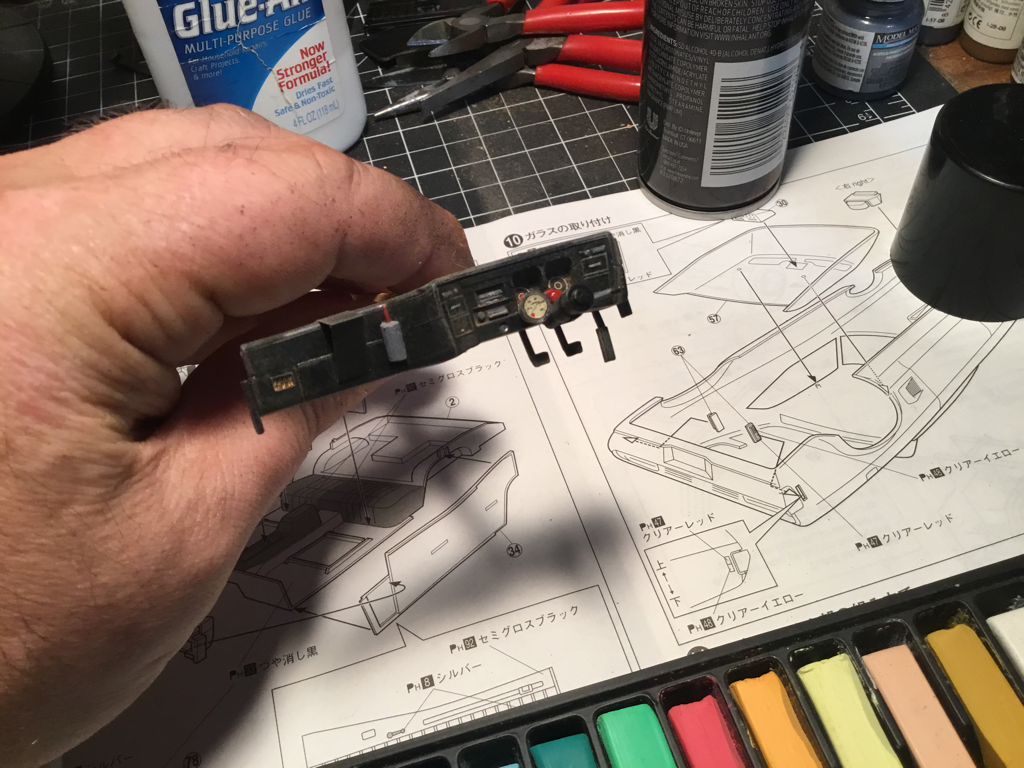
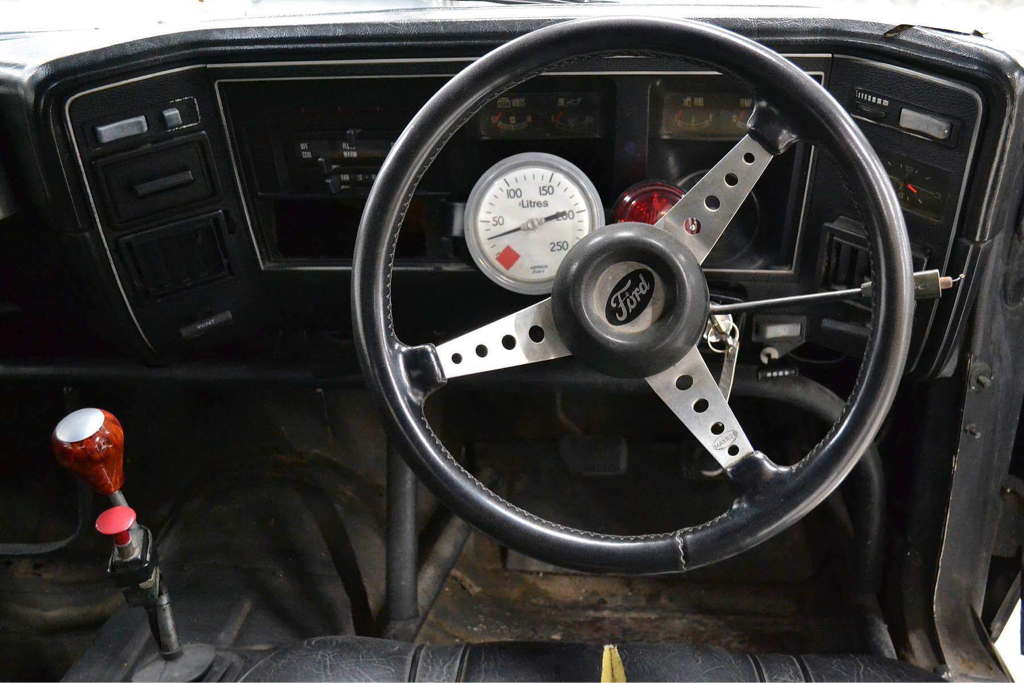
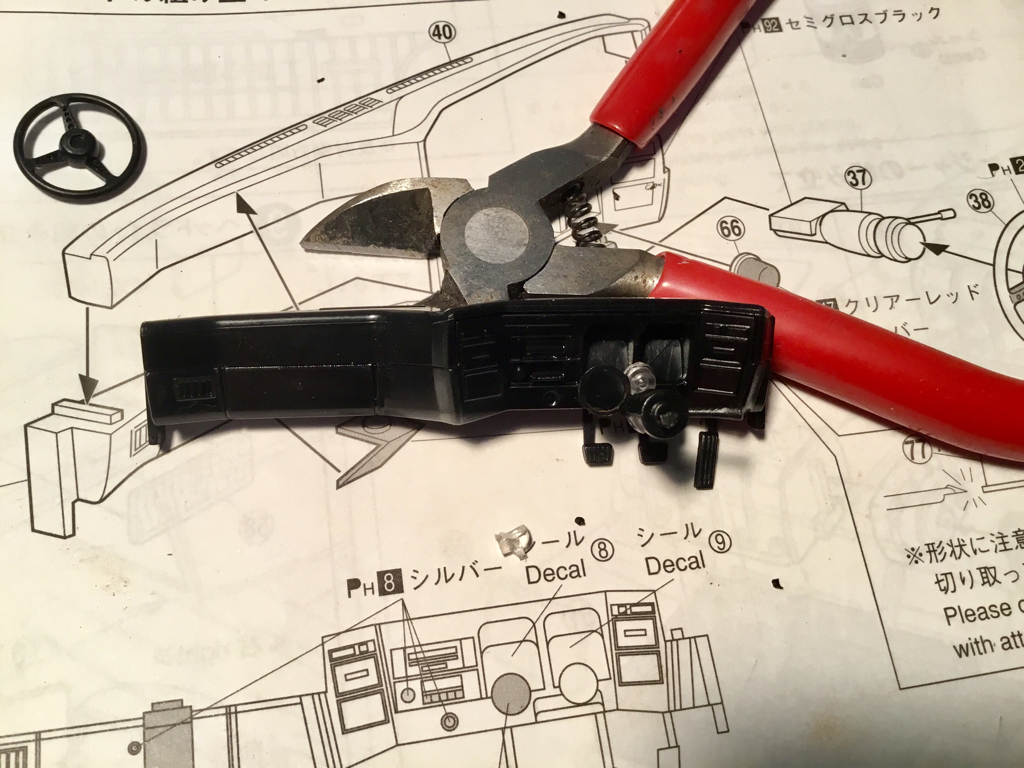
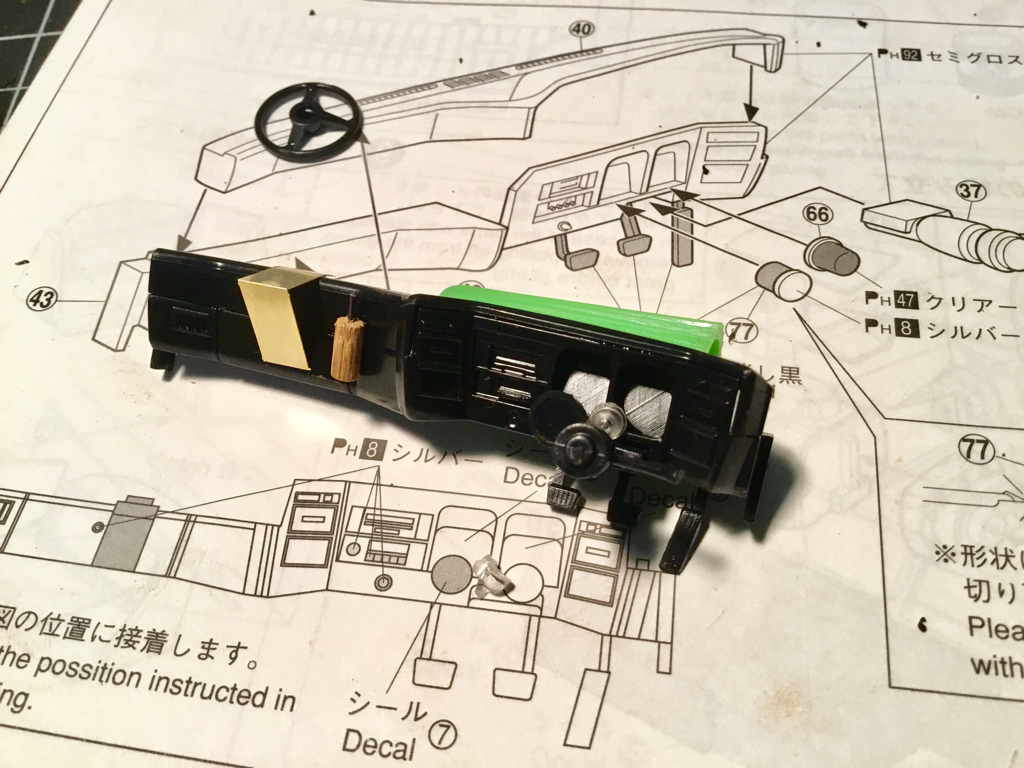
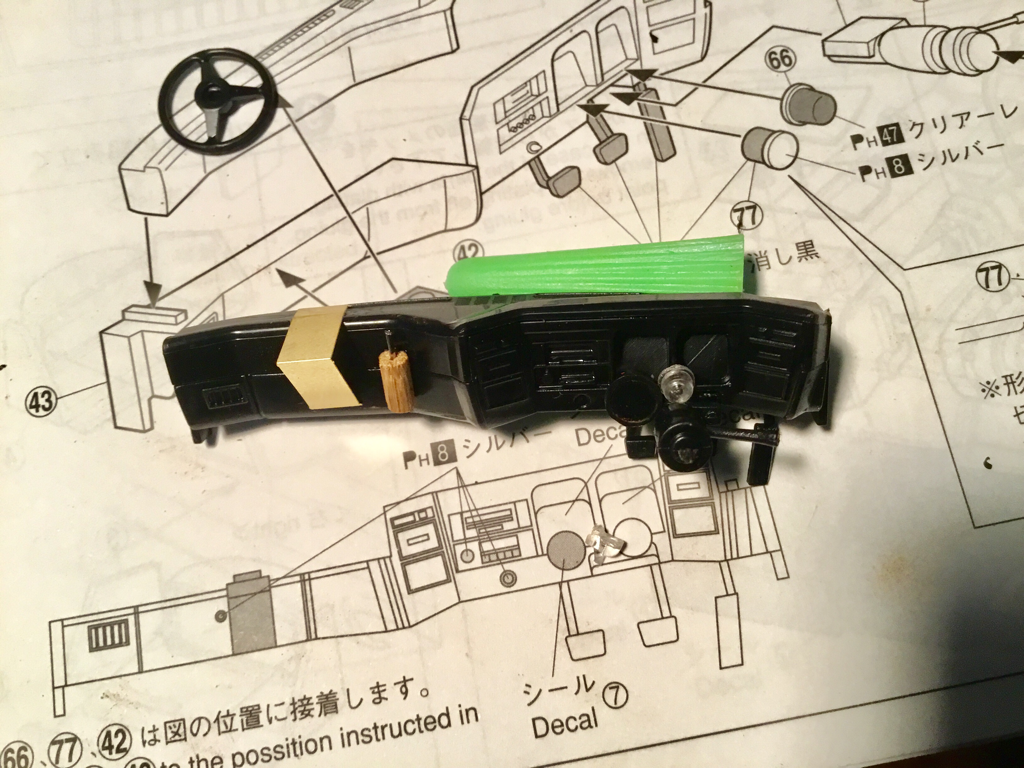
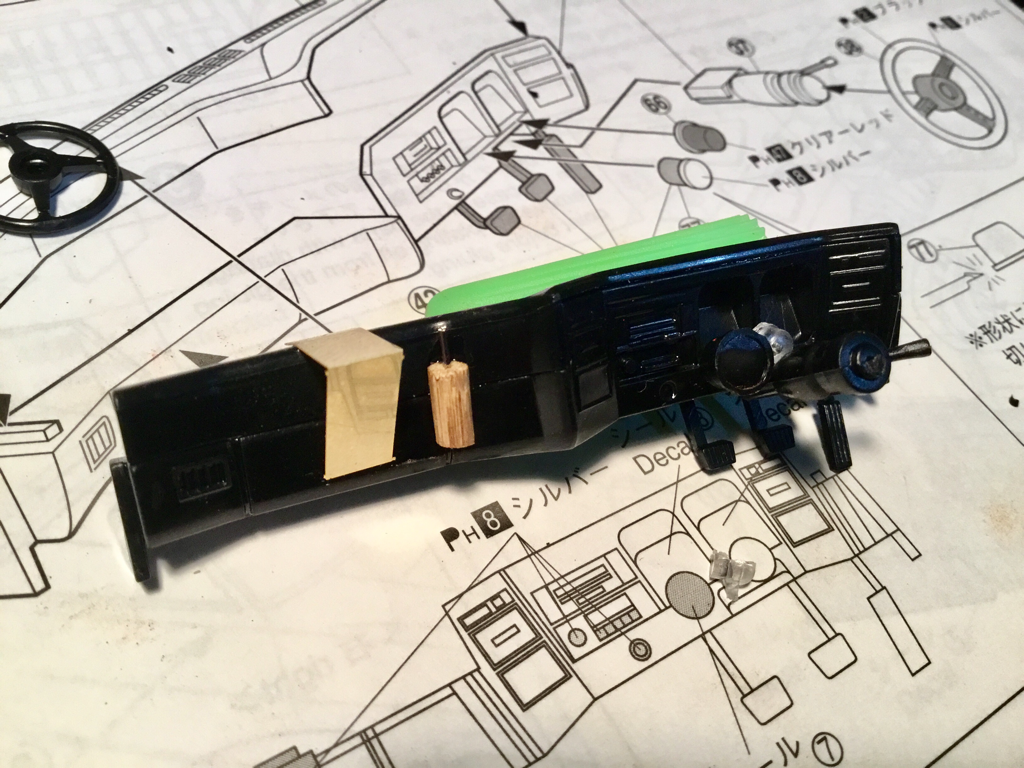
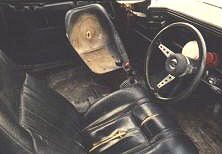
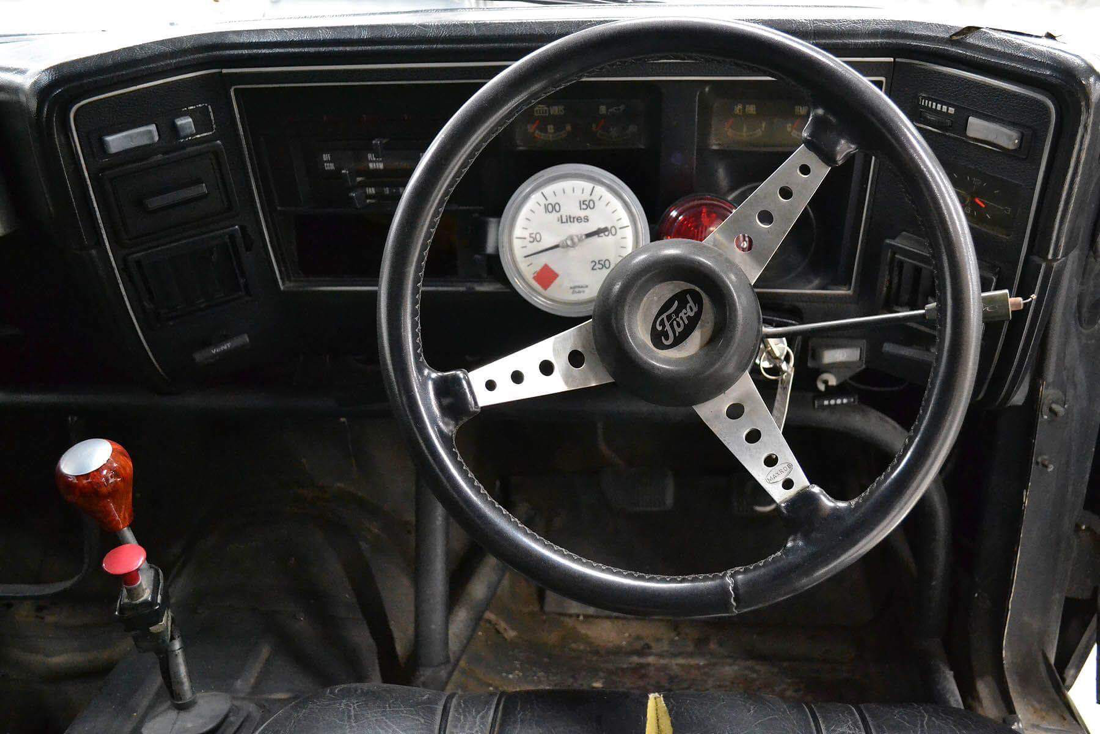
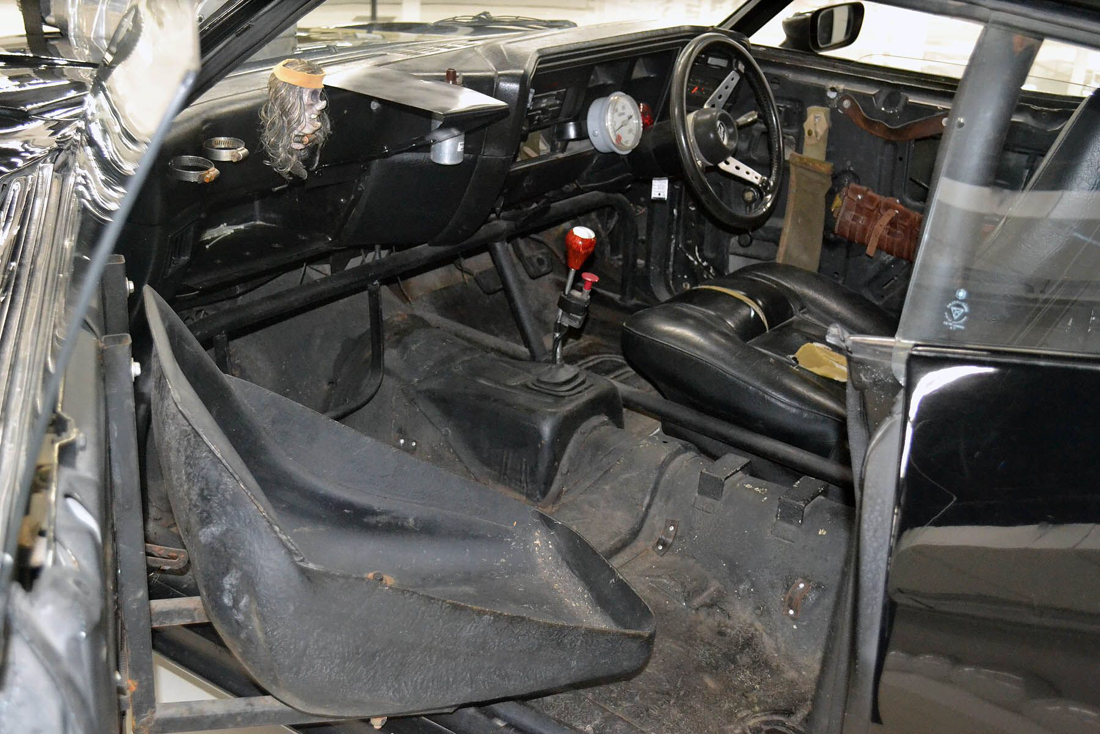
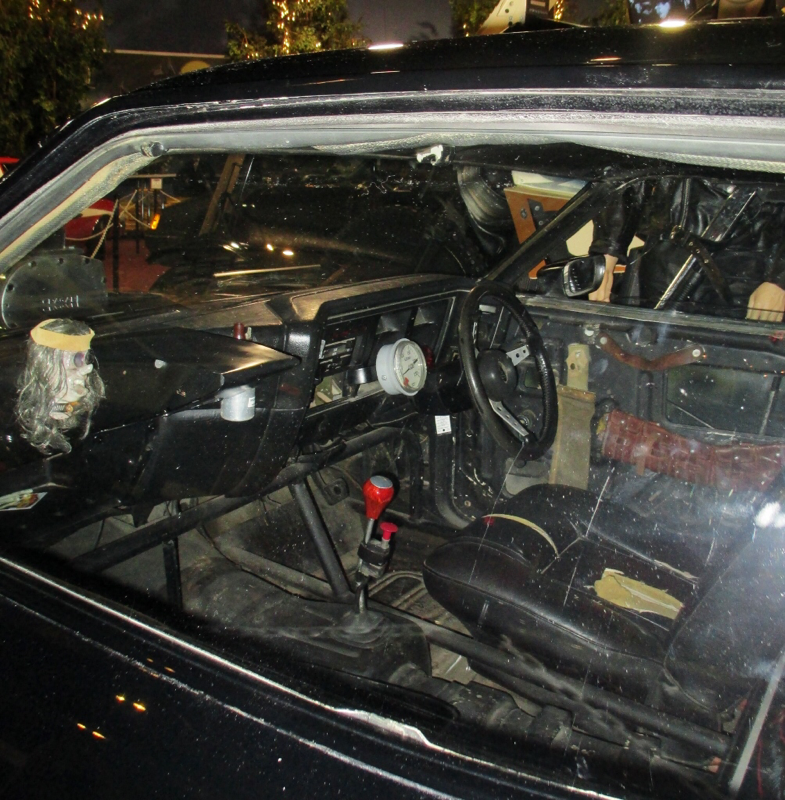
Time to begin work on the interior. First I assembled the dashboard and gave it a coat of flat black and then began picking out the details. With the details painted in I added the decals for the gauges and then applied a light dry-brushing of gray to weather the dash a bit and bring out a few more details. Finely I added a light dusting of the chalk "dirt" to dirty things up a bit more making sure I got the places where the dirt would collect like the defrost vents.
Next I had to add in the door panels, the kit had the doors with their intact interior panels but the reference images of the movie car shoes the interior panels are gone exposing the door internals. To do this I used a heavy card-stock and cut the piece to fit adding the openings that are found on the doors for access to the interior workings. I set these aside to dry before adding paint.
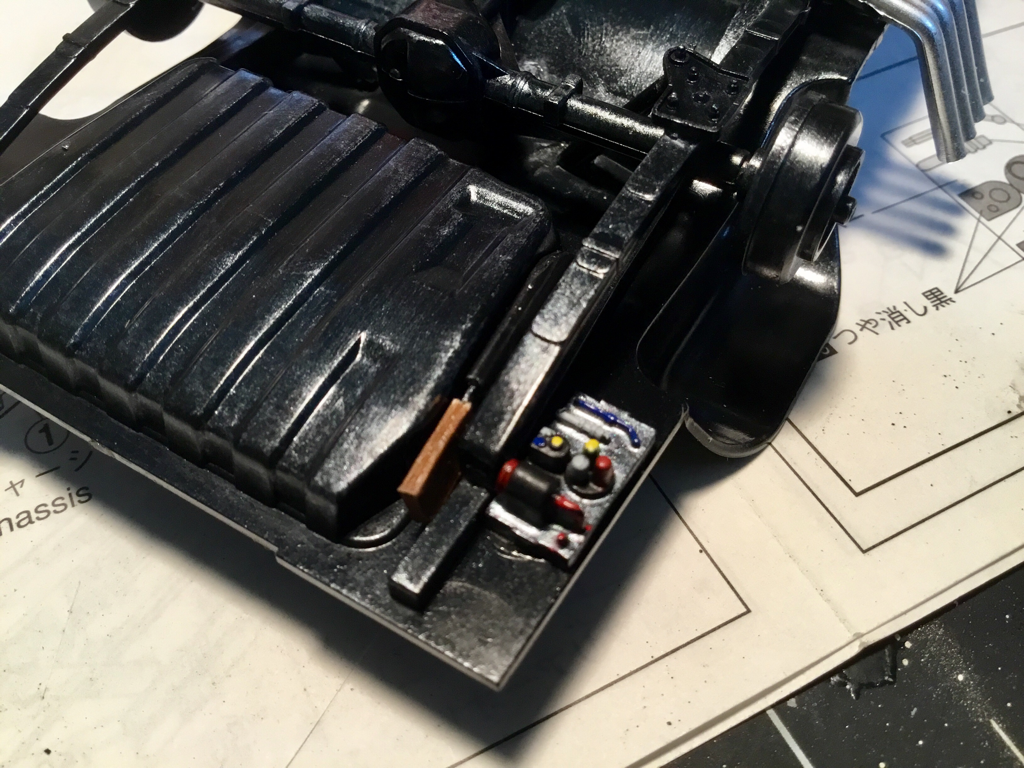
The last bit was blocking in some color to the 'cargo area' a lot of this will be covered by tarps, supplies, the new DinkiDi dog food boxes and odds and ends so all I wanted here was some blocks of color that will be darkened and shaded with washes and dirt. One fun thing I added a can of 7 Sisters oil, this is a call back to the file the truck tanker that Max drives at the end has the 7 Sisters Oil logo on the side, which in turn is an inside joke basing the name off the real life group of oil companies that existed from the 1940's to the 70's. Finely I painted the gear shift with its red supercharger switch/button, the tears in the driver's seat, and the wear on the dog's baby seat. Everything is now ready for weathering and the additions of the odds and ends that Max has crammed into the Interceptor or life in the wasteland.
0 Comments
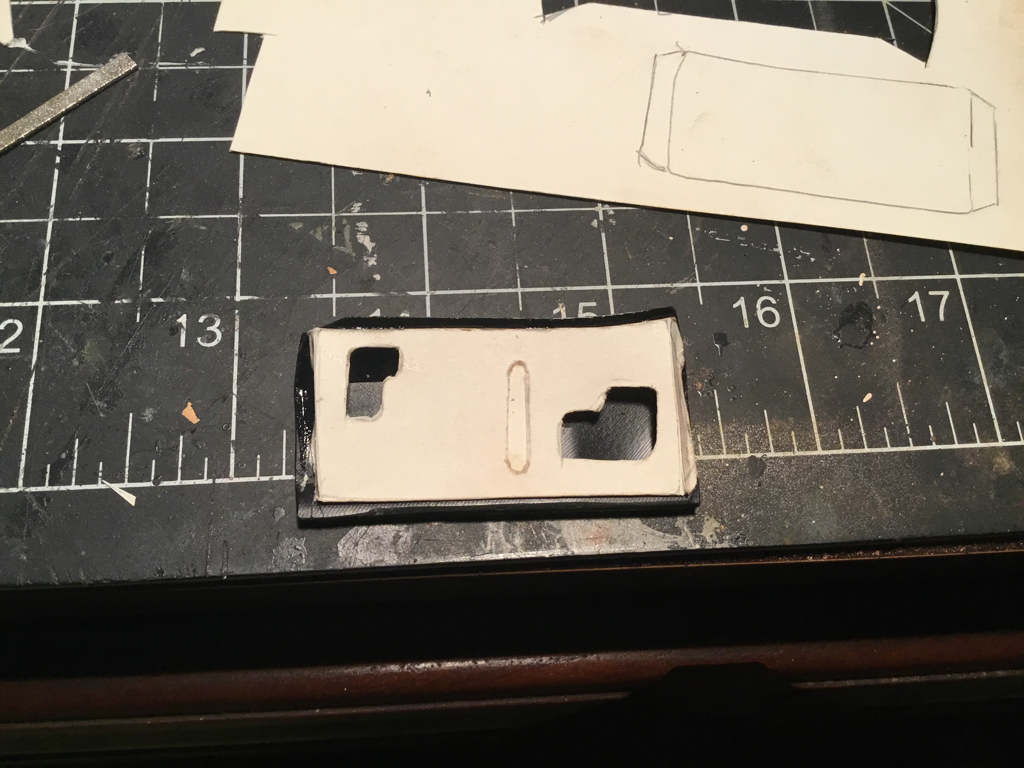
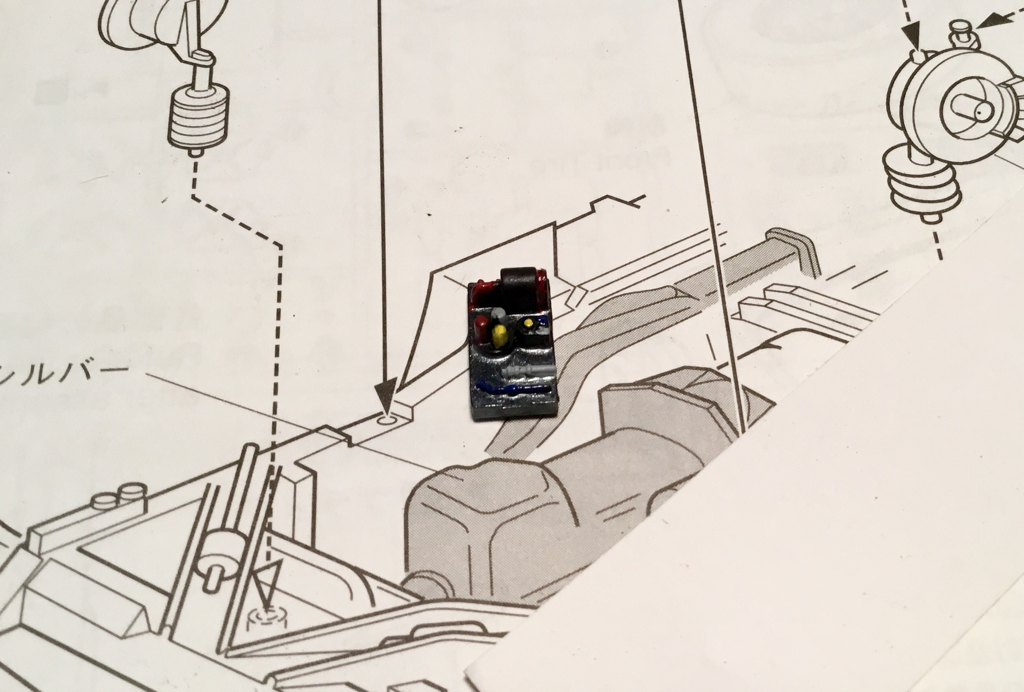
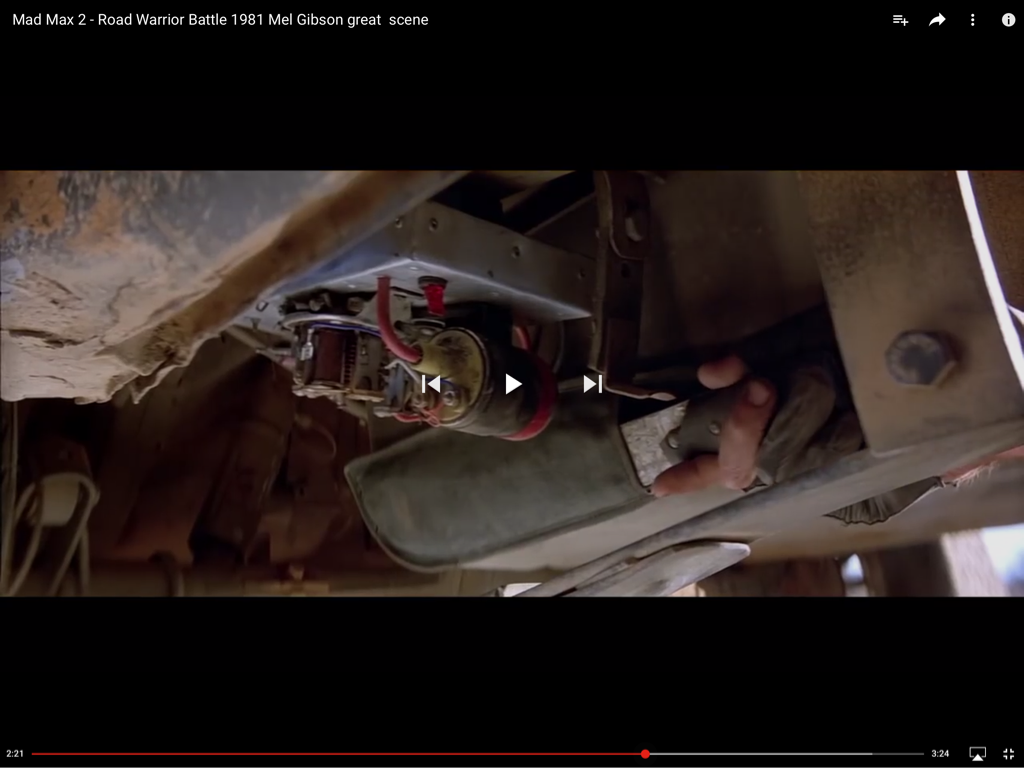
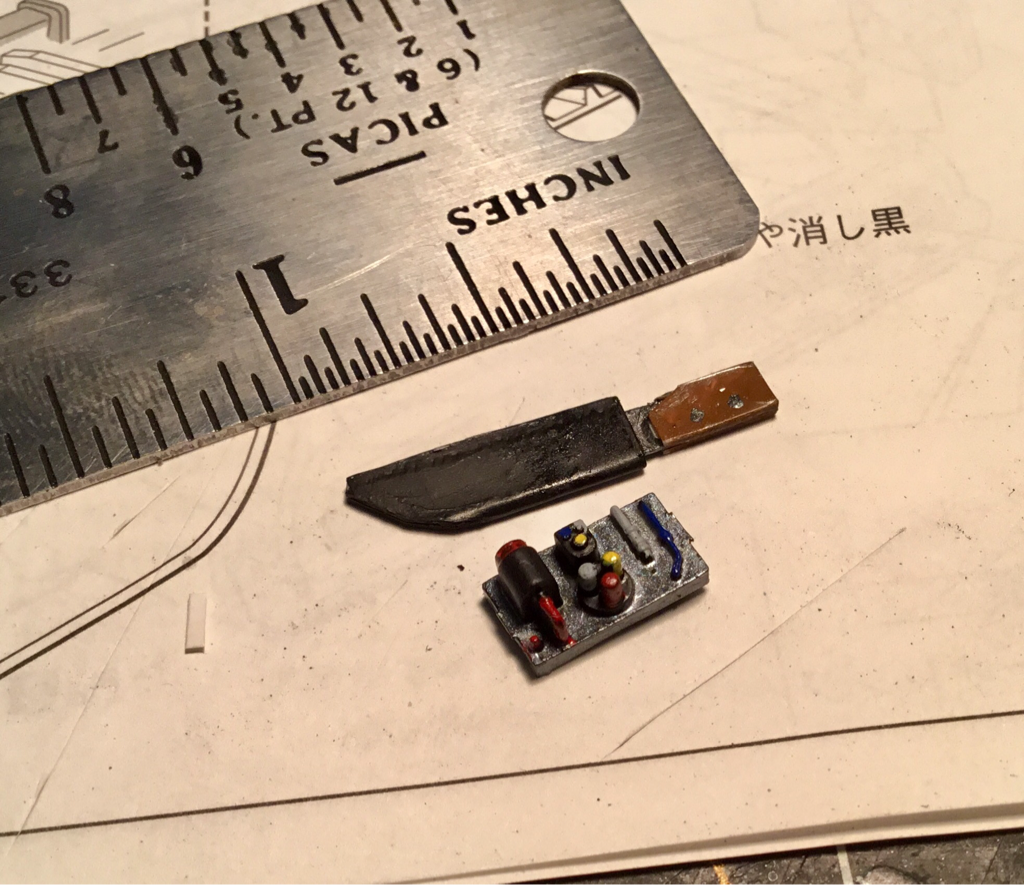
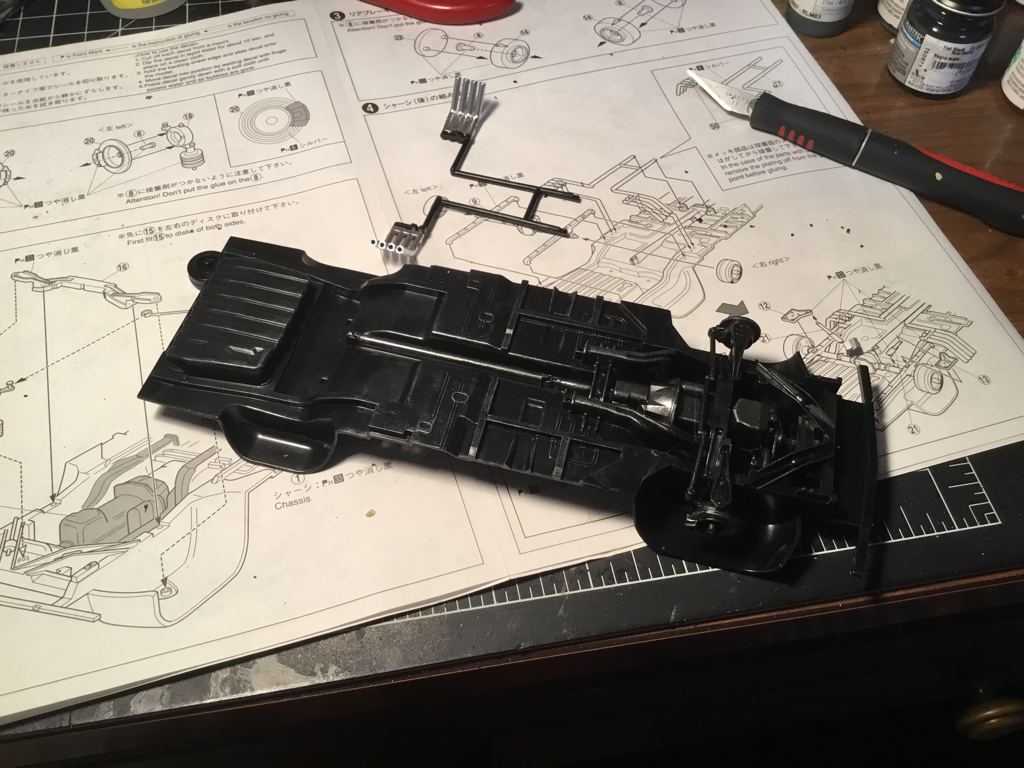
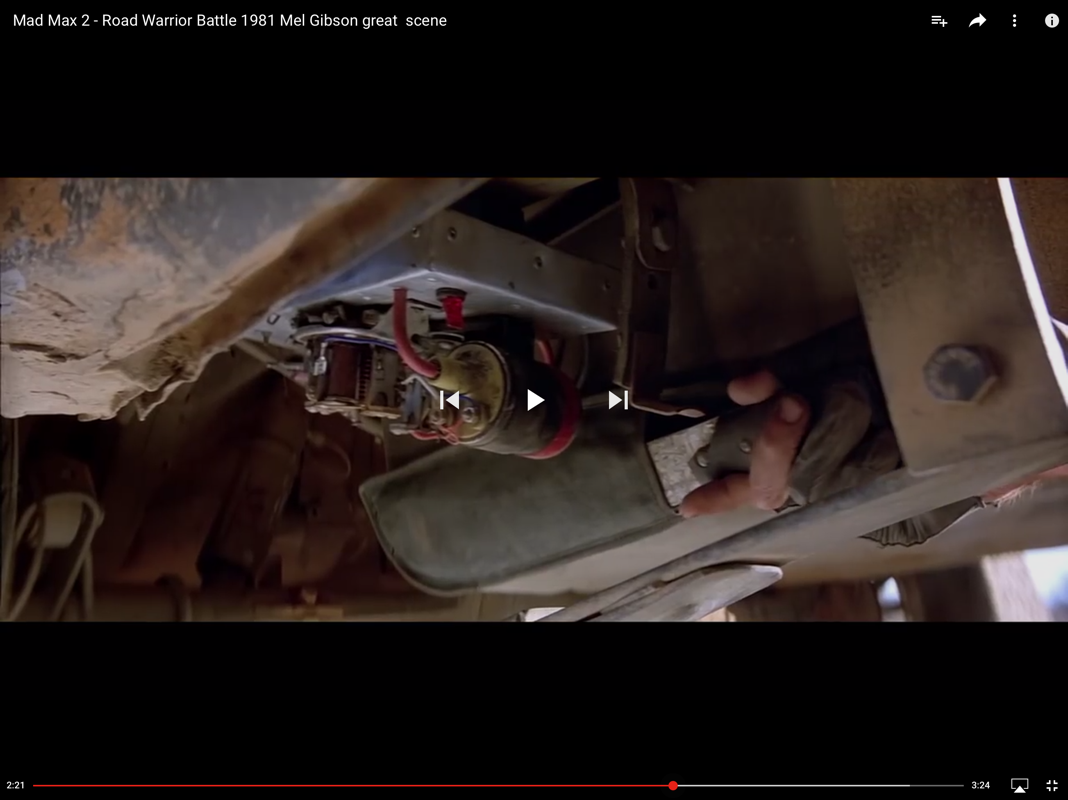
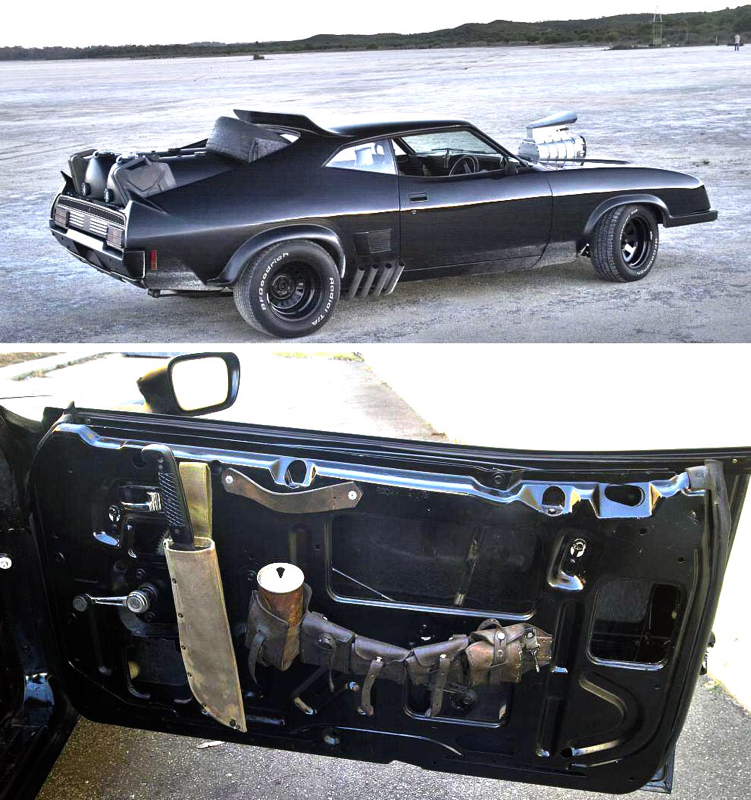
We begin this next entry with some tiny and likely never to be seen detail pieces. The fuel tank booby-trap, and hold-out knife. The Aoshima kit comes with a pretty nicely detailed little fuse panel for the bobby-trap but does not have the knife and sheath that Max has affixed to the undercarriage next to it.
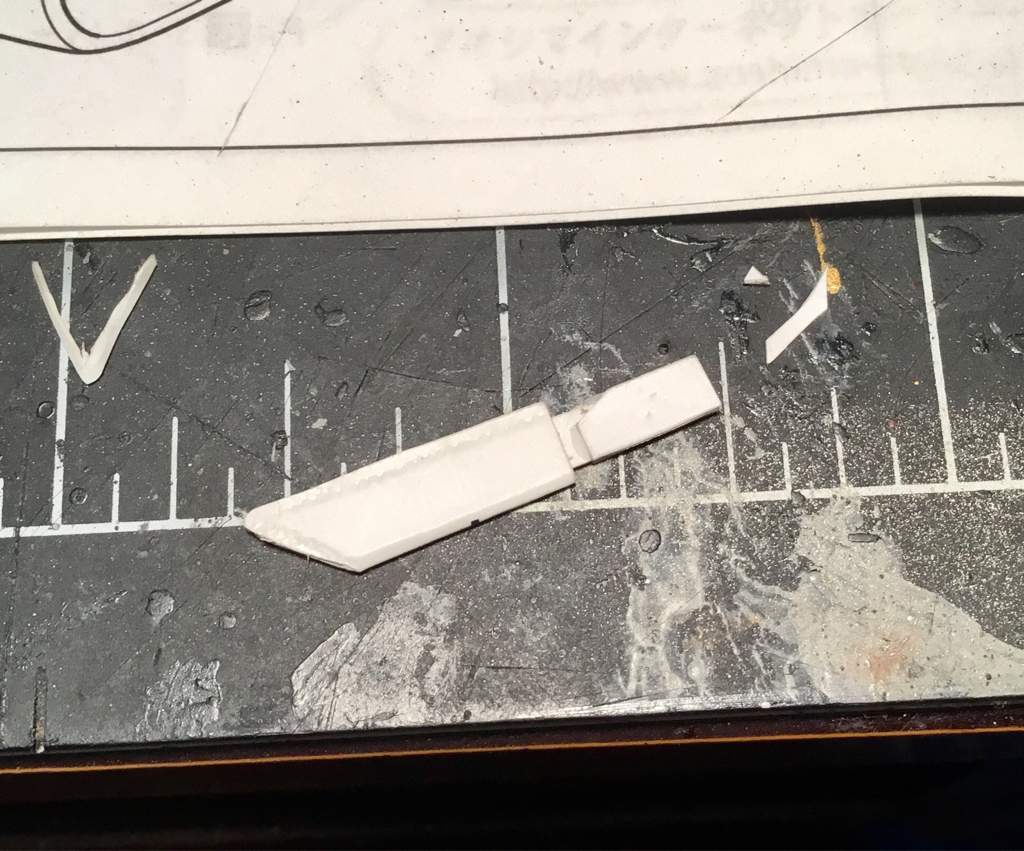
Using the film I painted up the fuse to match as closely as I, then again using the film as reference and some cardstock I created the sheath and kitchen knife hold out weapon that Max has placed there for emergencies. Once painted up the cardstock looks pretty close.
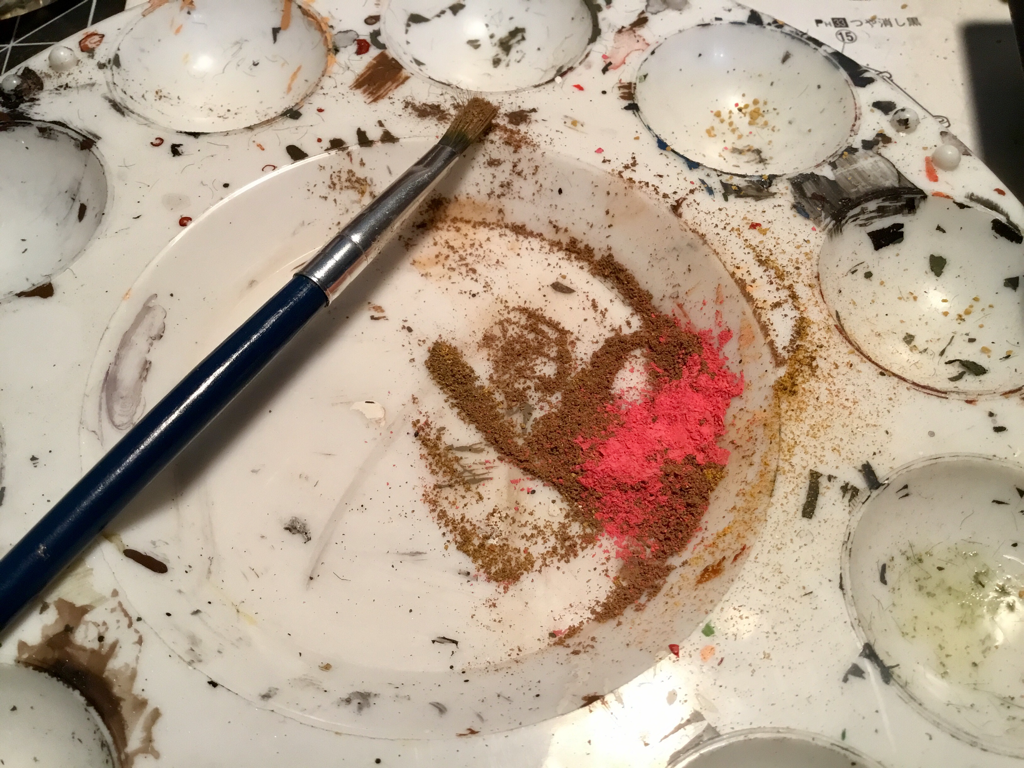
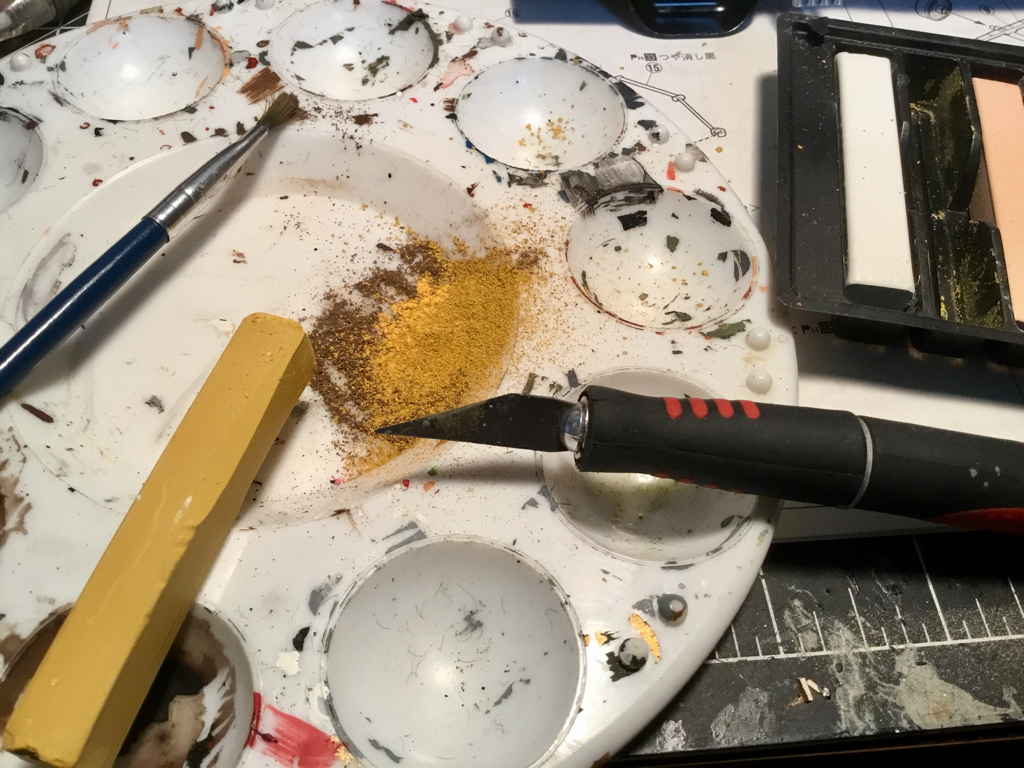
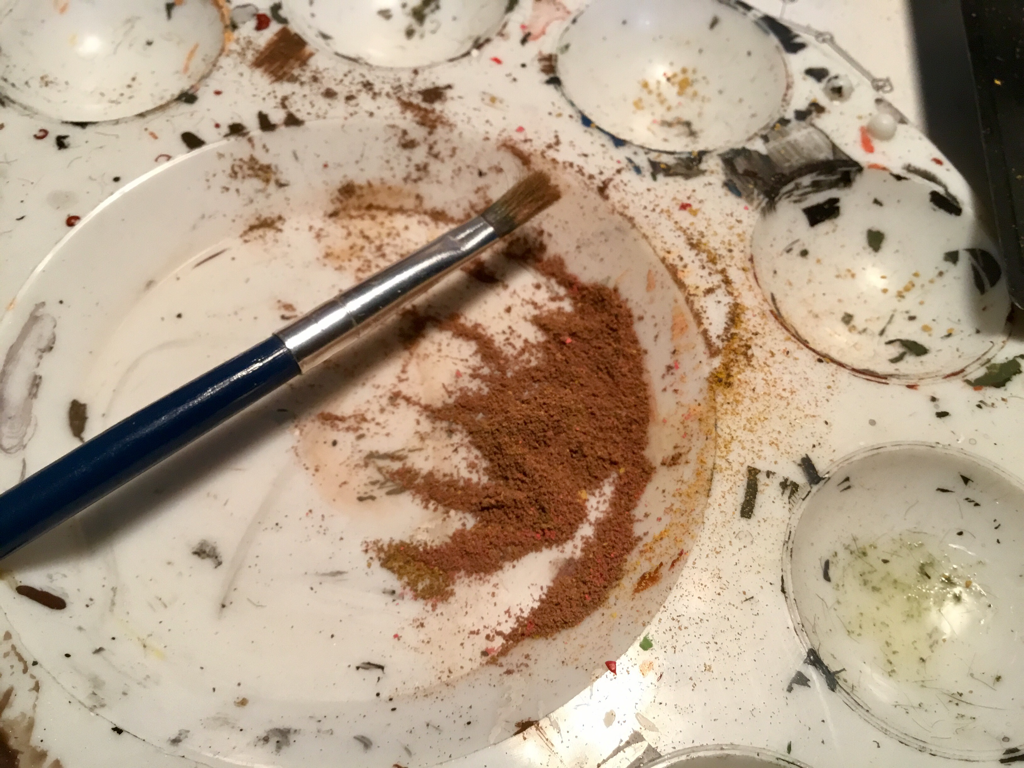
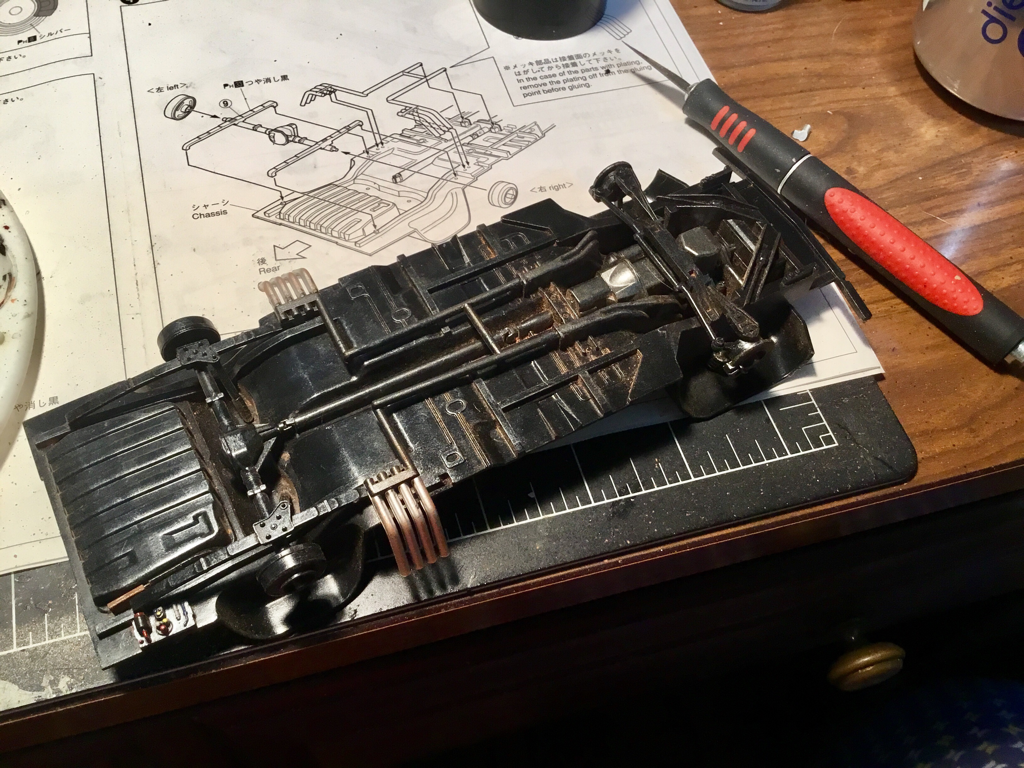
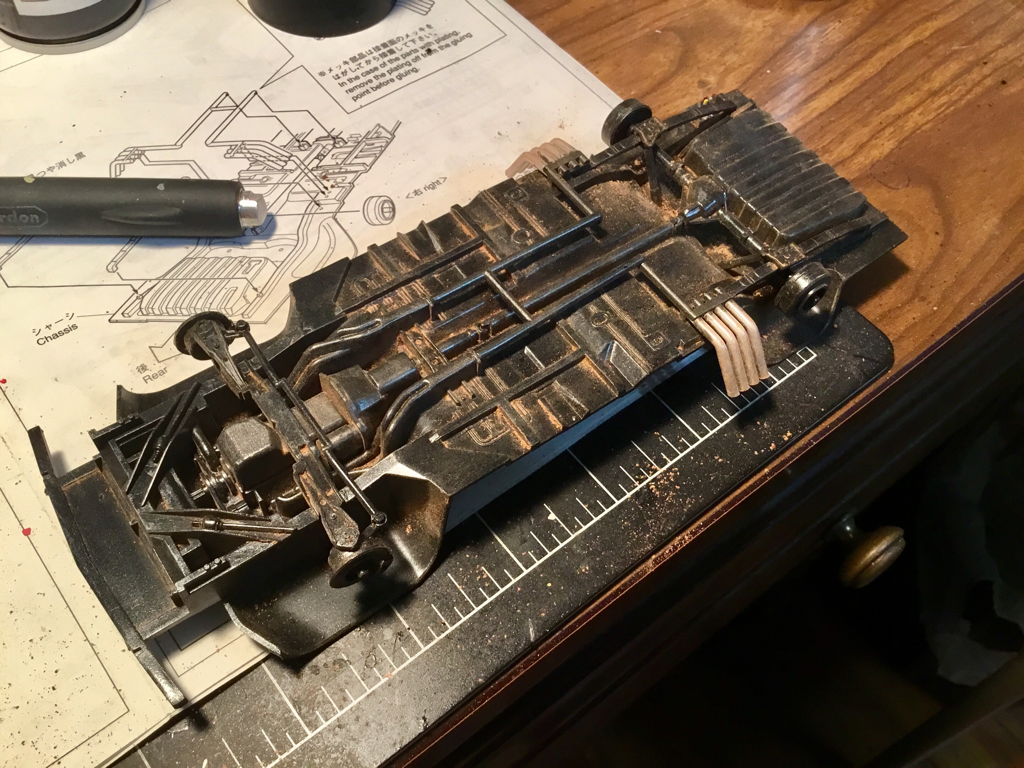
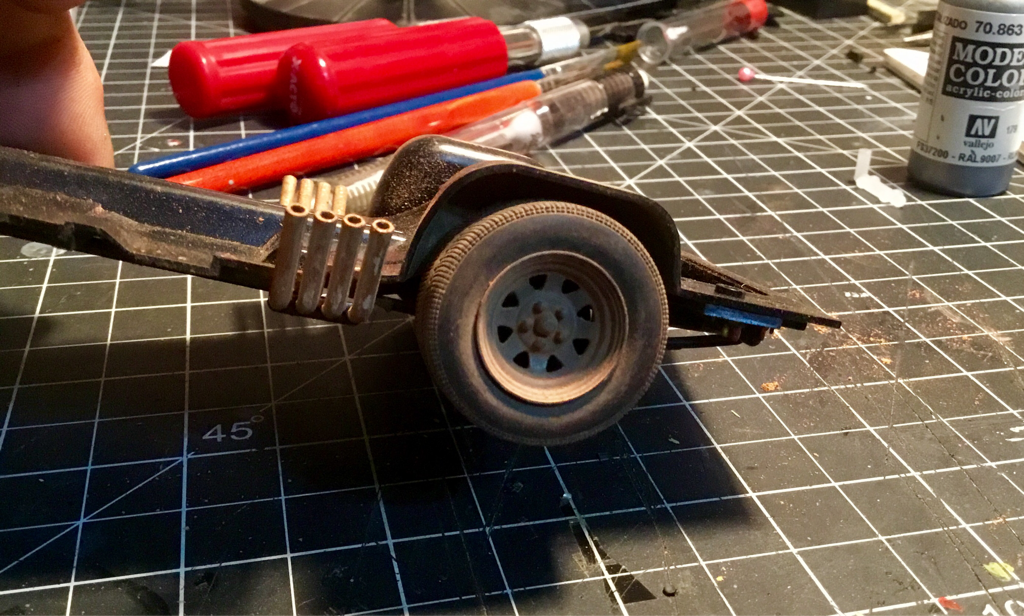
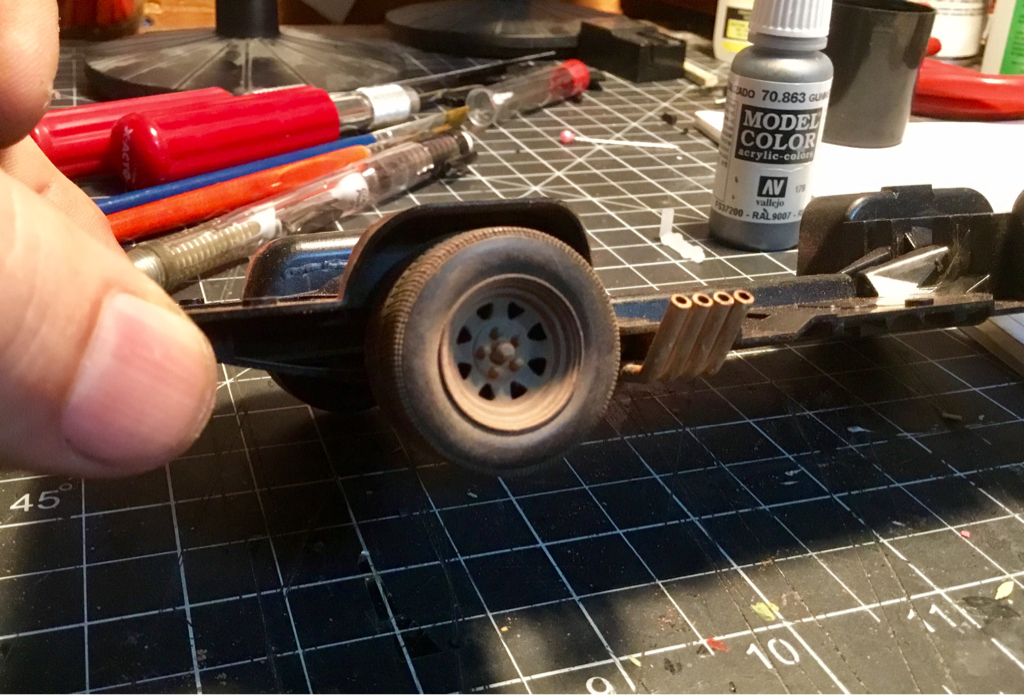
 Now onto the weathering of the undercarriage. I weather using chalk pastels and hairspray. First I coat the undercarriage with a light coat of hairspray. I try and get the cheap basic stuff like Aquanet. Then using my Exacto I scrape the chalk into a powder mixing the colors to achieve the desired color. In this case I used brown, yellow ocher, sand, and red. Using an old brush I mix the powders thoroughly.
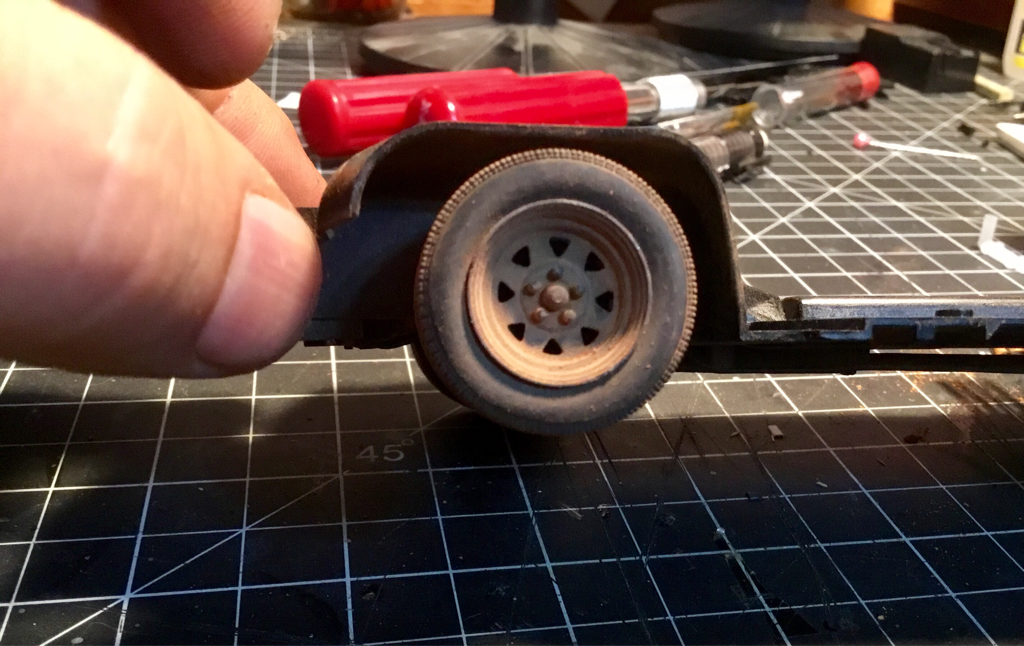
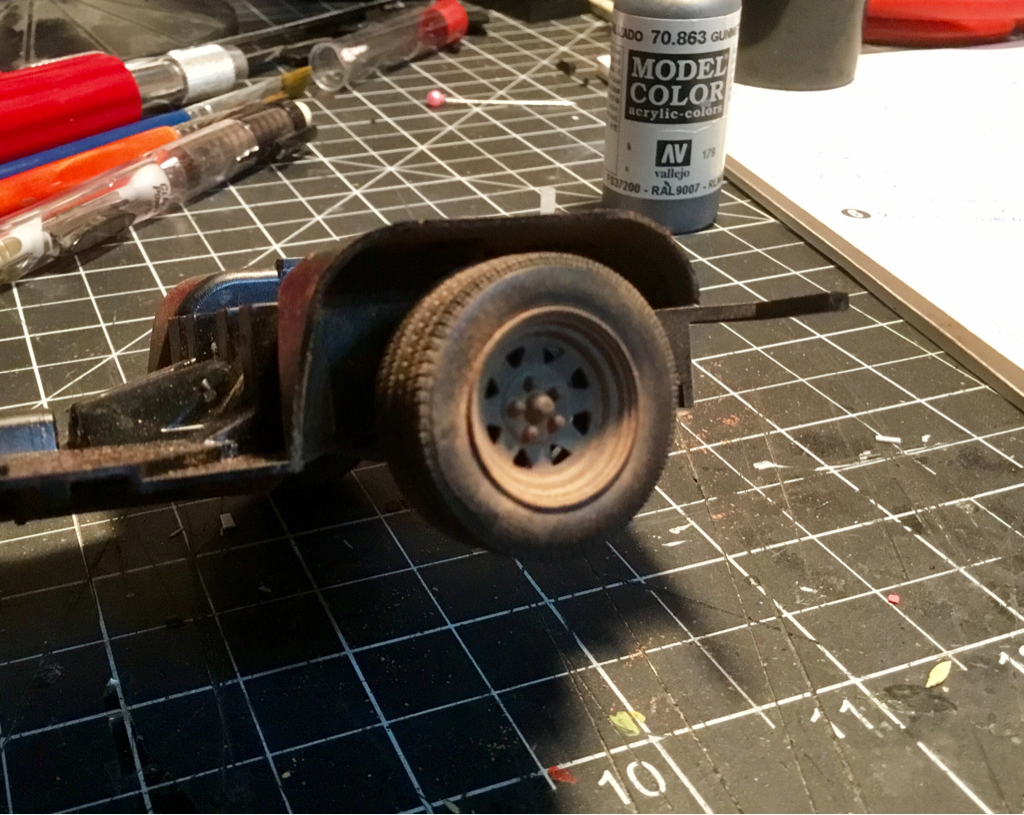
All that is left now is to layer on the 'dirt'. I liberally brush on the chalk powder letting it settle naturally into the deep areas and lines. Next I tap or lightly blow off the excess powders then apply a mist of hairspray. And repeat the process until I've built up the desired amount of dirt.
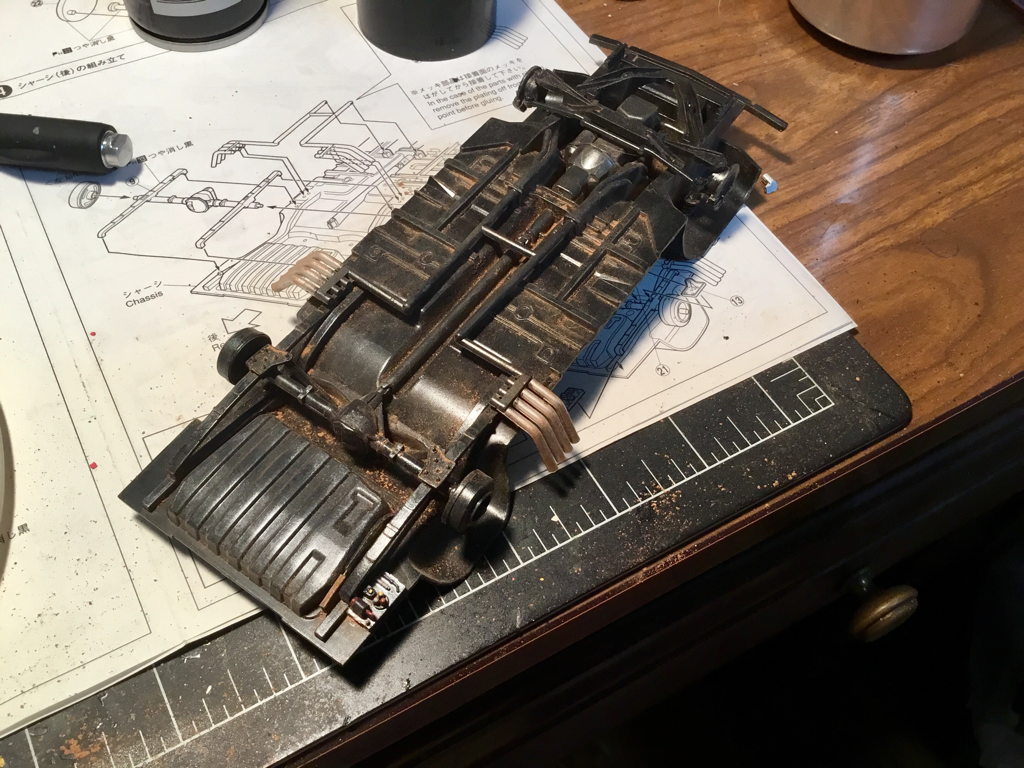
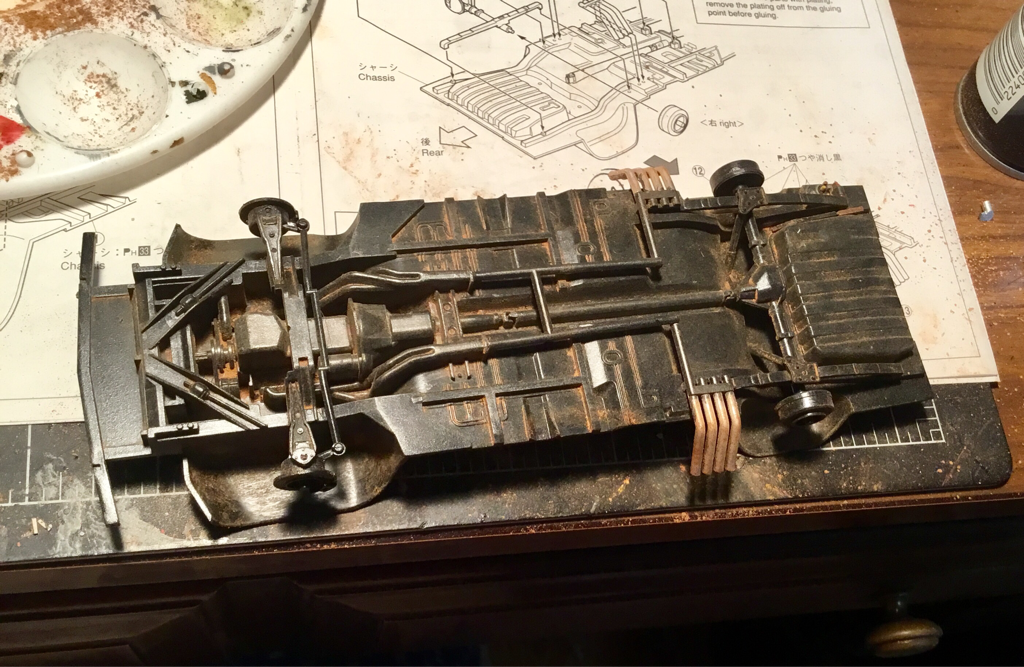
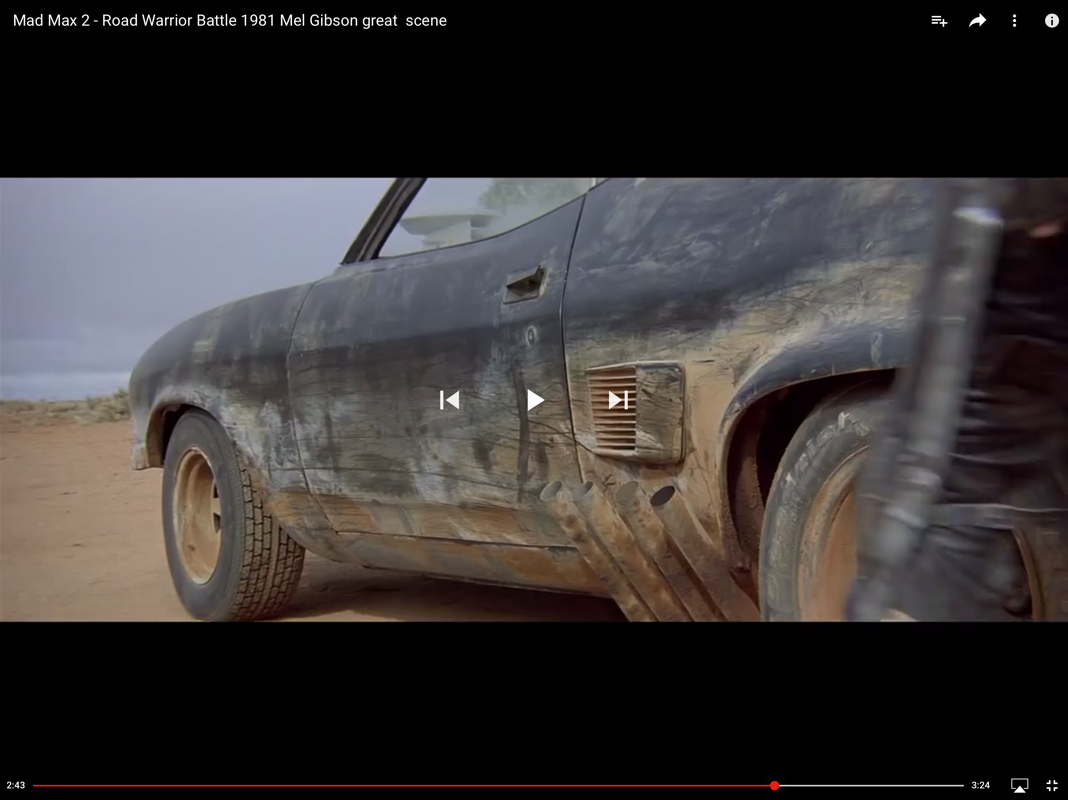
The same process is repeated for the chrome exhaust pipes and the wheels. On the exhaust pipes I brushed away some patches of dirt to let the chrome show through... there will be more weathering done on the pipes to match the film. I added a final coat of dullcote flat spray to the undercarriage and set the whole thing aside to dry.
Next I assembled the dashboard. And gauges, I'll be doing a bit of detail painting to match up to the real dash of the Interceptor, I used the photo-etch light shelf from the Aoshema detail kit in place of the thicker plastic one, and added a cylinder thingy, I have no idea what it is, but it's on the original car so in it goes, for this I used a small piece of dowel and a cut off piece of pin. I'll be adding the little doll head later.
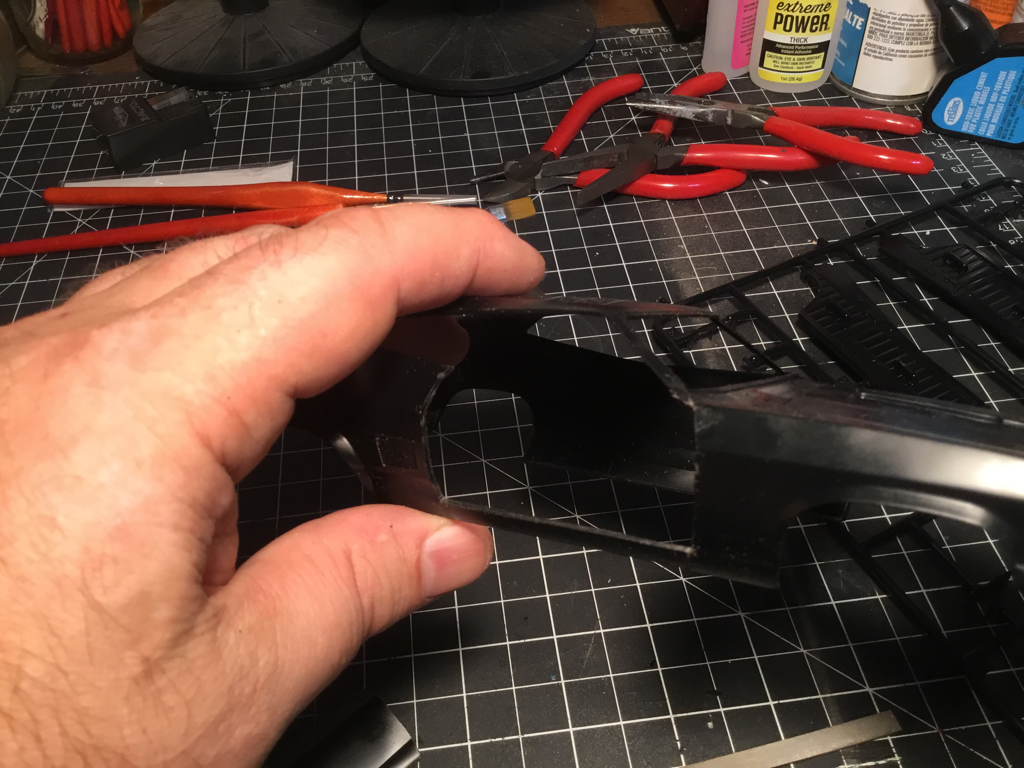
Okay here we go, I have to begin this build with the scariest part, cutting apart the body on the Interceptor. First the driver's door, for this I'm using concave carving blade and a #10 Exacto blade. By drawing the concave blade along the panel lines on the car body, the concave blade makes a nice channel to follow with the #10. I make shallow cuts over and over again with the #10 blade until the blade finely cuts through the body. With the door removed I use needle files to smooth and clean the edges on the body and the door.
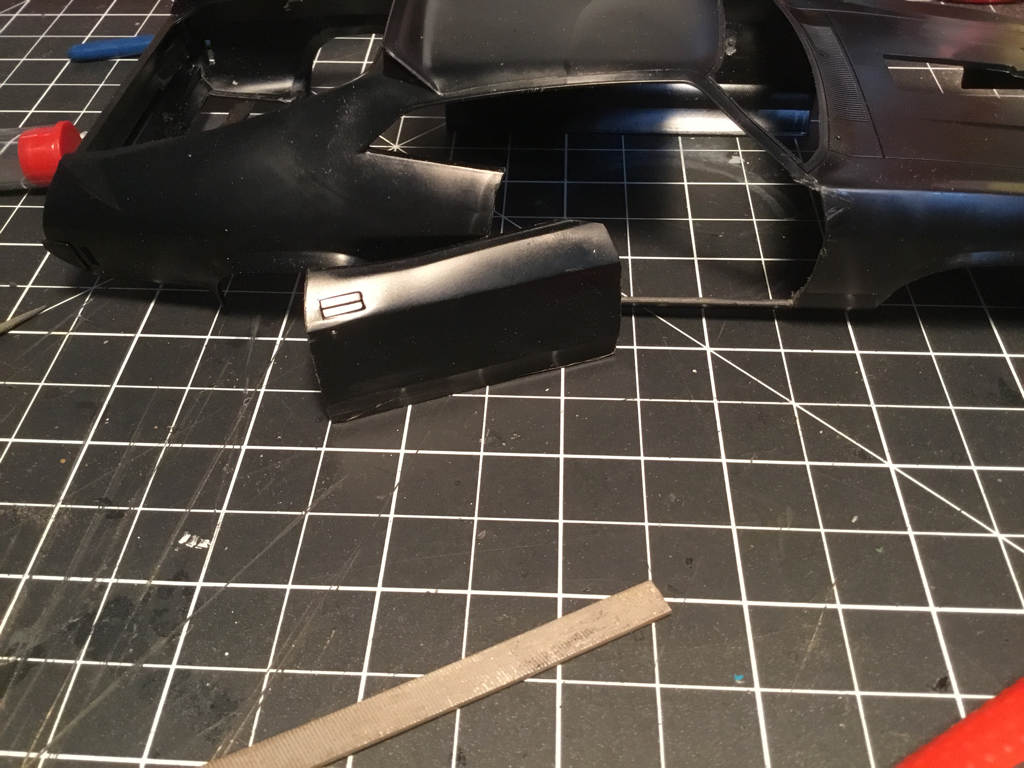
Next I cut the interior door panels out of the interior side wall pieces, neither the driver's nor passenger door have intact door panels in the film, these will be replaced with sheet styrene cut to resemble the naked door panels. 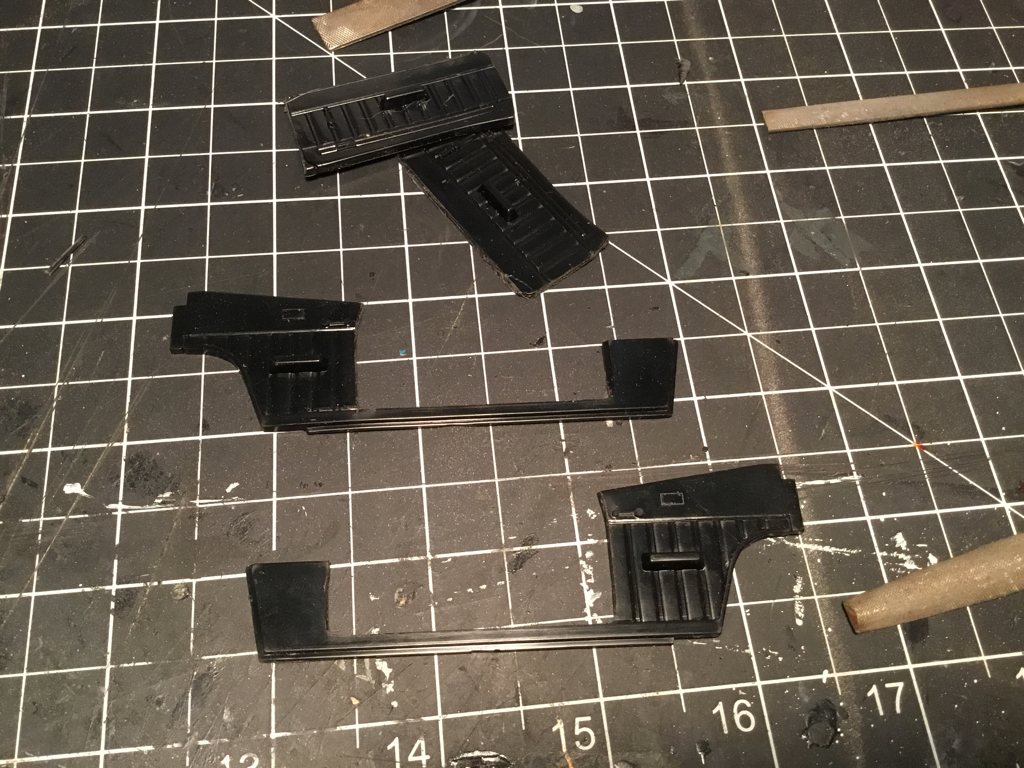 Next up on the scary-crap-o-meter is the front end damage suffered when ramming the marauder's Landau in the opening chase scene. Again this was done using the concave carving blade, the #11, needle files, and a fine razor saw. The difficult part was trying to match the damage seen in the film to the model body.
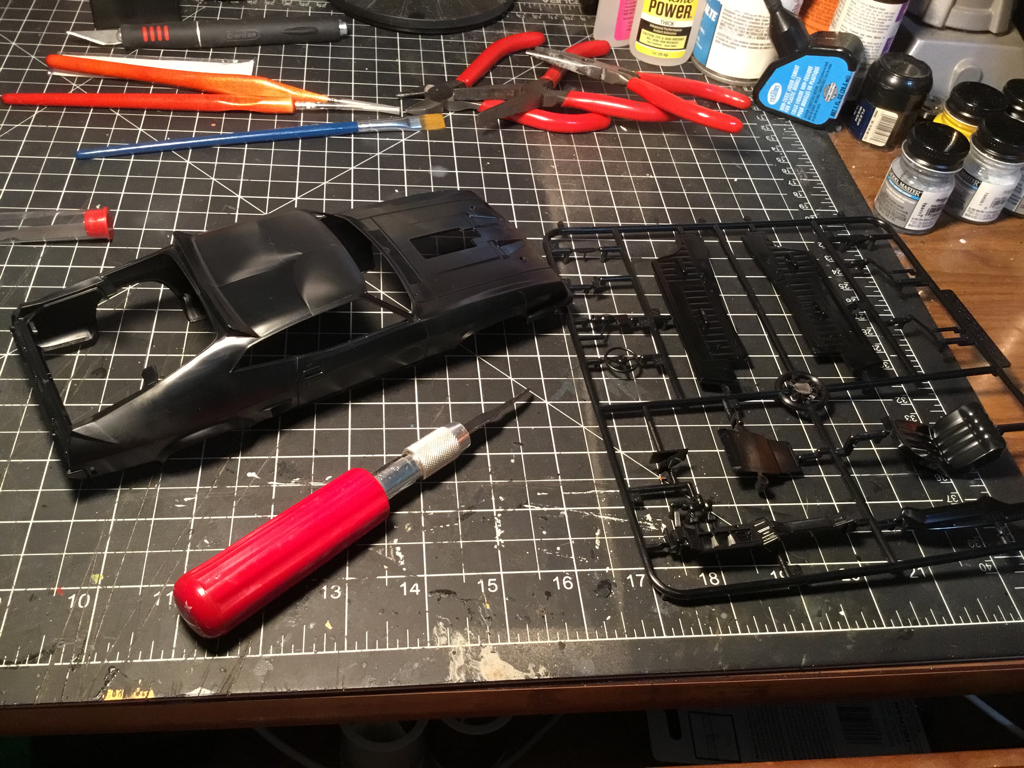
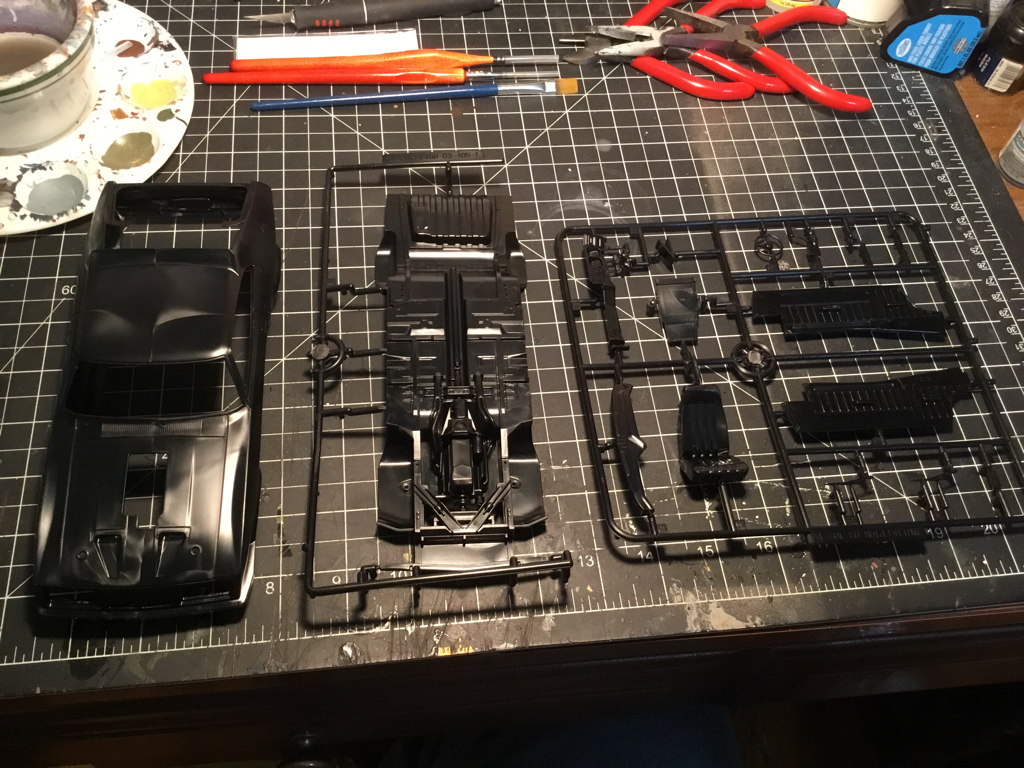
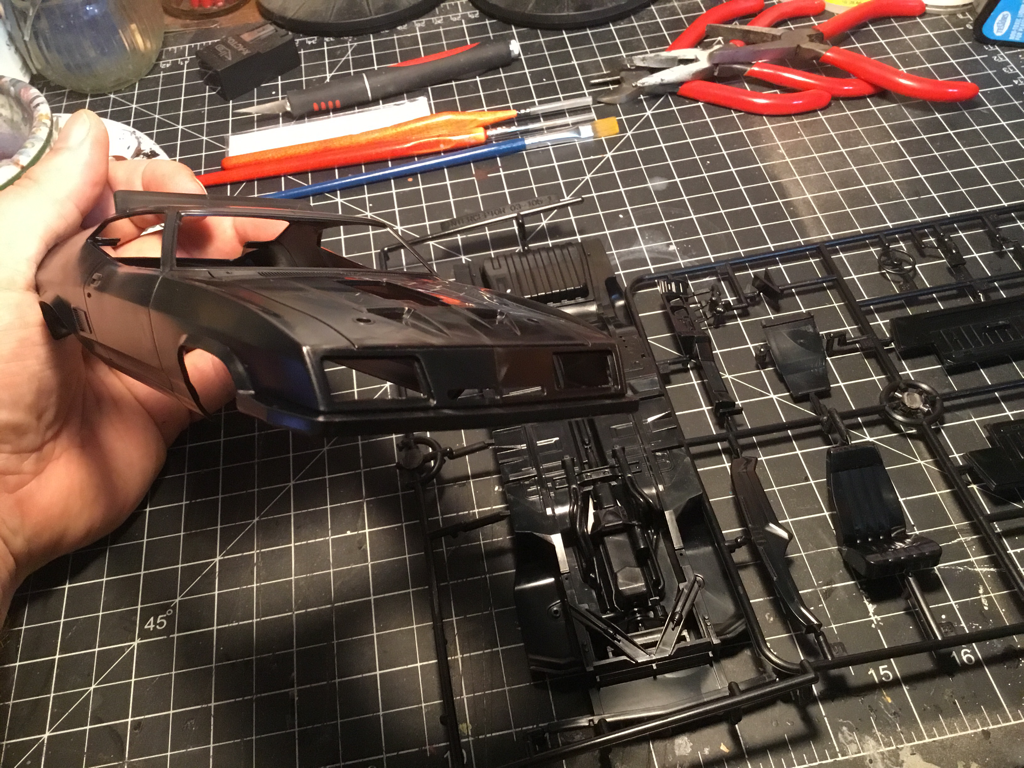
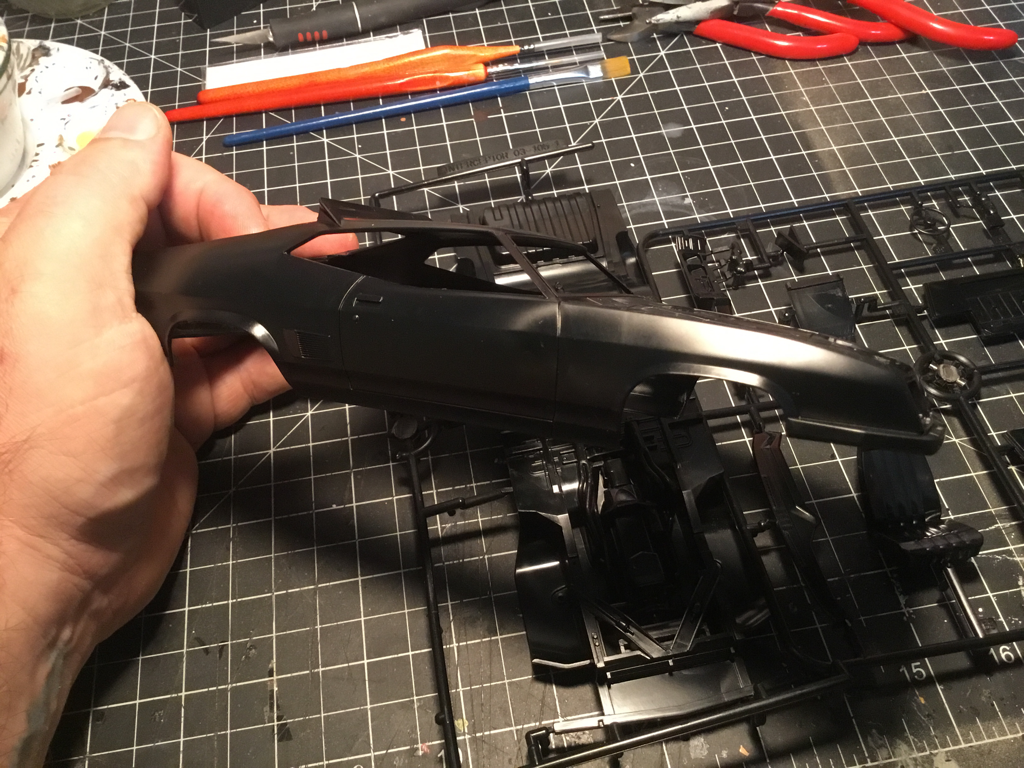
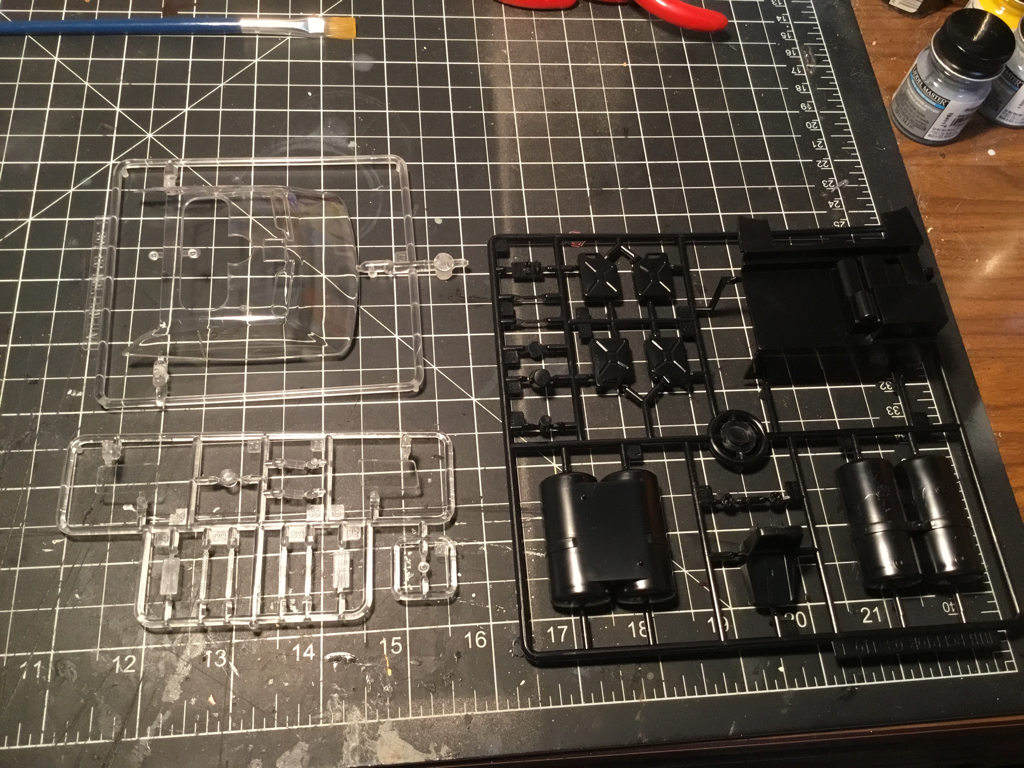
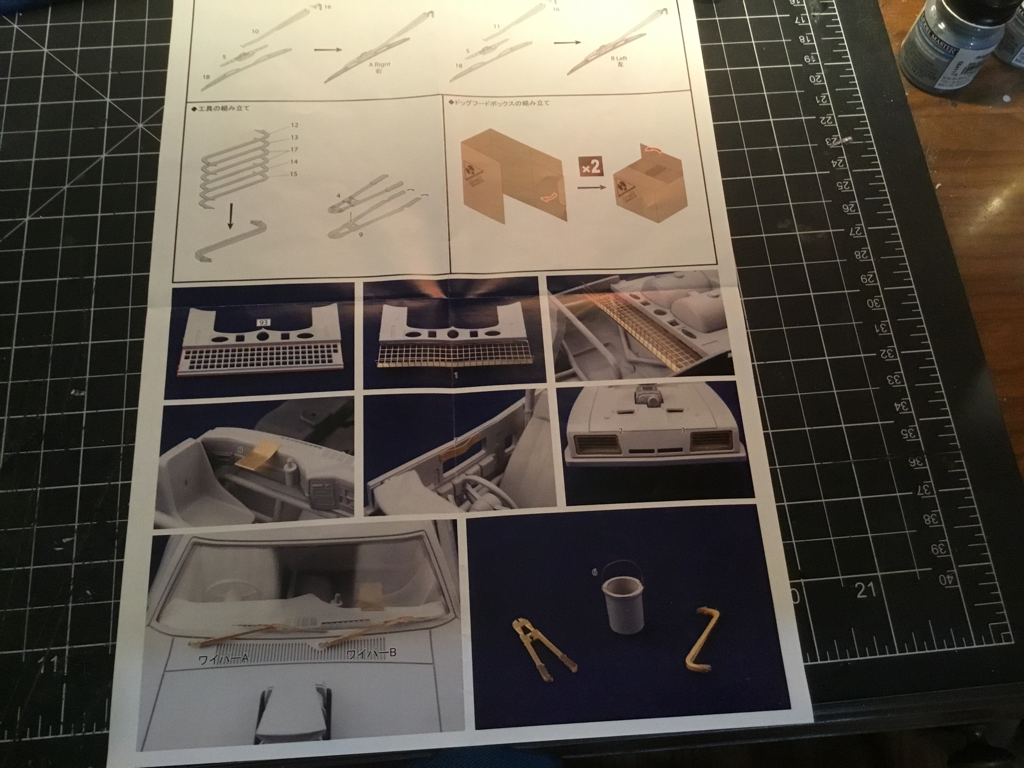
Well here we go the Aoshima’s The Road Warrior Mad Max V8 Interceptor. To begin with the box art is pretty straight forward, just the car, now I'm not sure what they have the Mad Max title as this kit can only be built as the Road Warrior version, not the clean Mad Max version. 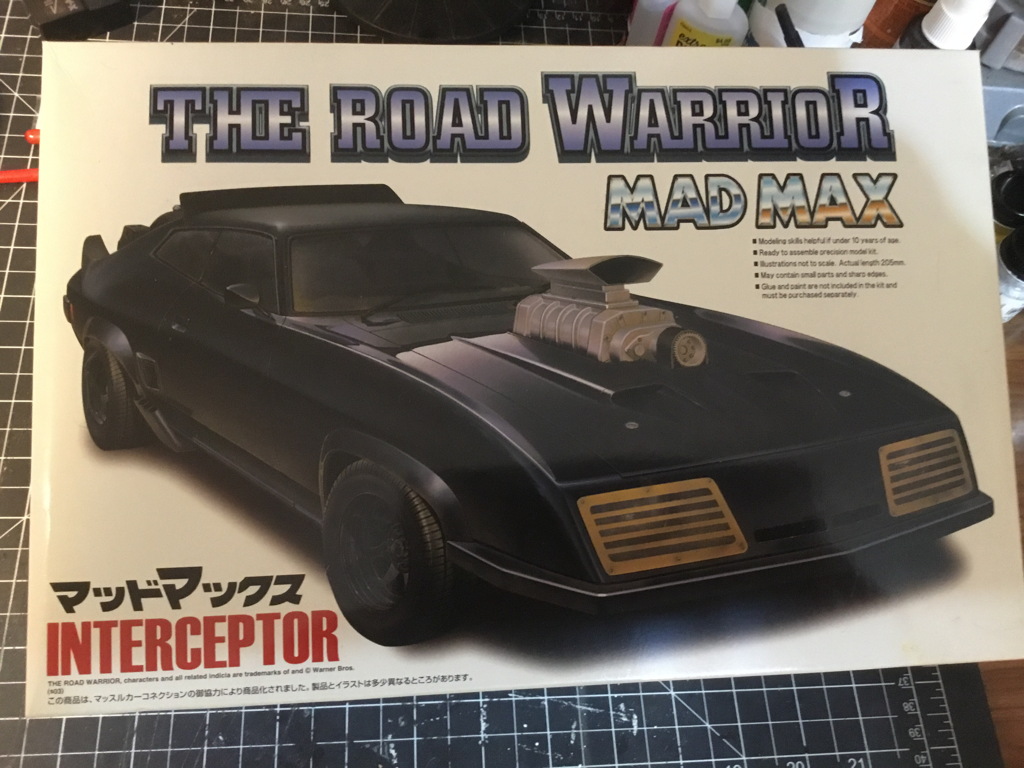 But the box is not what we’re interested in now is it? The first thing out of the box are the instructions, these are very clear, written in Japanese(?) and english, and the illustrations are easy to read. All the parts are safely enclosed in their own plastic bags with nothin separated from the sprues. 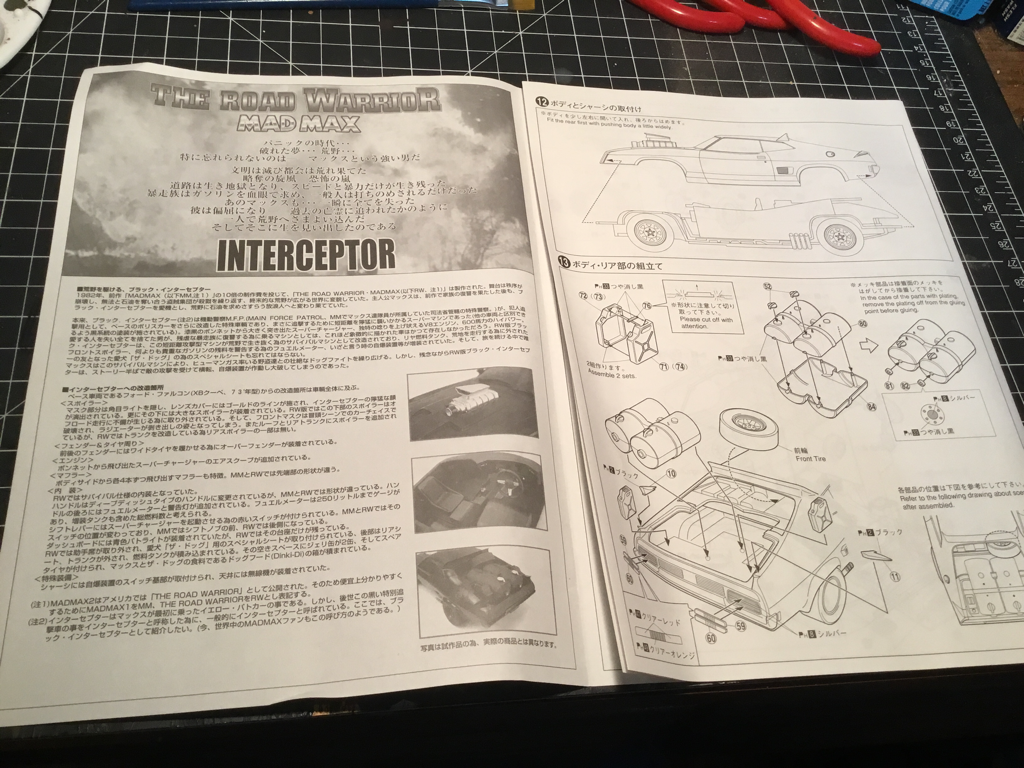 The kit itself is all molded in black styrene and a good quality styrene at that. The details are all clear and what looks like a deformity on the roof for the car body is nothing but the reflection of light, there is little to no engine detailing, other than the supercharger and blower, as the hood is molded as one part of the body. The undercarriage detail is most around the wheel wells and the back of the car, not much else, it does, however come with the little bomb that Max has mounted by the fuel tank. Now as I’m planning on doing some extra detailing on this kit I’ll be cutting the driver’s door out and removing the front end bumper and flair to match the movie damage. There is one major inaccuracy I’ve found: the interior door panel on the driver’s door is gone, this kit is modeled with the door in terror panel intact. Well what’s one more little bit of cutting and modeling eh?
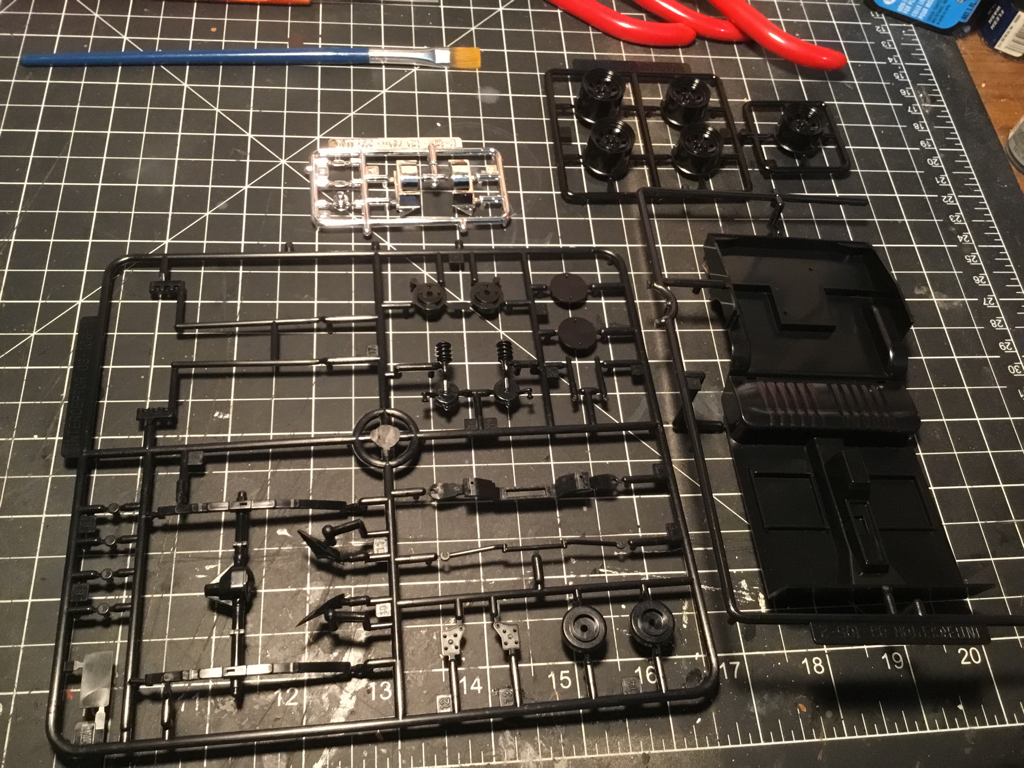
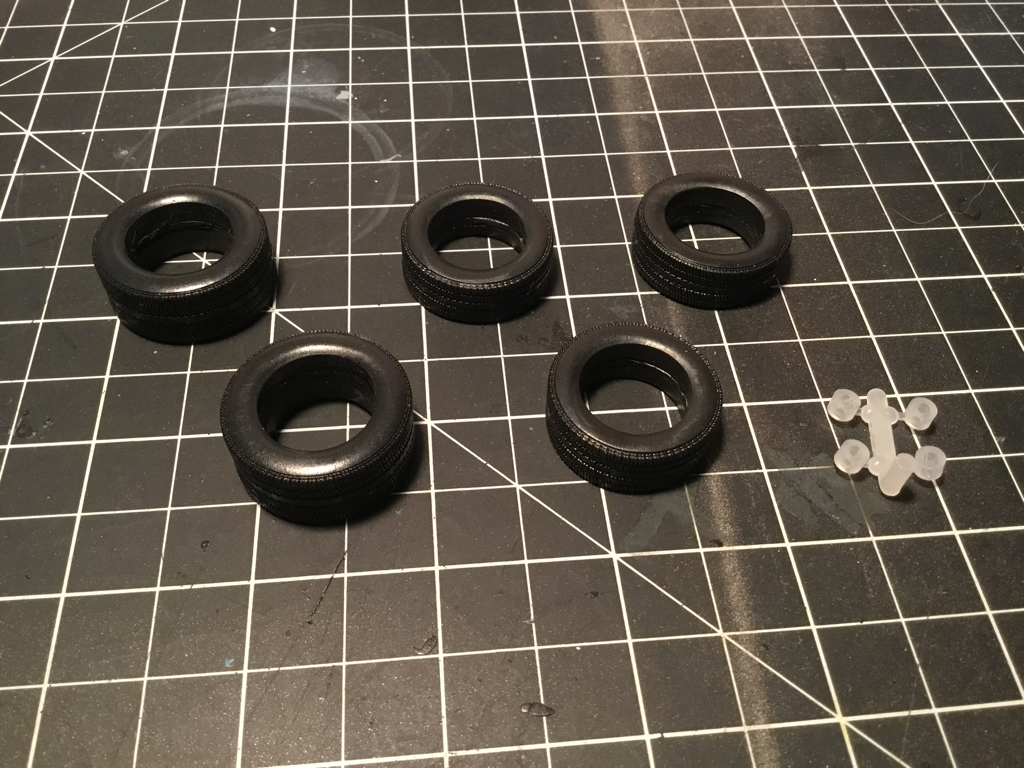
The few chrome pieces are molded well and very clean. The clear ‘glass’ pieces are well molded and crystal clear. I’ll have to cut out the dryer and passenger windows as those are always down in the film. The wheels are all rubber and have rally clean tread marks included is the ‘spare’ tire that is mounted in the back cargo area.
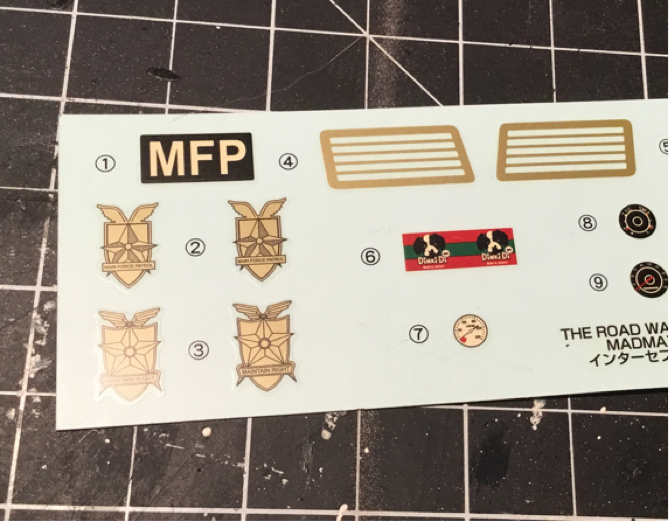
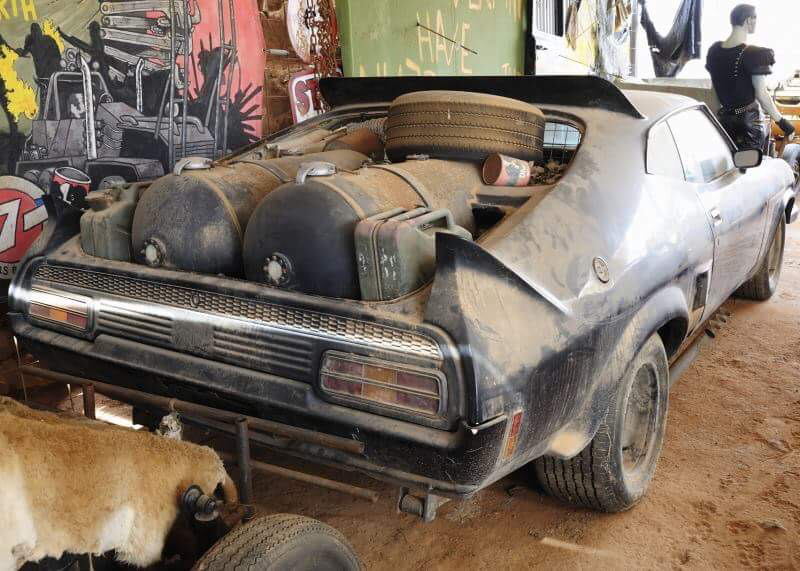
As this kit is ment to be built as the wasteland version of Max’s V8 the external fuel tanks and extra jerry cans are included. There aren't a lot of decals just the MFM markings and gauge faces. These is the extra bonus of a DinkiDi dog food can, that’s a nice bit of detail.
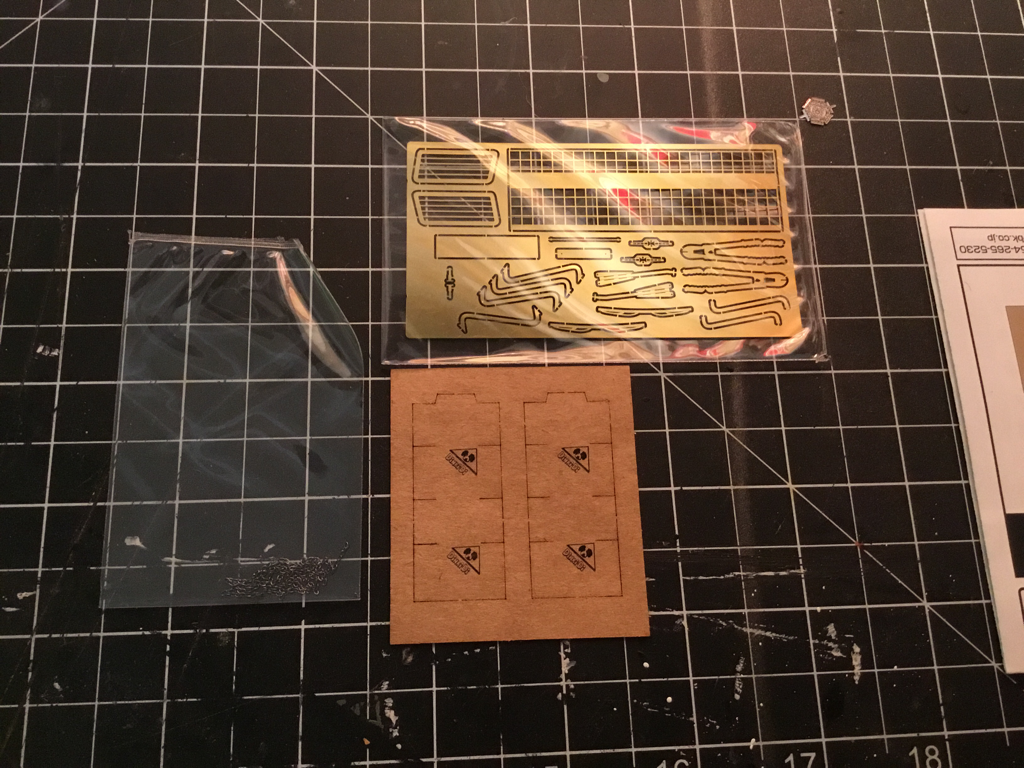
One last thing, I got this kit from my wife as a gift for my birthday, about 2 weeks later Aoshima re-released the kit with an extra detail kit, I sent them an email inquiring what the extras would cost to make my kit match the re-release and the sent me the pieces free of charge! Talk about some great customer service! The extra details include photo-etch louvre covers for the headlights, replacement wire shelving for the back cargo area, crowbars, windshield wipers, the leather strap for the driver’s door, bolt cutters, a length of chain, and to top it all off 2 fold up boxes of DinkiDi dog food!
Well there you go the kit is un-boxed and ready for the project to begin!
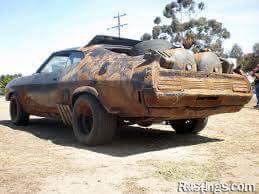
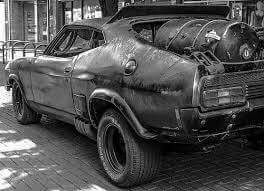
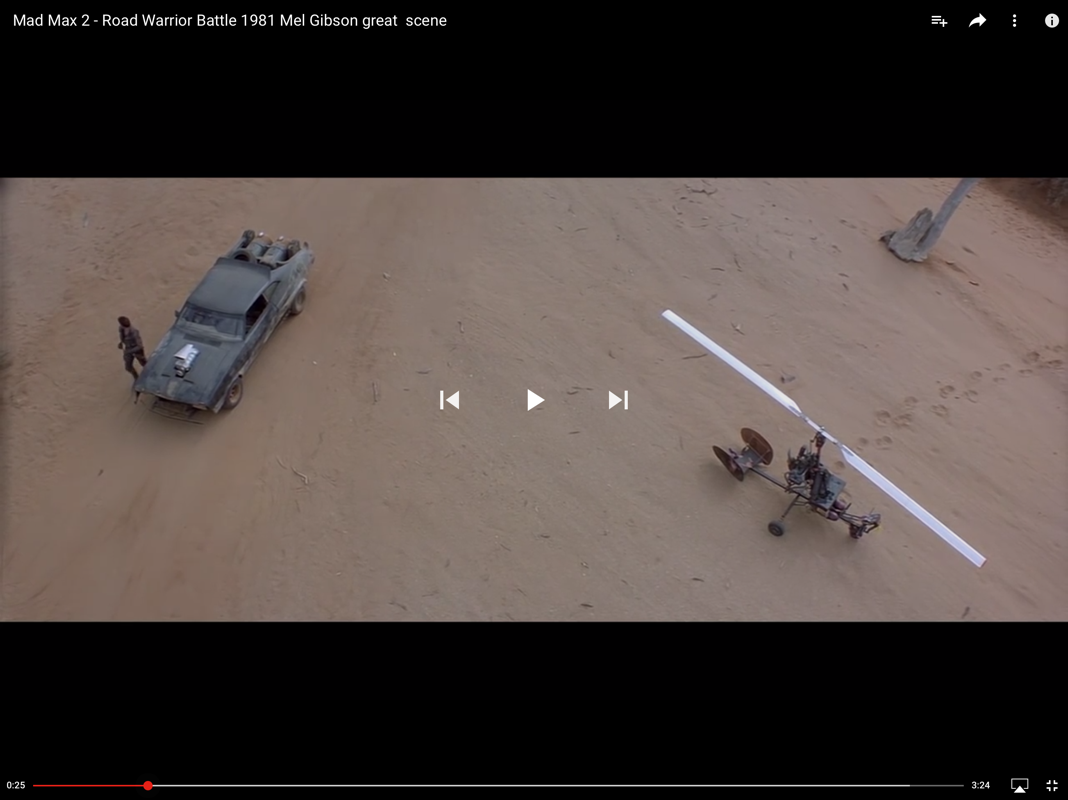
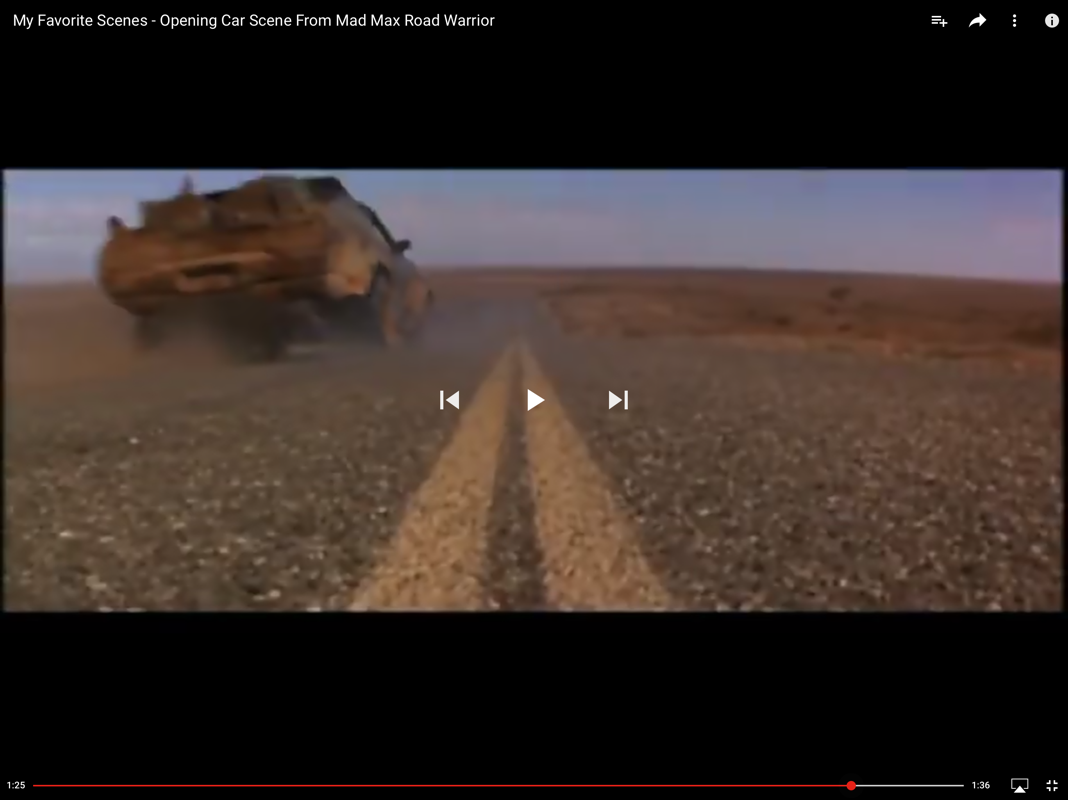
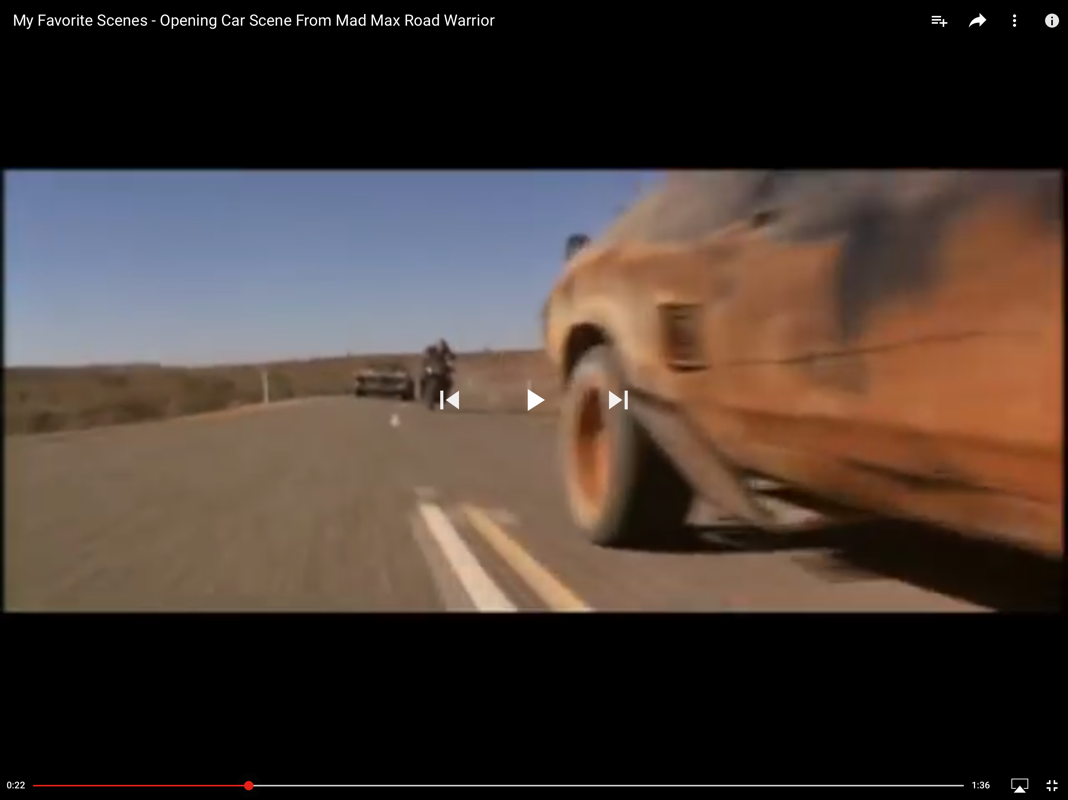
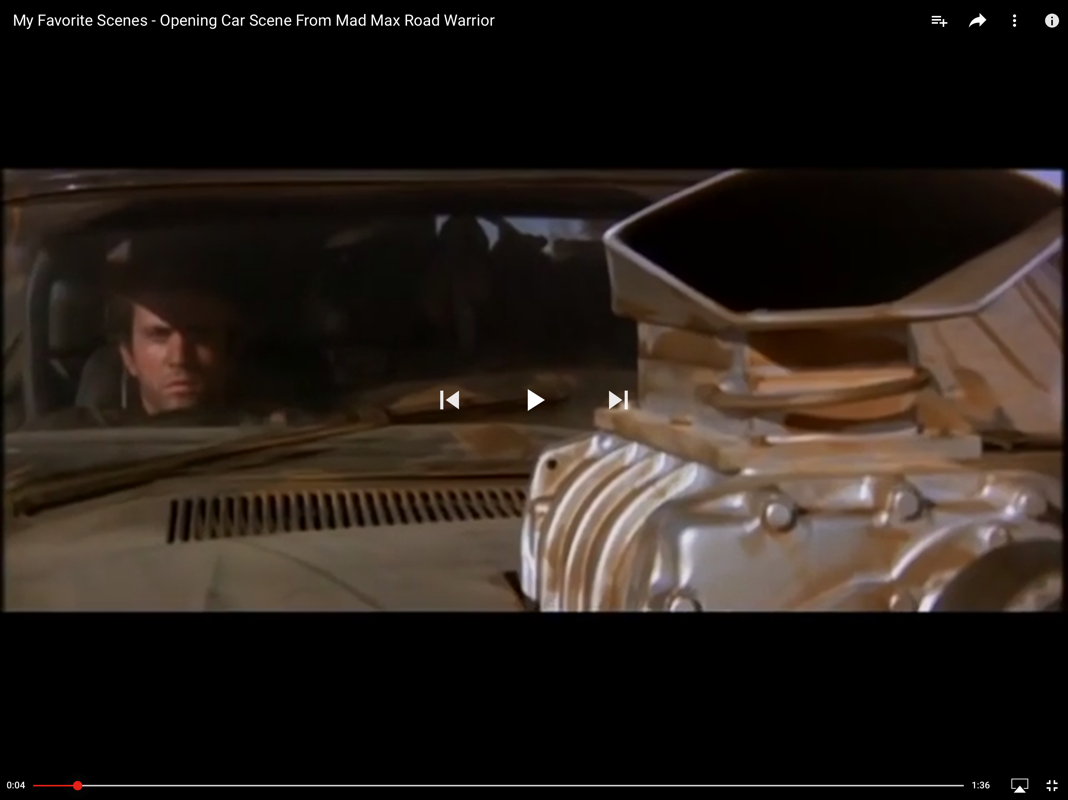
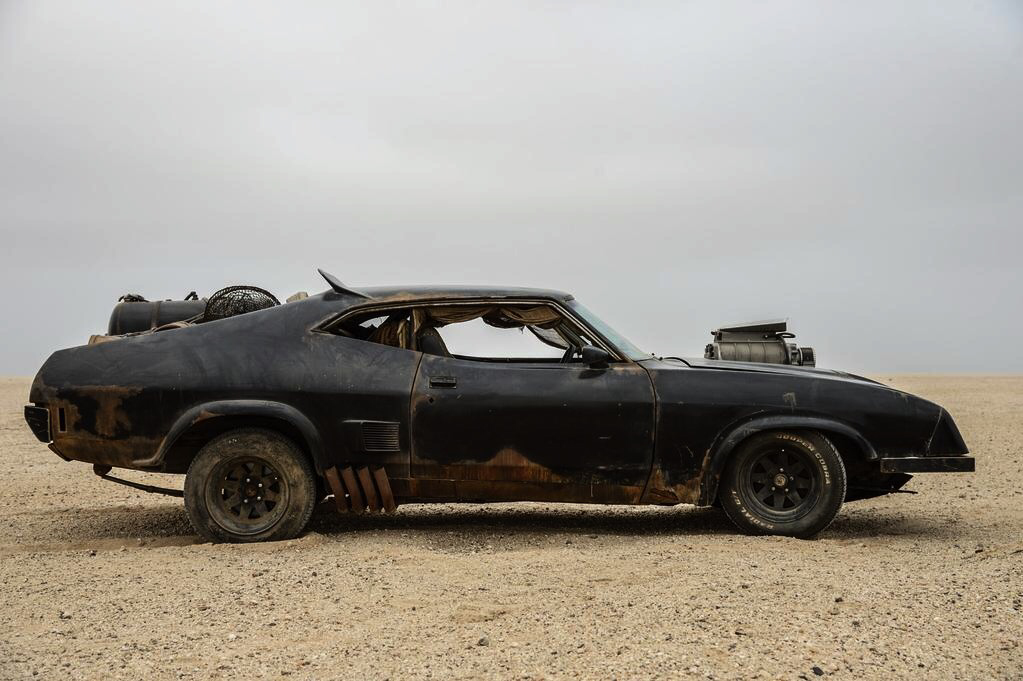
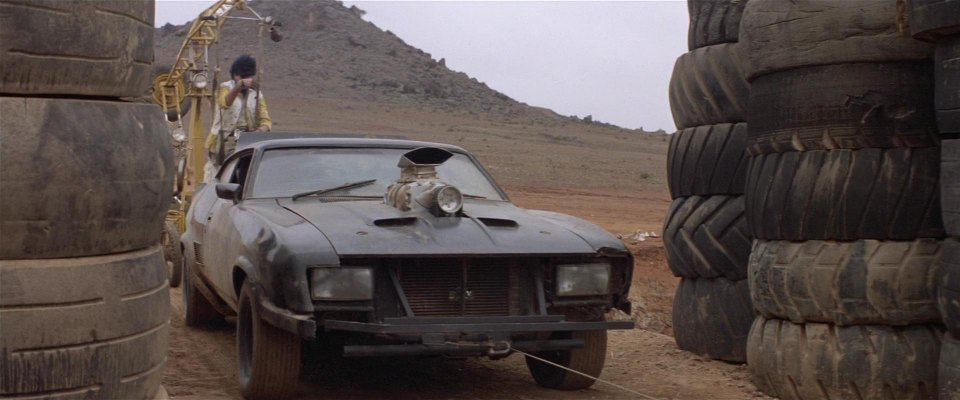
So check back soon I’ll be starting the build log with the next post. And as always: Keep Building! "You can shut the gate on this one, Maxie... it's the duck's guts! She sucks nitro... with Phase 4 heads! 600 horsepower through the wheels! She's meanness set to music and the bitch is born to run!" - Mad Max "The last of the V8 Interceptors... a piece of history!" - Mad Max 2: The Road Warrior Here we go this is going to be a detailed build, I don't really build a lot of car kits but the V* Interceptor has a special place in my heart. I love these movies and the cars. So the great plan here is to build the Last V8 Interceptor as she's seen after the first action scene in the film. I'll be looking to replicate the front end damage she received when Max rammed the Marauder, adding as much interior detail as I can and even modeling the driver door open to show off all that detail. I'm thinking I want to model the scene when Max runs back to scavenge the gasoline from the wrecked marauders. 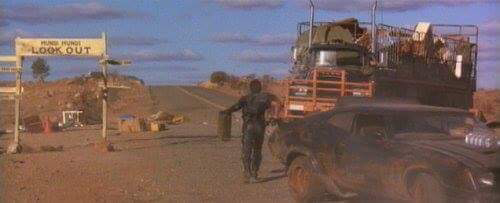 I would love to find a Max figure to add to the display but all the good figures are really expensive, so we'll see about that. There will be a lot of cutting on this model to free up the door and for the front end. Plus I'll be doing a lot of weathering work to get the road weary look of a vehicle running through the wasteland. To begin I got a good set of reference photos, and of course re-watched the film. So here we go again, another project to feed my styrene addiction! My next post will be a box review of the Aoshima The Road Warrior V8 Interceptor.
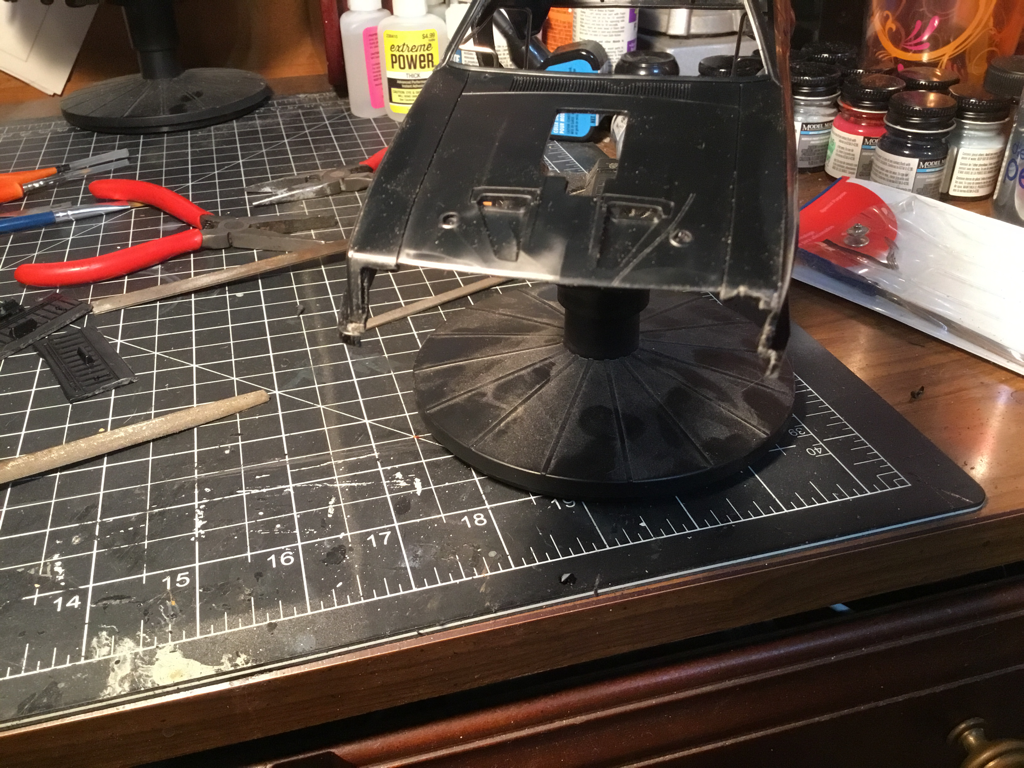
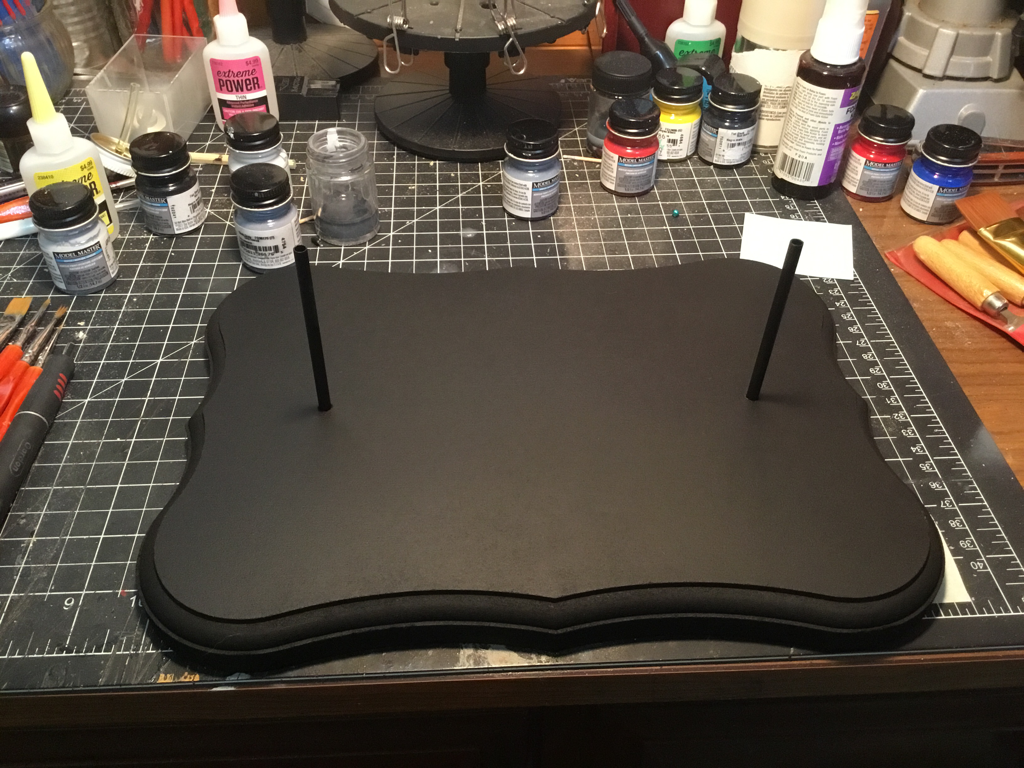
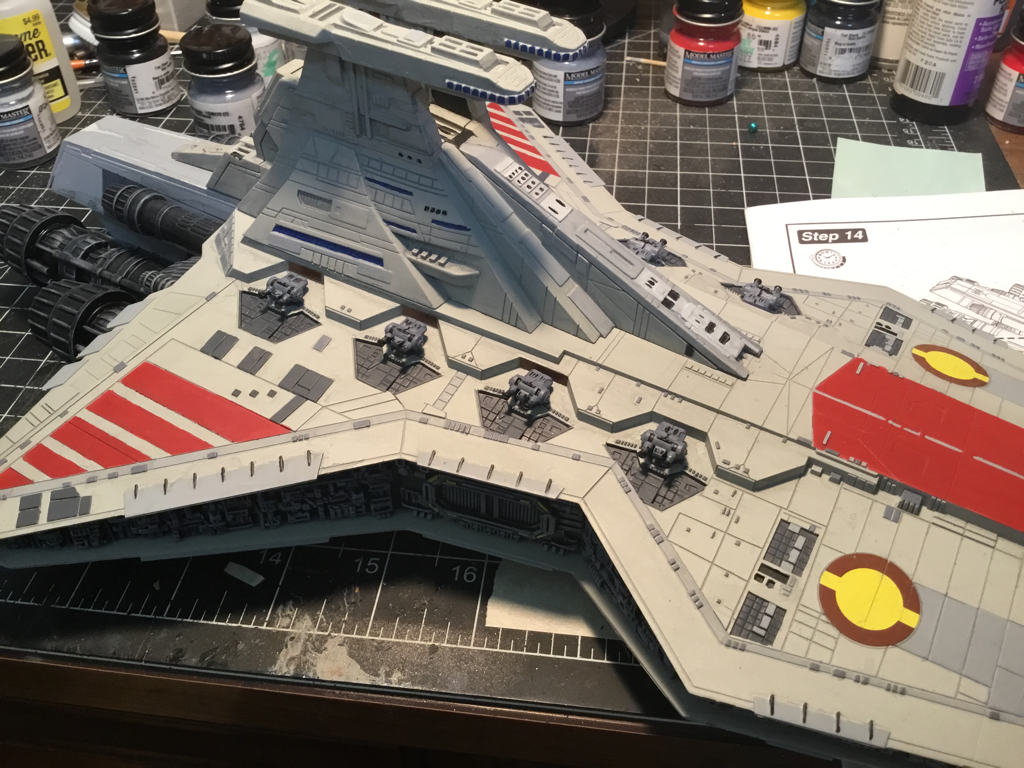
So check back soon, and as always: Keep Building! Well here was are right at the end! So first I acquired a MDF plaque at the local hobby/craft store and painted it matte black, i then carefully drilled into the hull of the Star Destroyer to fit 2 brass rods as the ship supports.
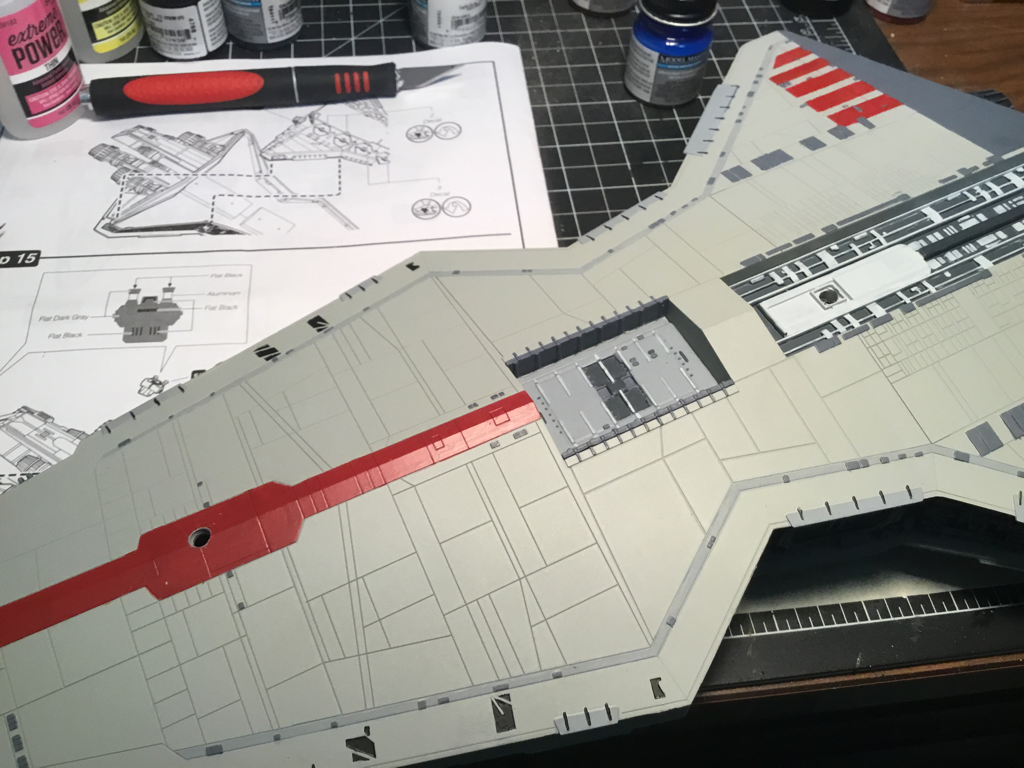
Next I applied the decals and a very thin black & gray wash over the superstructure, and the hull to bring out the panel lines and 'dirty' up the ship a little. When I do a water wash I use very thinned out colors and a very broad brush, this lets me cover large areas without streaking. I then use a soft cloth and gently wipe the excess away drawing the cloth in the direction i want the wearhtering to streak. Next I painted up the turbo laser cannons, and once they were installed all that was left was to mount the Star Destroyer to its base.
There we have it, allow me to present: The Galactic republic's venator class star destroyer.Thanks for following along on my burst build log! I hop you enjoyed it!
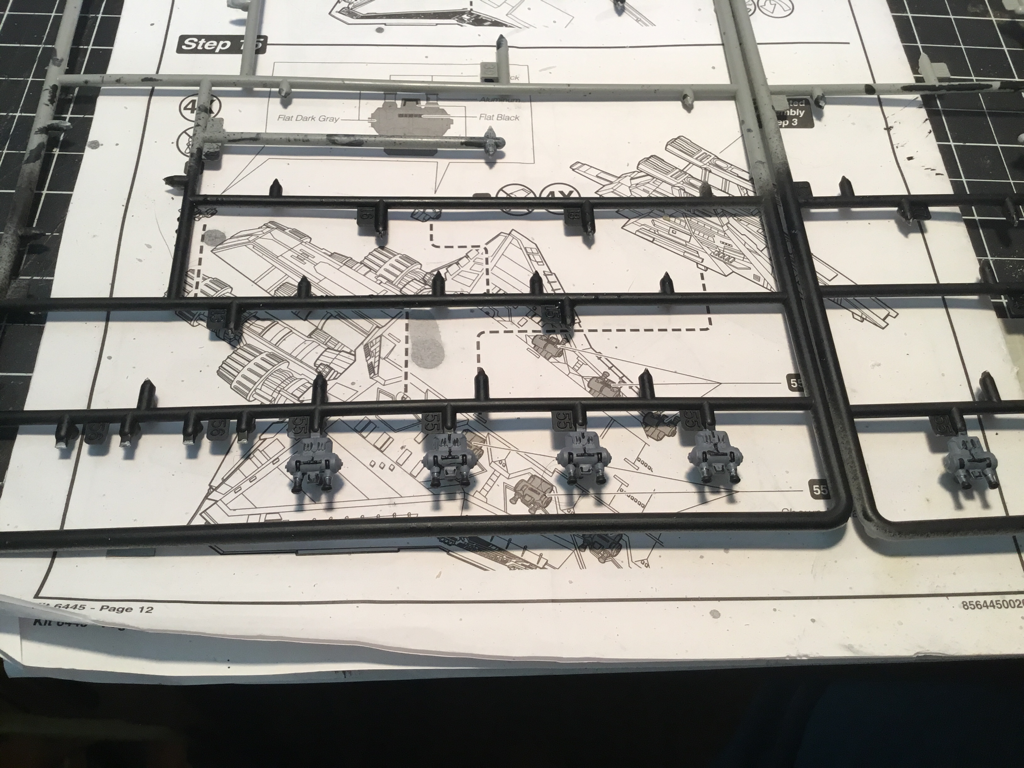
Keep checking back, I'll soon be posting a vote to decide on my next build! So until next time, Keep Building!! Well we're heading into the final stretch of this build. This post is all about the engine panels, the painting was pretty straight forward a lot of dry brushing on the engines and panel painting on the hull piece that separated the left and right engine pods. This didn't turn out as well as I would have liked so I will be re painting those panels before further assembly 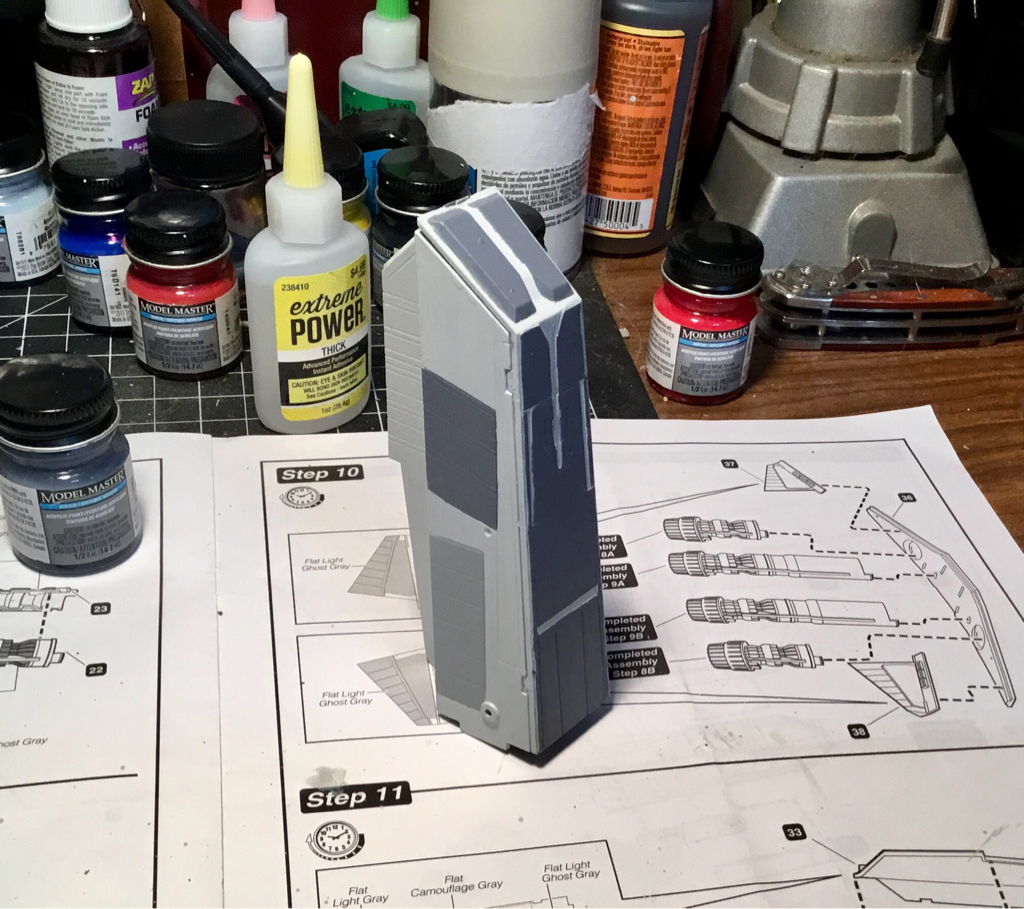 The engines mount very tightly into engine bulkhead, next the smaller engines are mounted onto the hull piece that separates the left and right engine pods. Once these pieces are locked into place then comes the hull assembly. I think I'm going to match the color of the raised bar to on the engine separator to the color on the bottom hull. The entire engine bulkhead fits VERY tightly into the slot in the bottom hull, once dried in place the top hull is installed. BE VERY CAREFUL to fit the top of the engine bulkhead into the fitting slot in the top hull half... once you have that aligned the rest of the hull clicks right into place. The final upcoming steps are to assemble the cannons, add the decals, and complete a nice ink wash to bring out the detail lines.
One important note, this kit does NOT have a display base! Nothing, nada, no way to display the finished build. Damn. Well I'll be drilling into the hull bottom to install a brass rod and a wooden base, for display. So keep a look-out for the final few posts on this build log, we're in the home stretch! Until next time, Keep Building! |
AuthorHi there, I'm Chris and welcome to my workbench. I've been building models since i was 6 or 7 years old. I thought it would be fun to share some of my projects! Archives
May 2017
Categories |


 RSS Feed
