The "Sleeper Ship" S.S. Botany Bay
0 Comments
Well that's all for today.
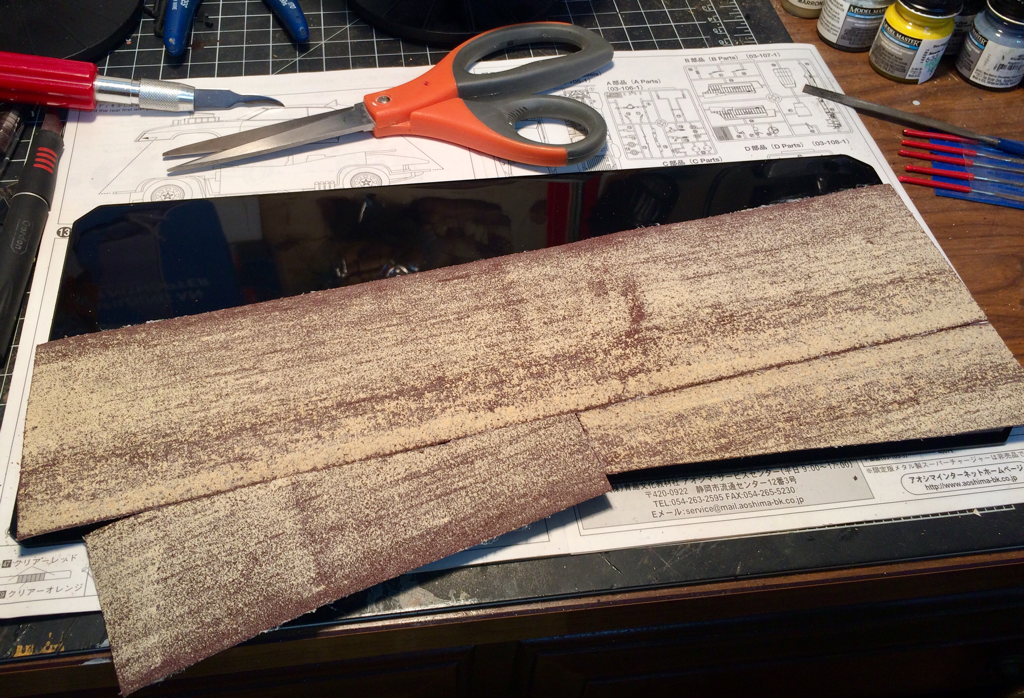
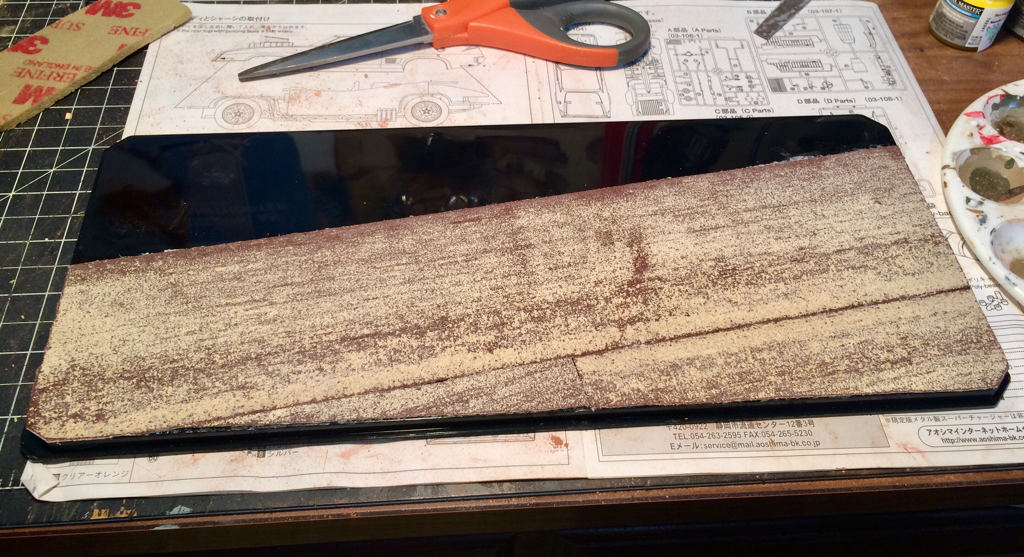
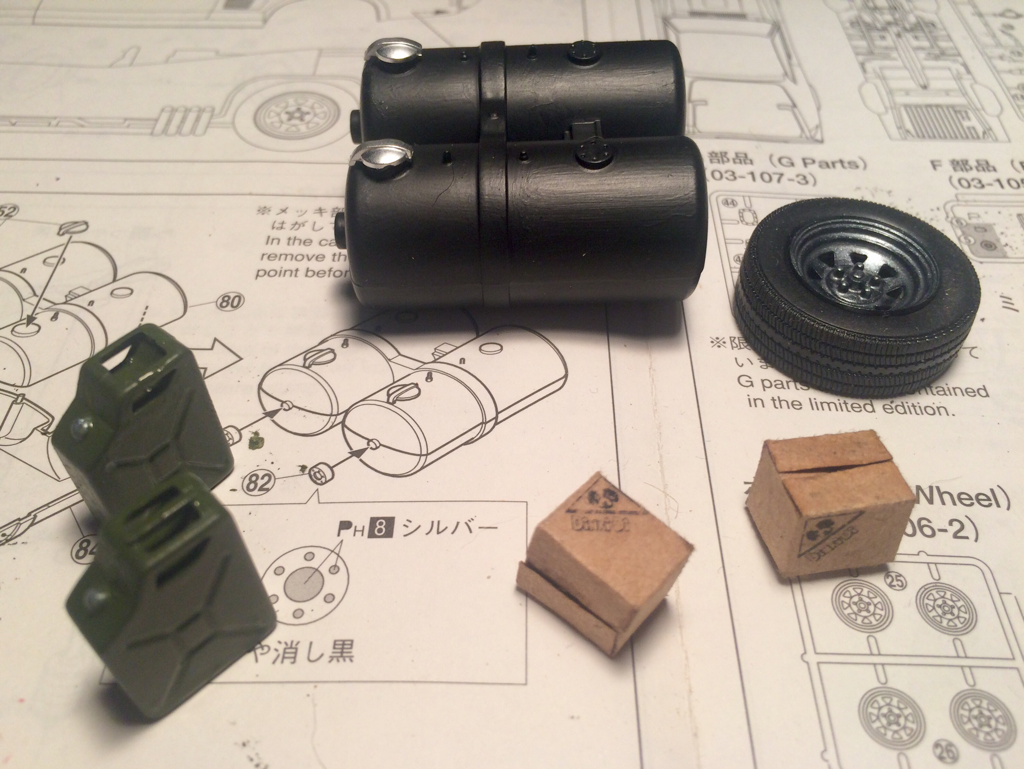
Until next time, Keep Building! With the assembly of the Interceptor pretty much completed, it’s time to get ready for the weathering. First I taped off the windshield where the wipers would clear away the dirt and debris. Next I loaded the storage area with the fuel tanks, Jerry cans, boxes of Diki-Di dog food, spare tire, ropes, chain, and camp-netting. The last of the V8s is ready for her final weathering, but before the weathering I prepped the display base. Using an acrylic clear display case, I started by painting the underside of the bottom a flat black. The to simulate the roadway I use an old piece of sandpaper from a belt sander. Glued it to the acrylic base using a spray adhesive then trimmed away the excess. Later I’ll paint the sandpaper flat black, and once dry rub it down with a sanding block to add wear and used to the blacktop.
Using the same hairspray and pastel chalk method used for the undercarriage (see Build Log Part 2). I made sure to brush on the dirt in the direction the wheels and road travel would have thrown it. I then dusted the hood, windshield, and trunk/storage. I did this in several layers to build up the dirt and dust, adding lighter chalk, or redder chalk to change the patterns, letting the chalks settle naturally into depressions and recesses, finishing off with a final light tan dusting. Finely the base was completed by adding ground flock, stone, and sand, roughing up the blacktop with a sanding block to give it a nice worn used look, the final addition of some small bushes finished off the base. The Last of the V8 Interceptors is ready for her final ride into the Wasteland. Well that's another project finished up, and on the display shelf. Now to delve back into 'The Stash' for the next project!
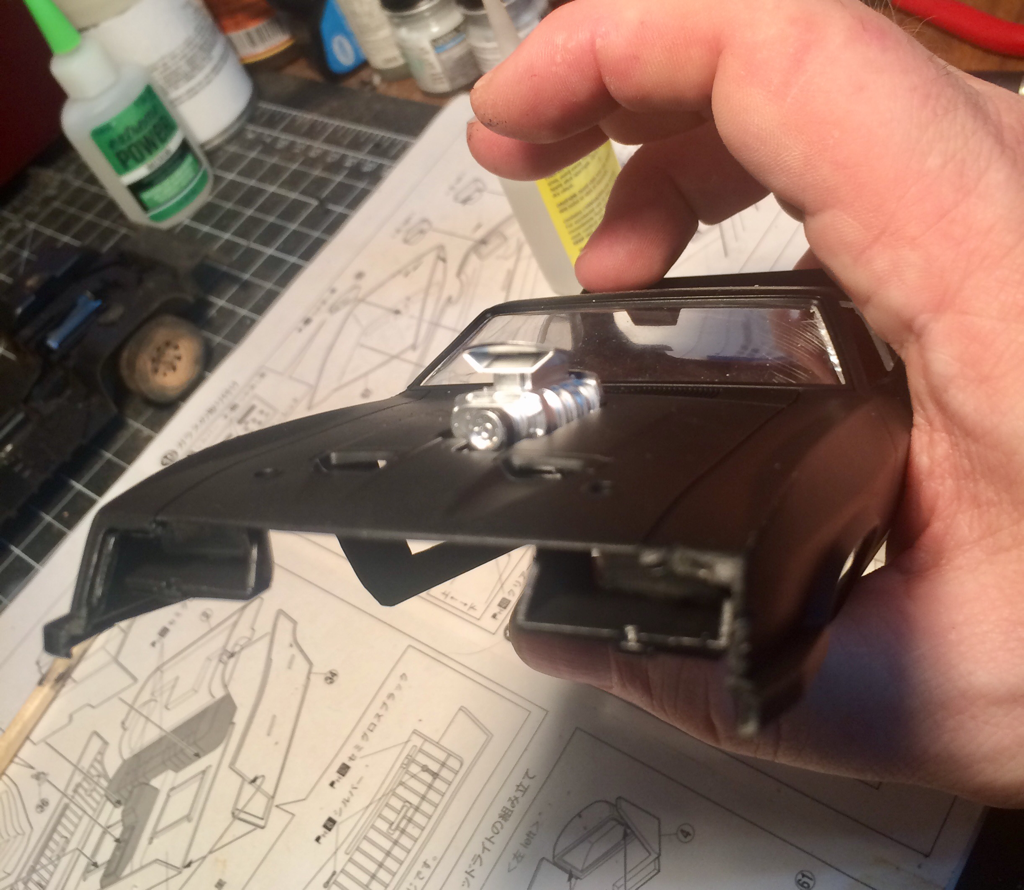
Until next time, as always, Keep Building! Well I'm back, holidays, family visiting etc. etc. etc. put a little crimp in my building but we're back! When last you tuned in the Last of the V8 Interceptors was in a poor state. waiting to be assembled. To re-cap we've completed the interior, cut away the body front end for the impact damage the Interceptor suffered at the beginning of the film, and cut away the driver's door to model it open. For last night's time at the workbench we started off by giving the entire body a coat of matt black paint.
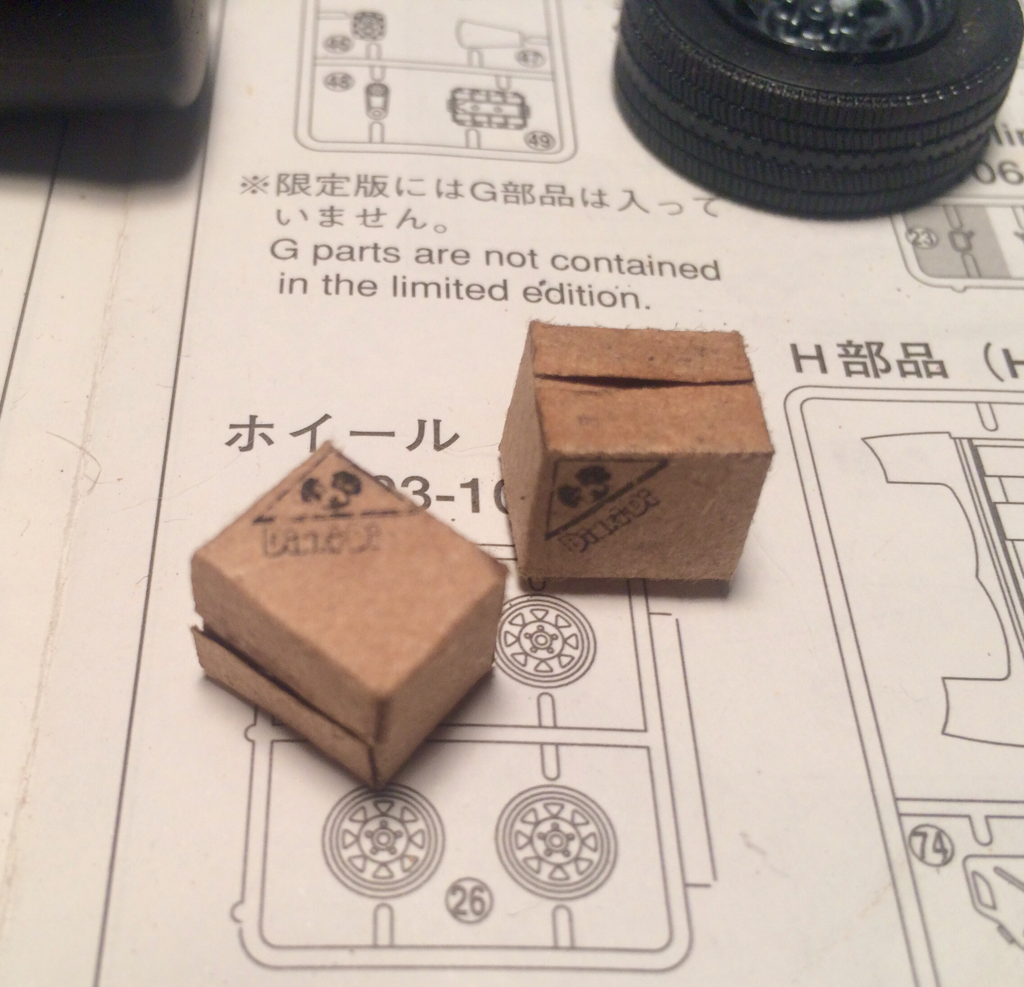
Finely I assembled the odds and ends that will be going into the cargo area. Stay tuned: Next time I'll be attaching the driver's door, and weathering everything down.
|
AuthorHi there, I'm Chris and welcome to my workbench. I've been building models since i was 6 or 7 years old. I thought it would be fun to share some of my projects! Archives
May 2017
Categories |
 RSS Feed
