|
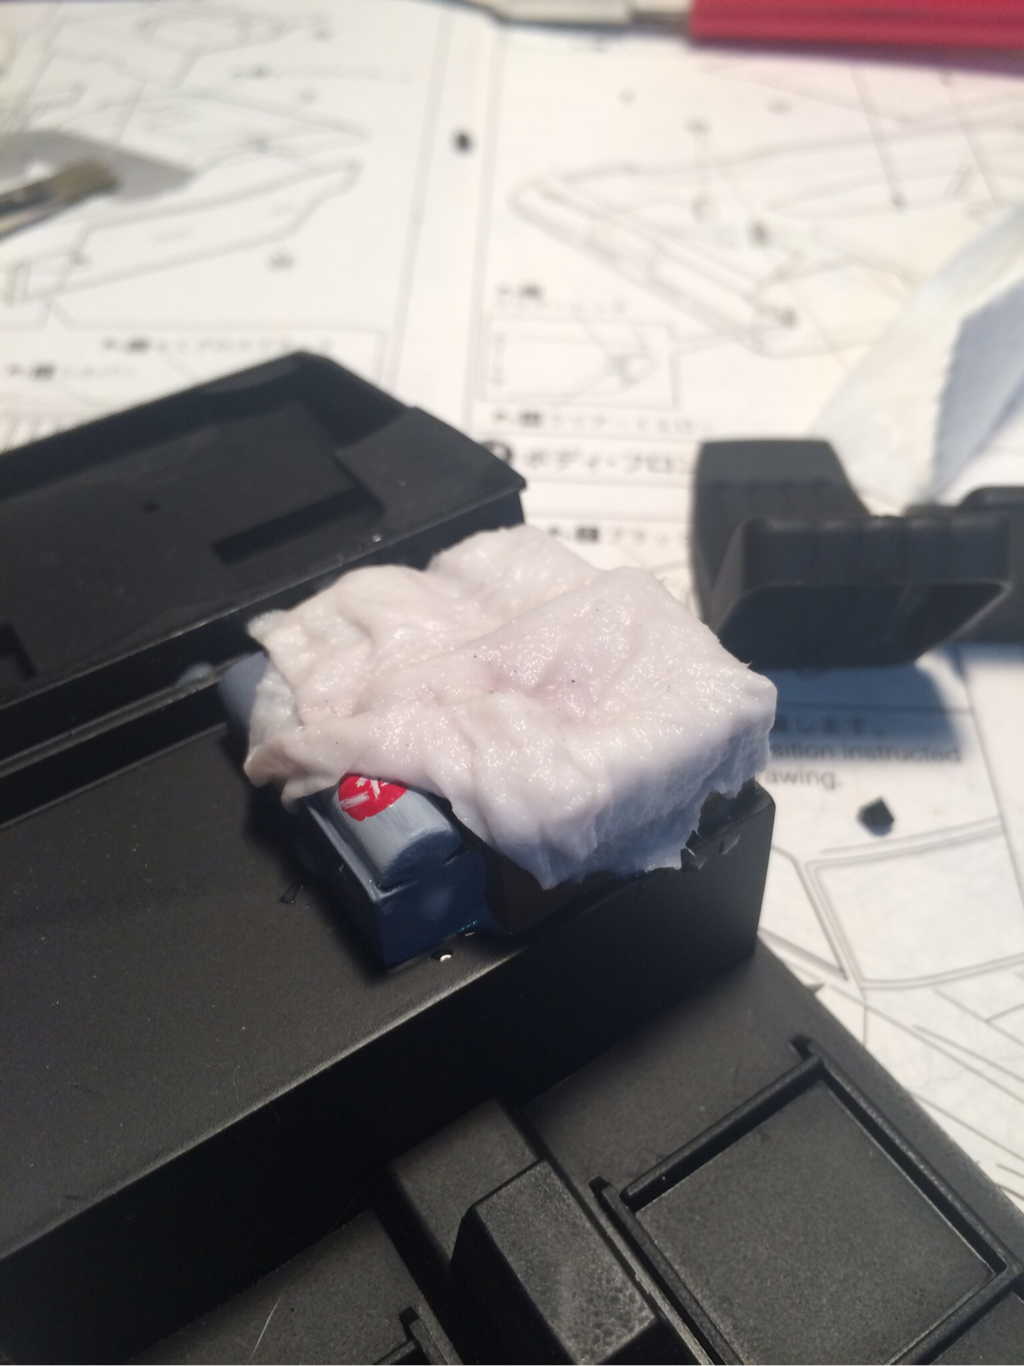
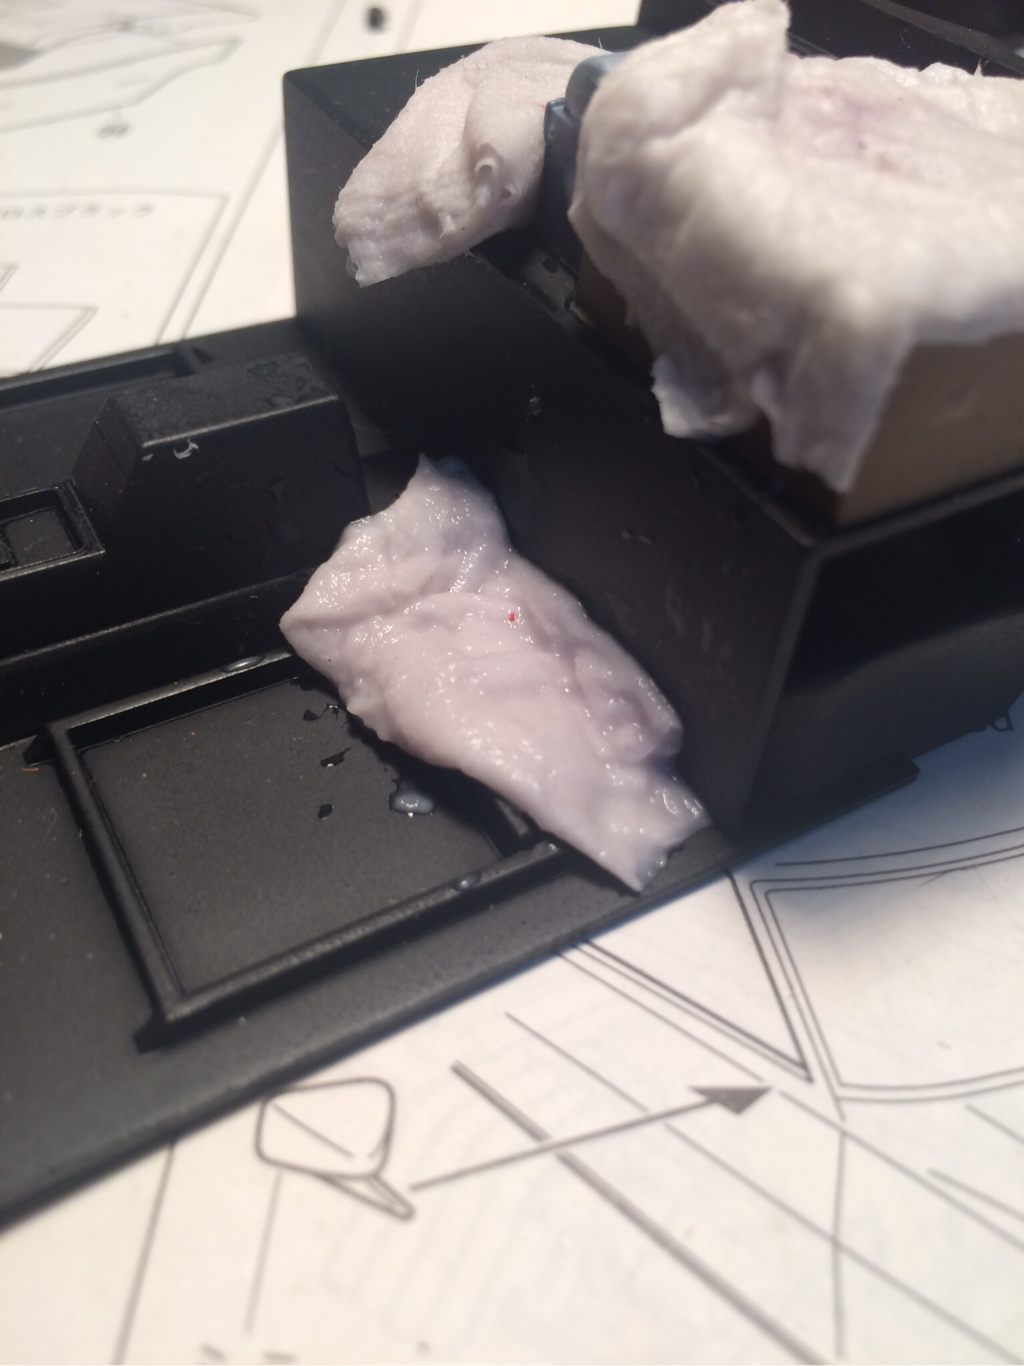
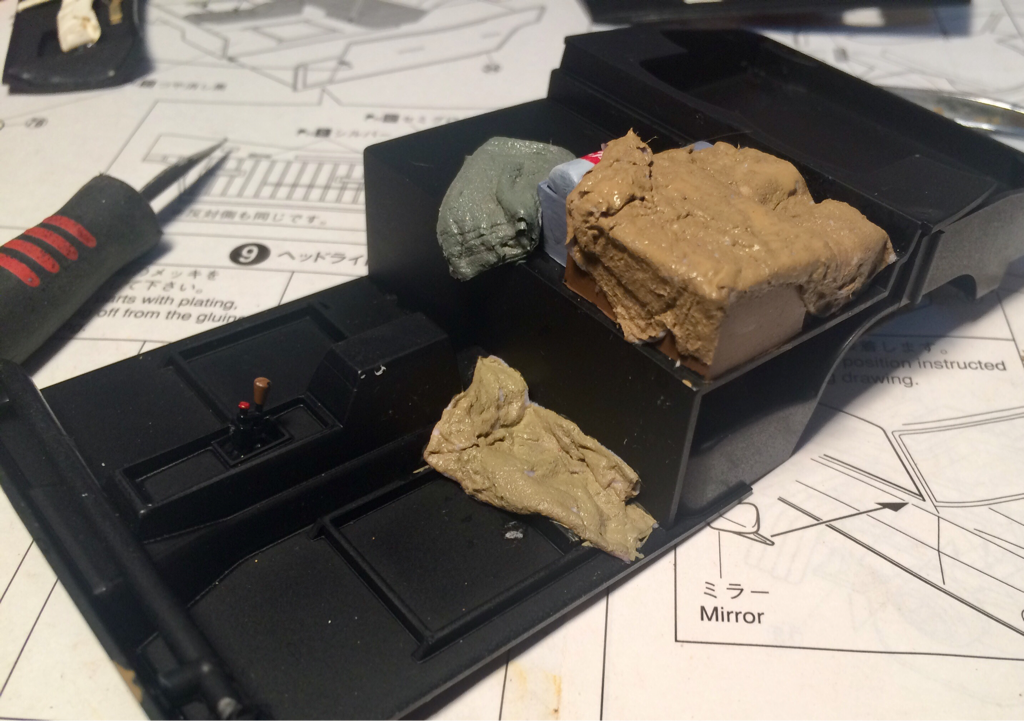
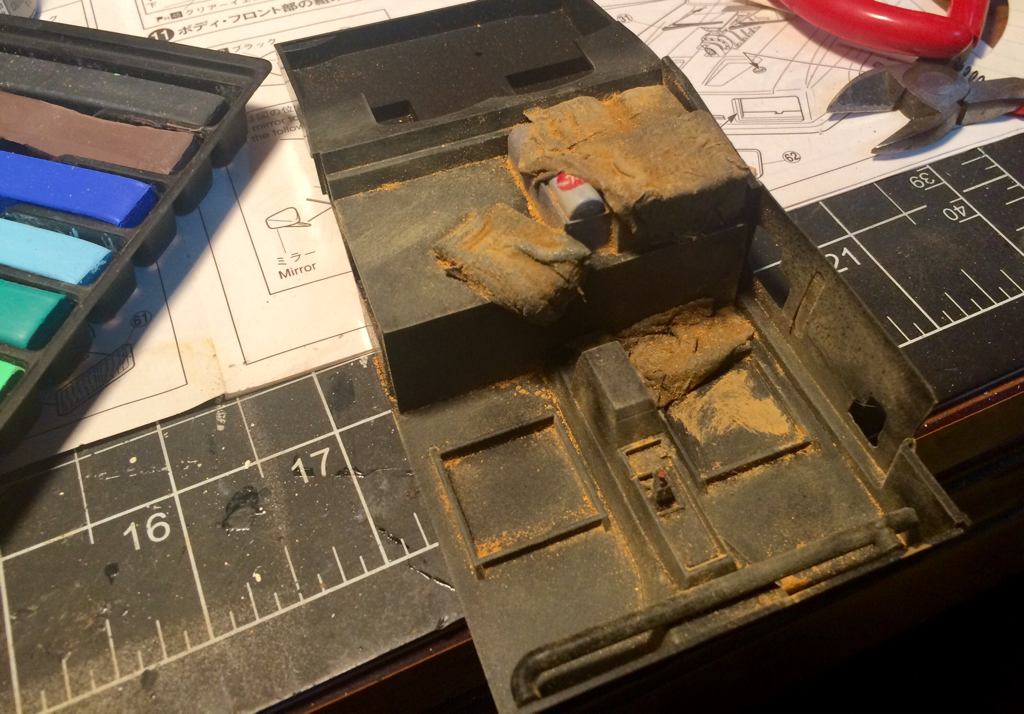
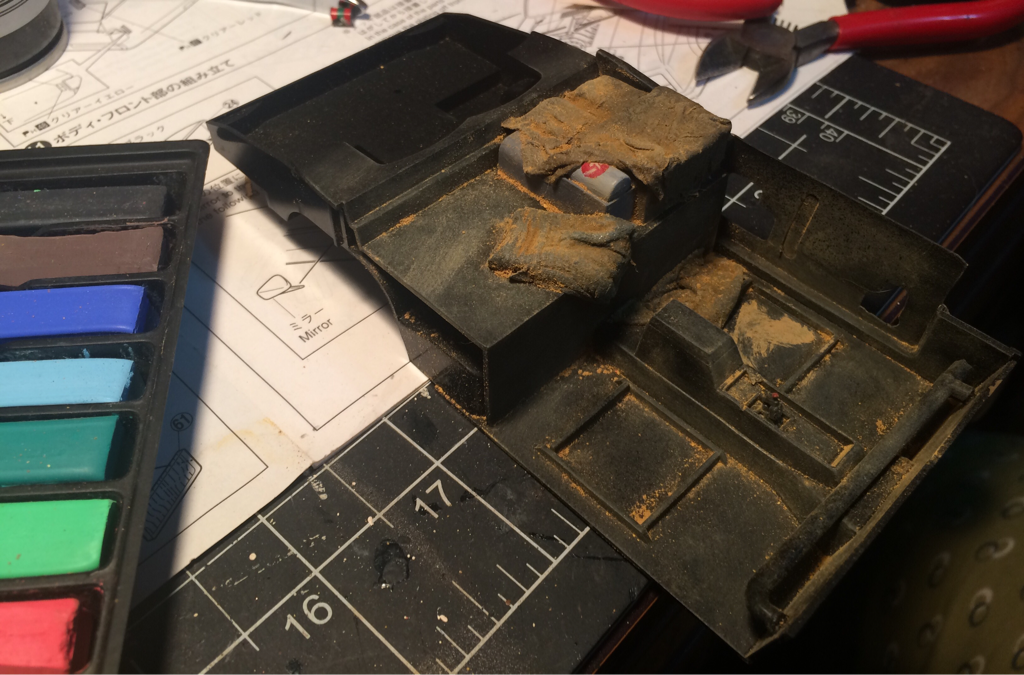
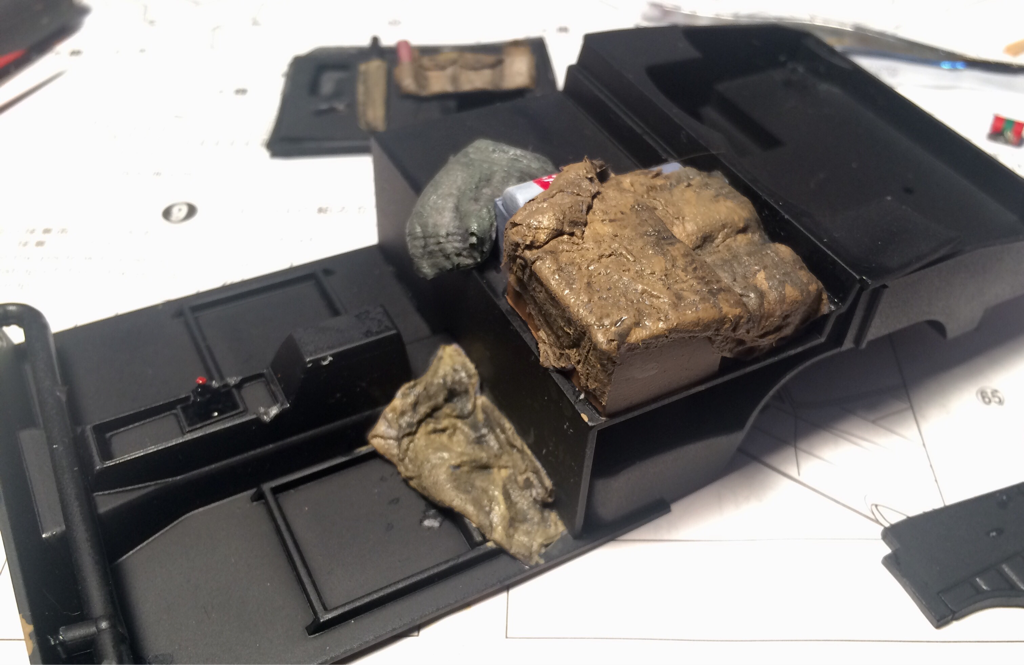
Here we go! Time to detail and finish up the interior. First up tarps, the movie show the back cargo area has several tarps just thrown about, one on the floor for Dog, one covering stuff and a roll of some sort behind the driver's seat. To make tarps I use toilet tissue and a 50-50 mix of white glue and water. I then paint the glue mix onto the tissue, gently pushing the wet tissue into the crevices and creases. While doing this you can also use your brush to create folds and ripples in the tarp.
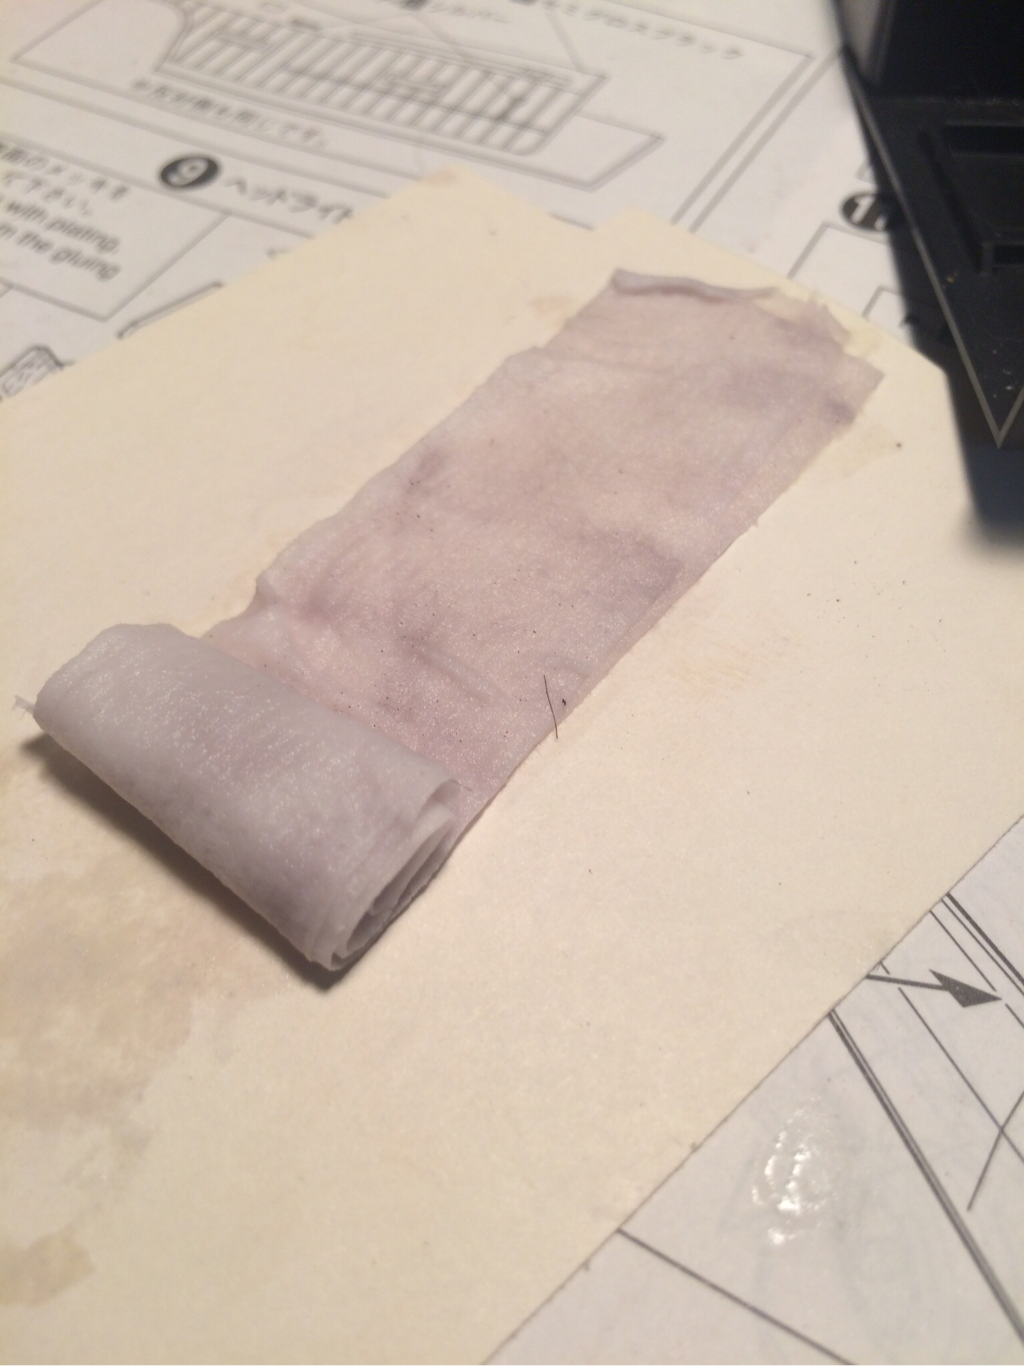
The roll is easy, the same method is used, I paint the glue mix onto a long piece of tissue then roll the tissue very carefully (the tissue is very fragile) into a lumpy roll, don't worry about things being uneven, it makes the roll more realistic. I then placed the roll into its position, once in position using the brush and glue mix I touch up how the roll droops and hangs, and clean up the edges.
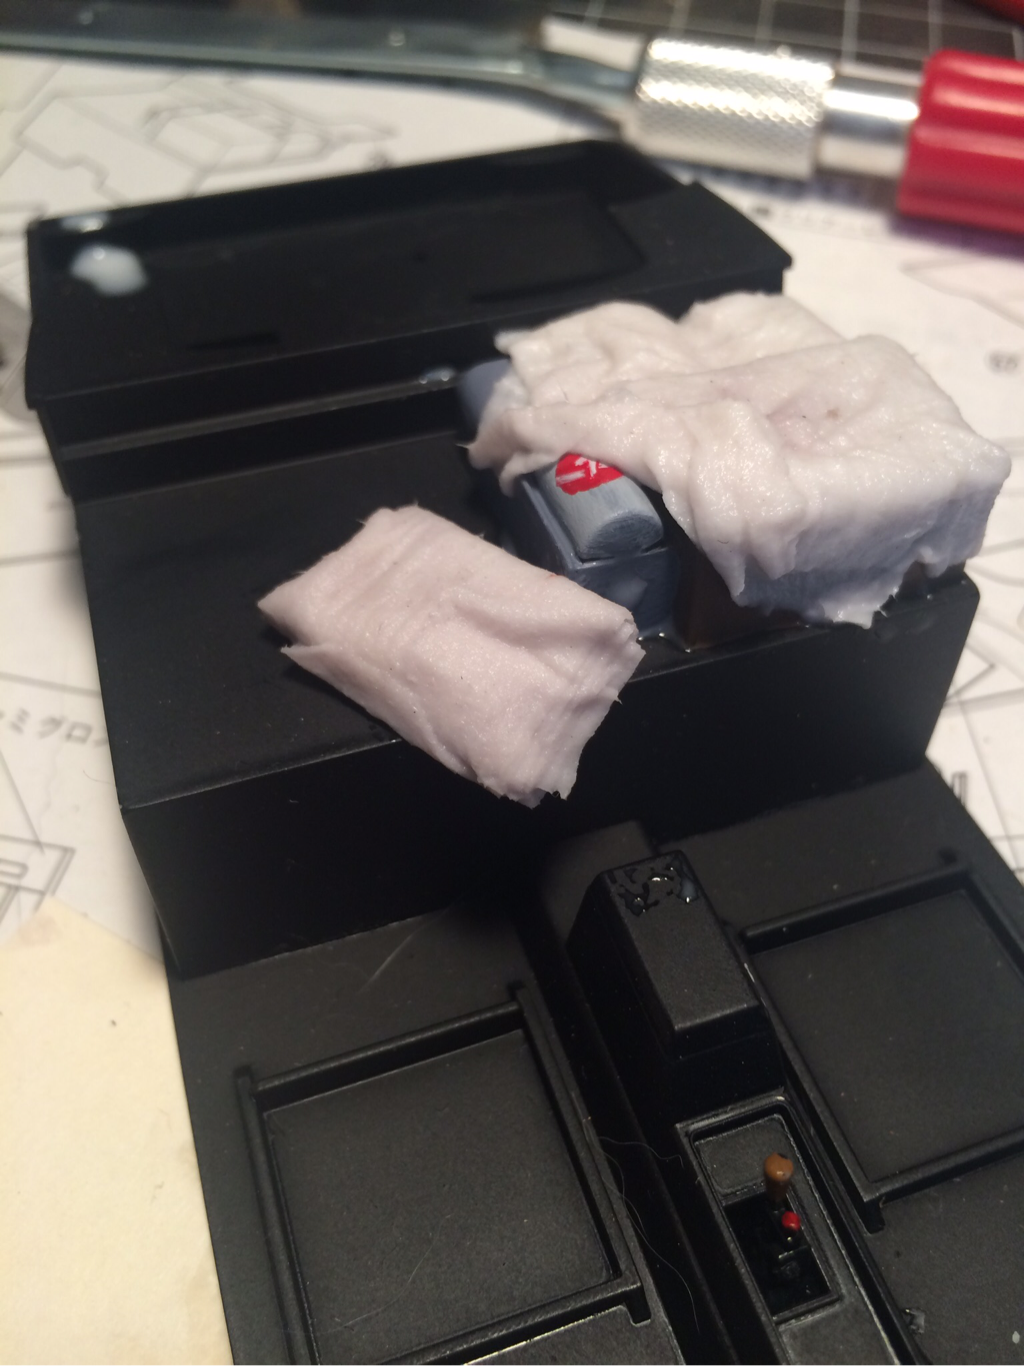 Finely the Dog's bed, this was the easiest for this I dipped small squares of tissue into the glue mil and draped/piled them into place. The glue mix needs time to dry, I recommend 24 hours or the liberal use of a hairdryer.
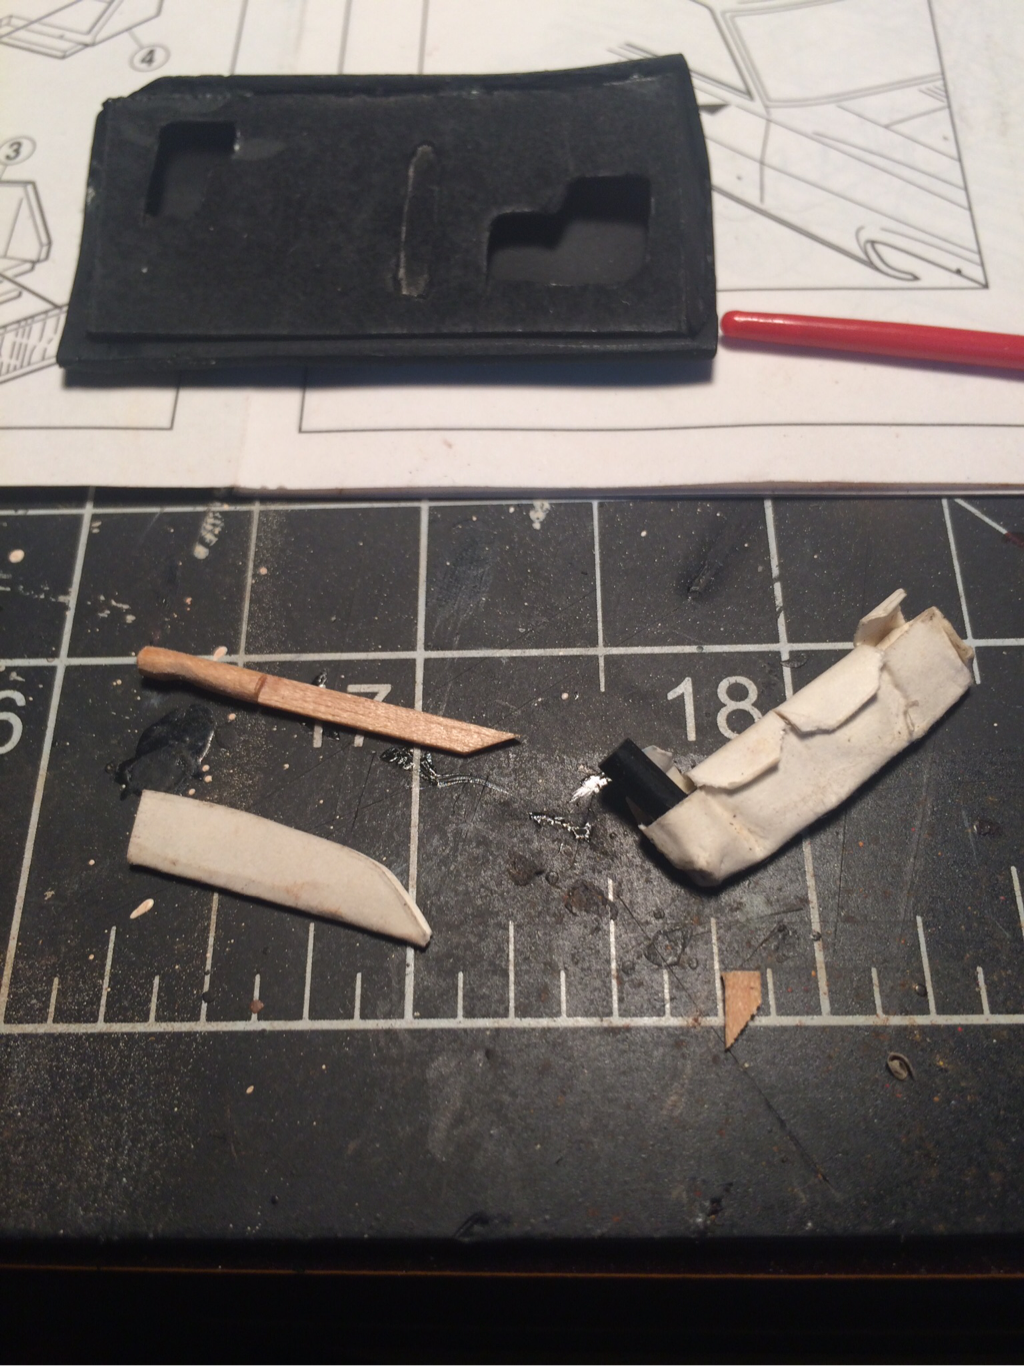
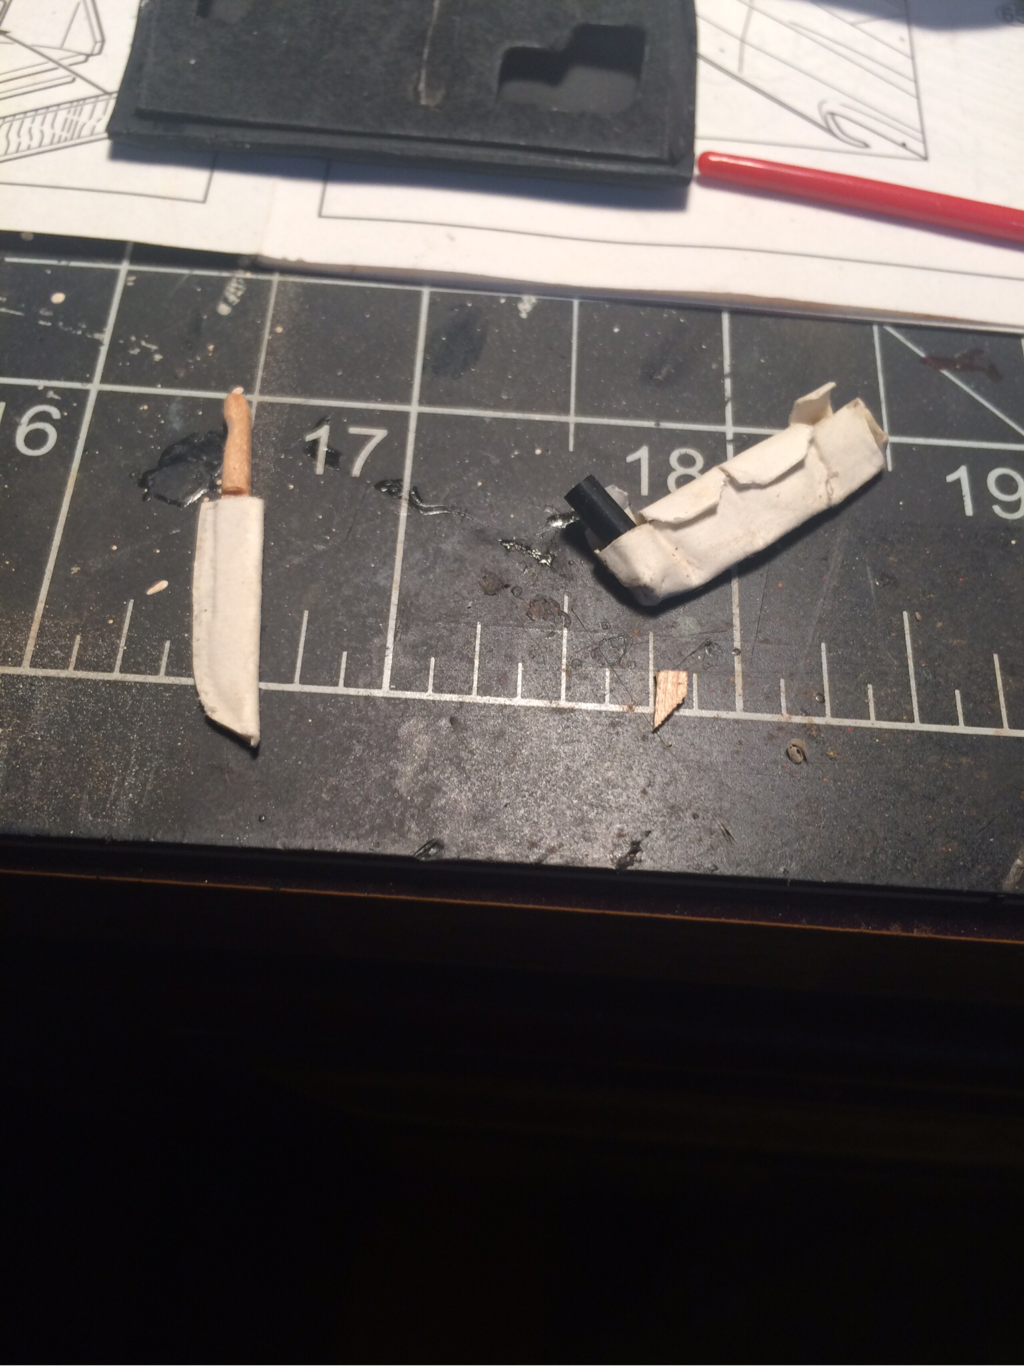
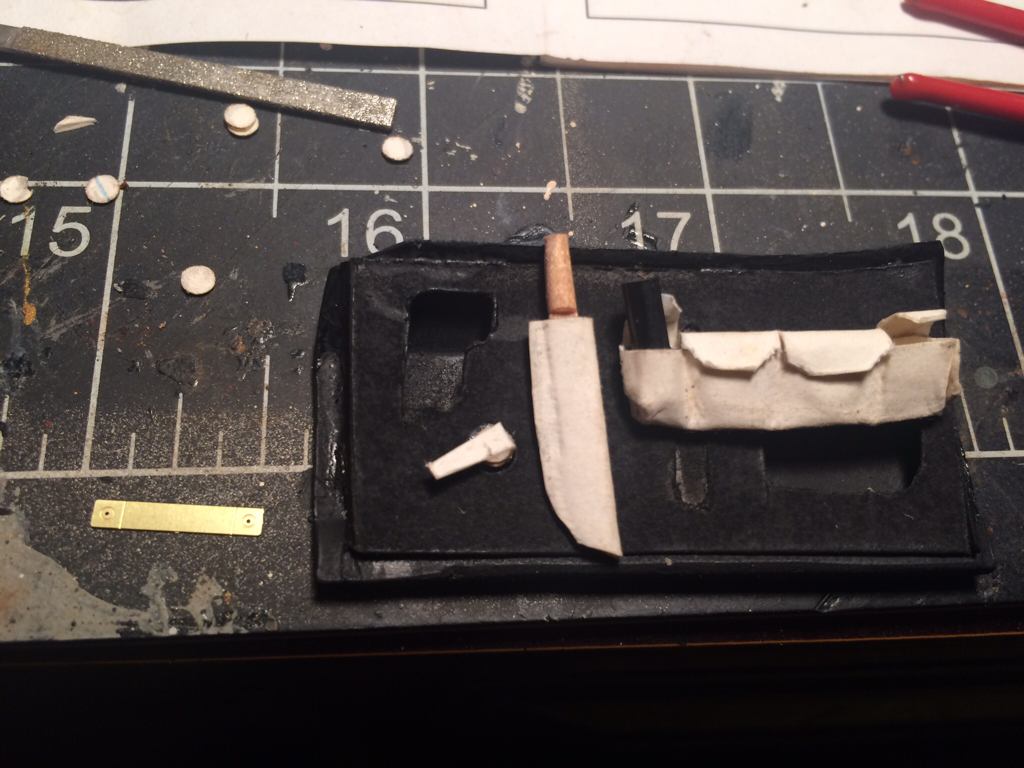
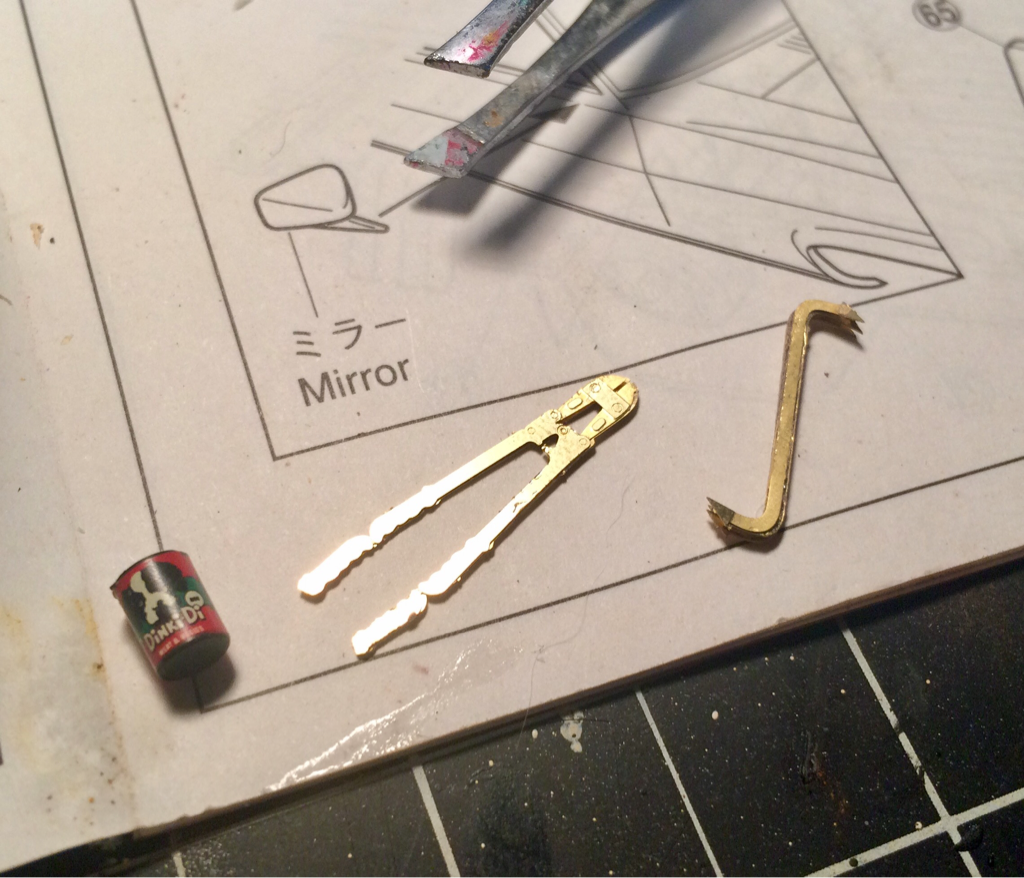
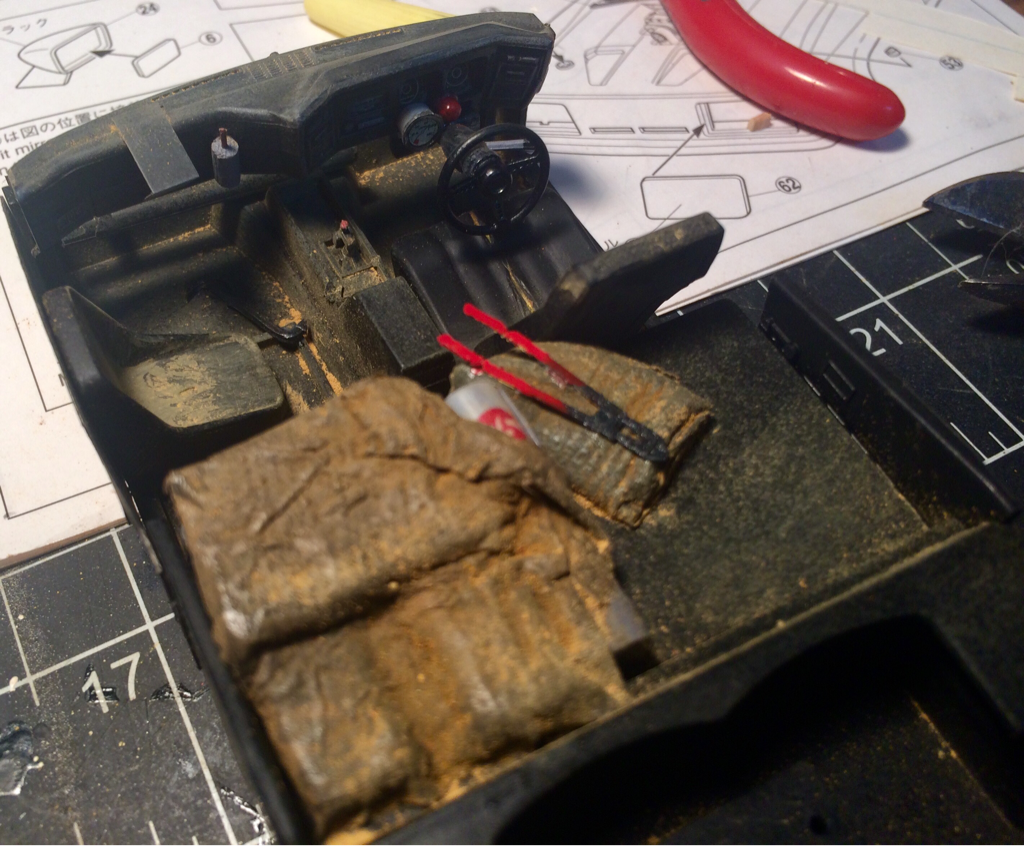
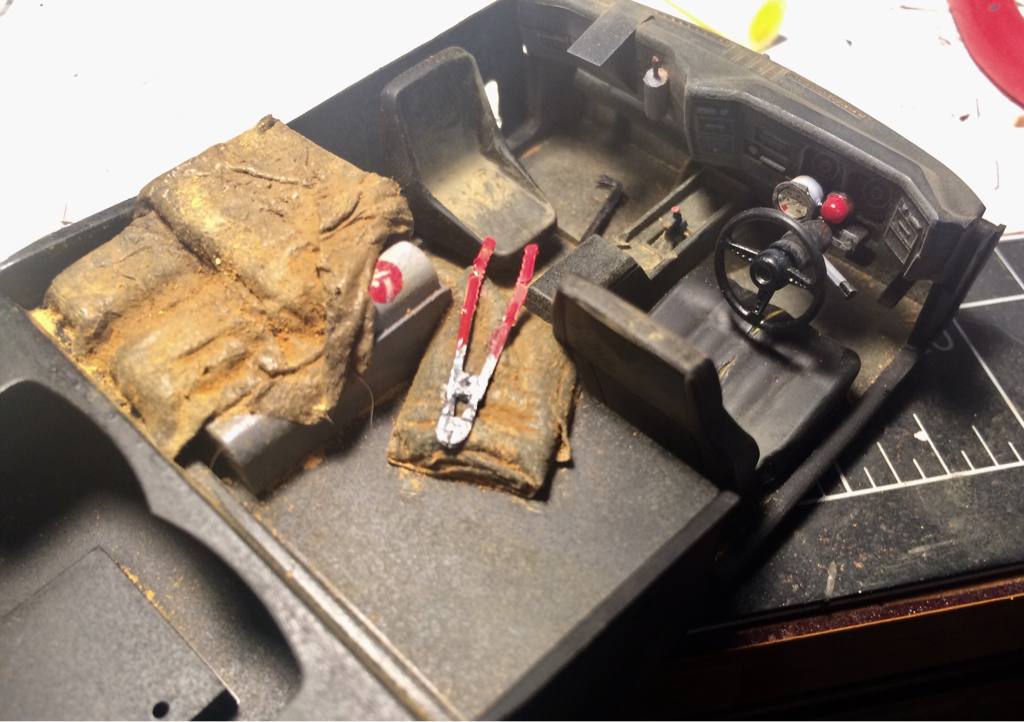
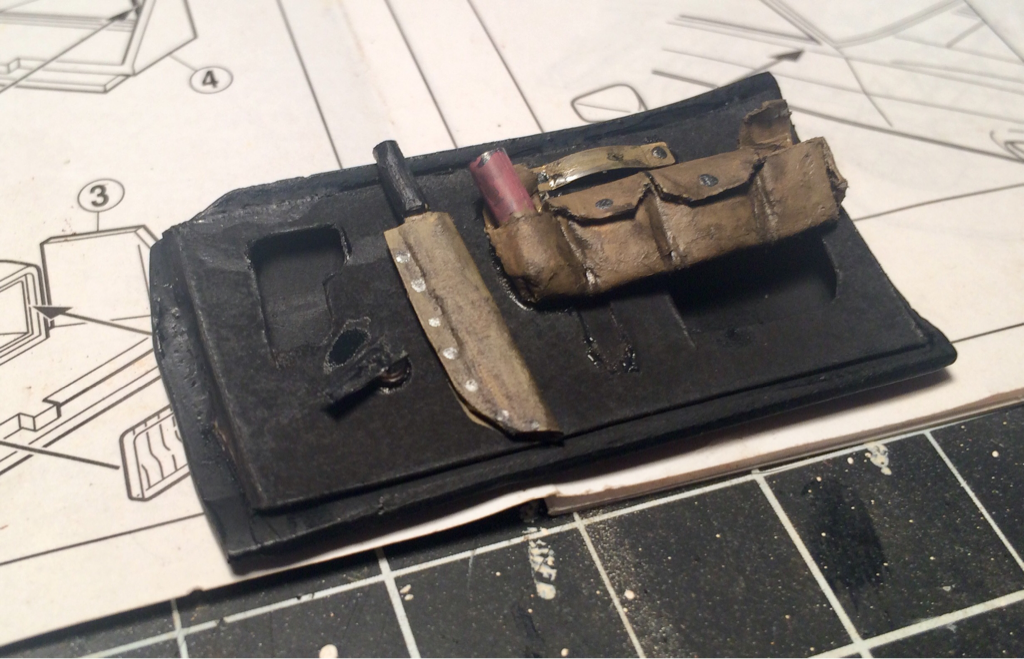
Detailing the driver's door: time to add the doo-dads to the inside of the driver's door. The still shots from the film show that Max has added an ammo bandoleer, a machete and a leather strap/handle to the door in place of the missing inside panel. The bandoleer is made of folded cardstock, as is the machete sheath, the machete itself is carved from a toothpick. The can stuck in the bandoleer is made from an electronic resistor, the leather strap was provided in the photo etched extras, I also scratch build the window crank from cardstock.
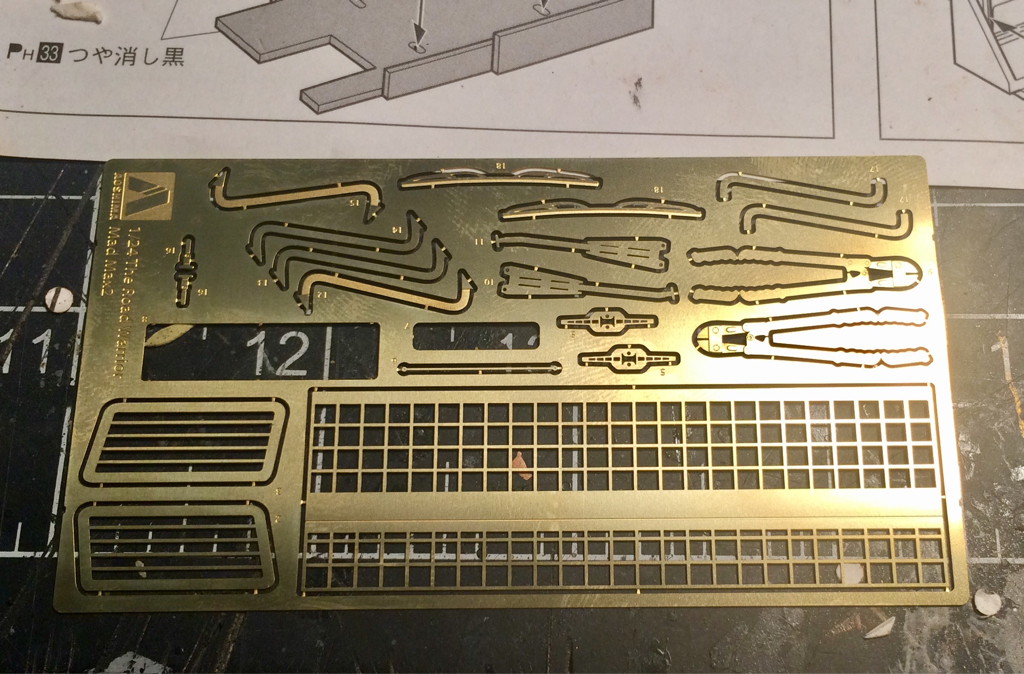
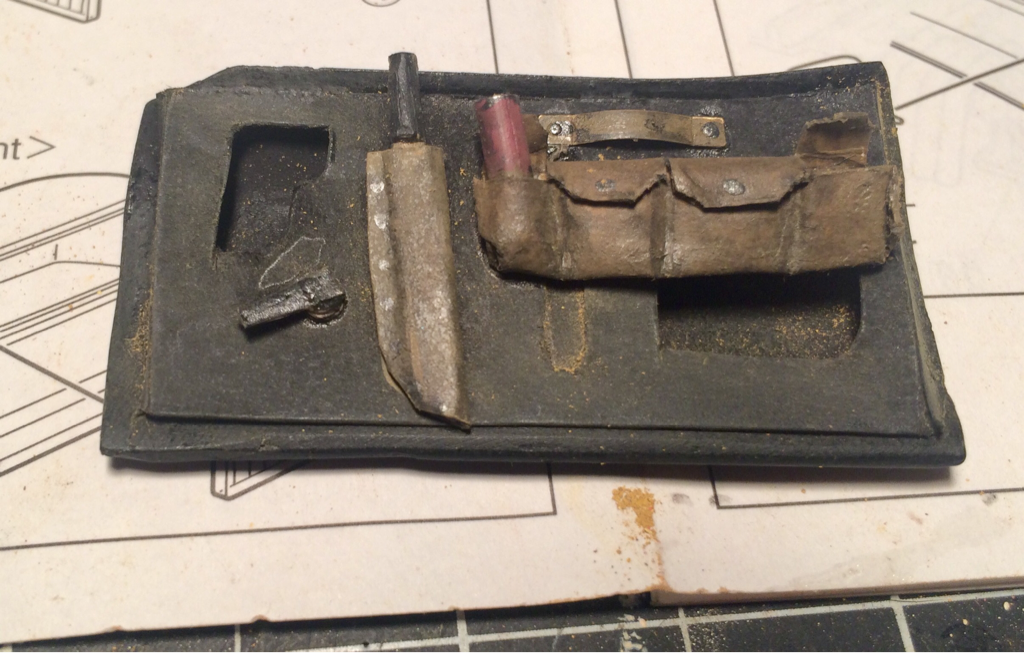
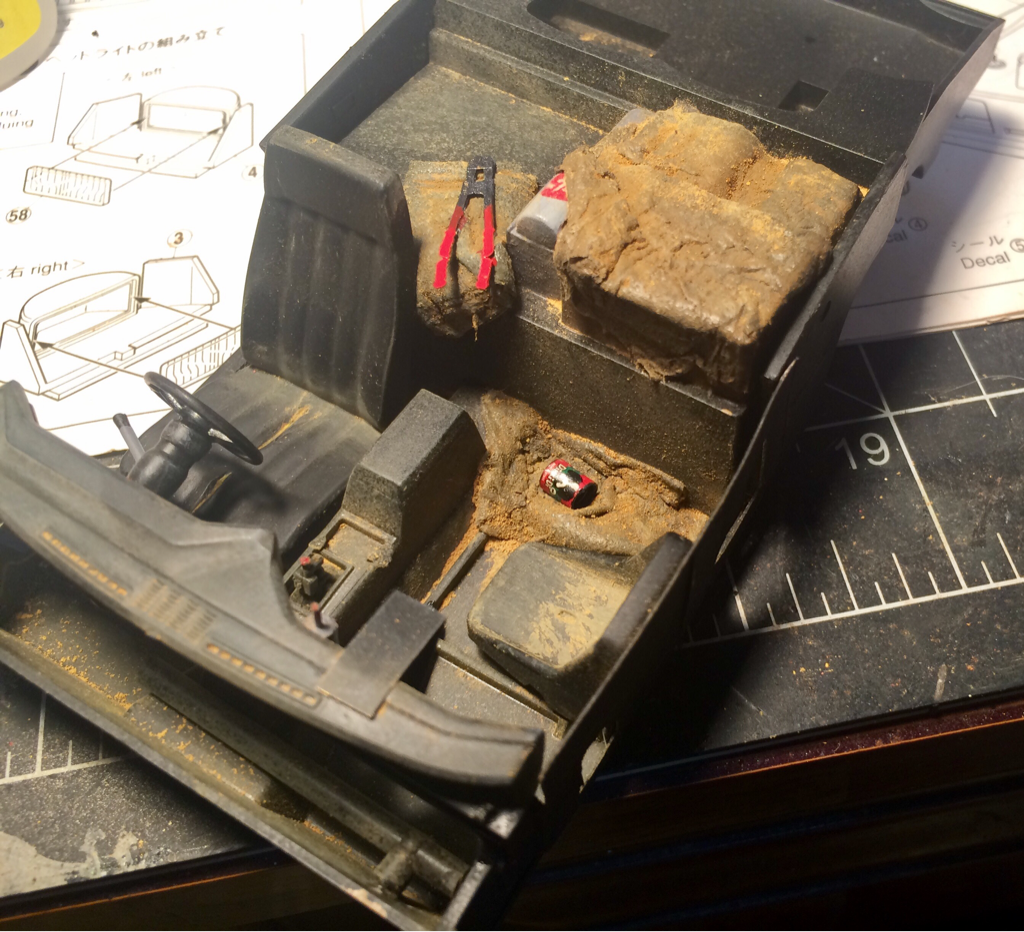
The odds and end from the photo etch set are next to be assembled, they provided a crowbar and some bolt cutters, the crowbar is made up of 6 layers of cutouts. There are really fiddily pieces and take a good deal of patience to assemble, the bolt cutters went together easier there are just 2 sides, finely I added the decal to the DinkiDi can supplied in the original kit.
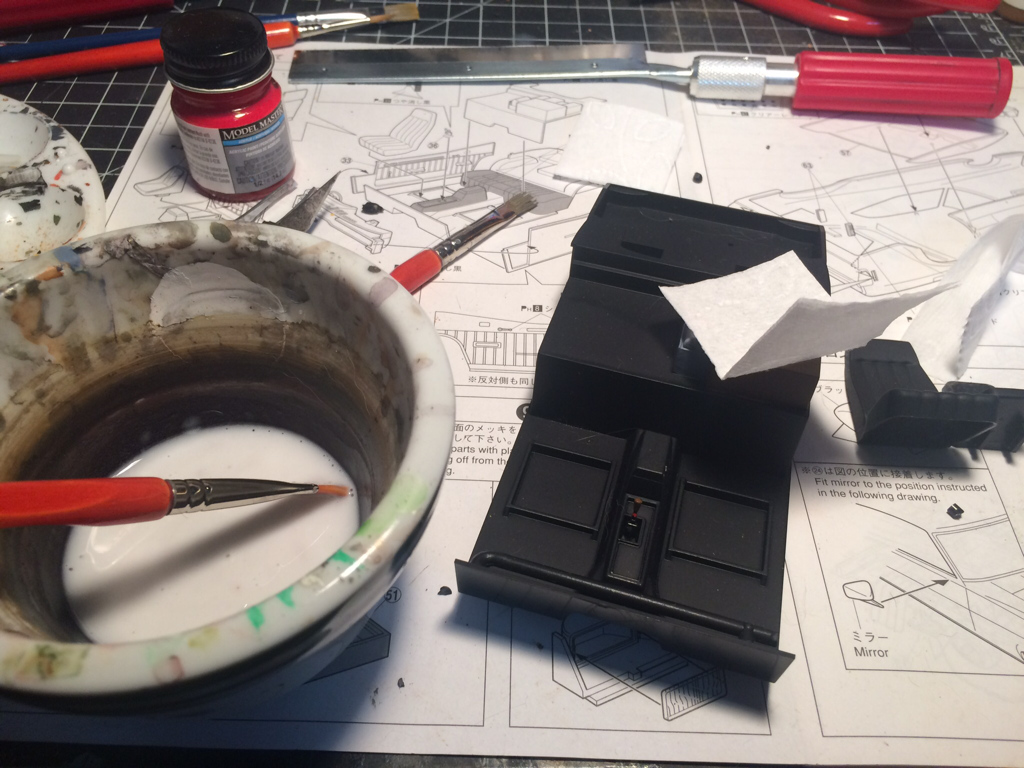
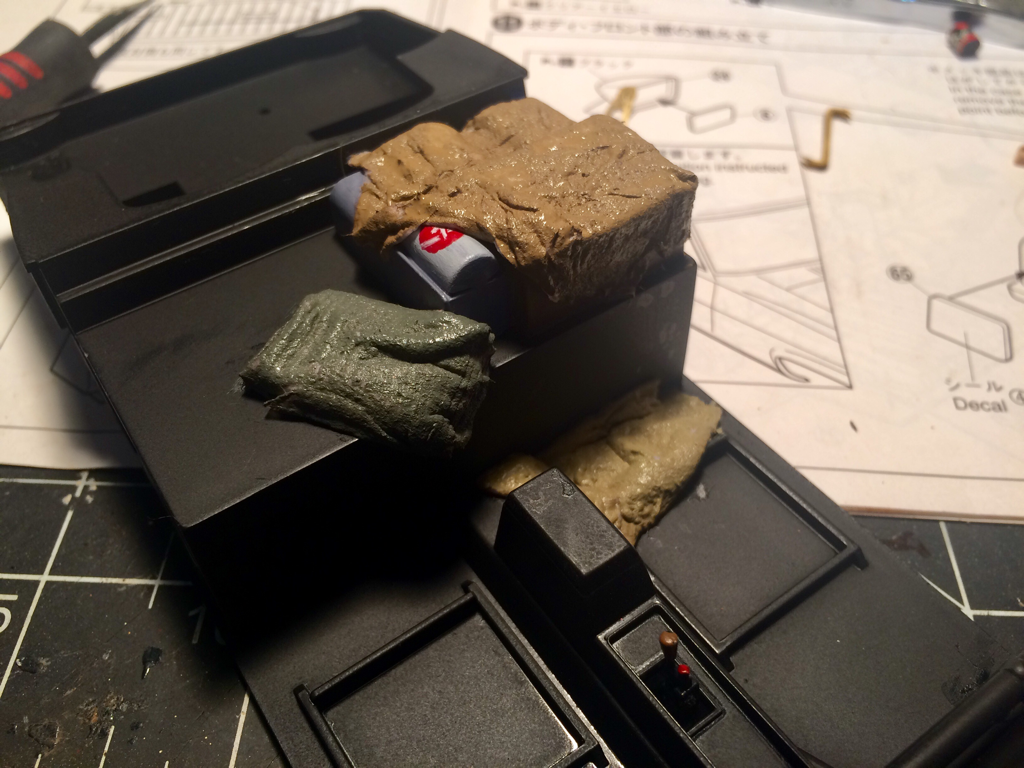
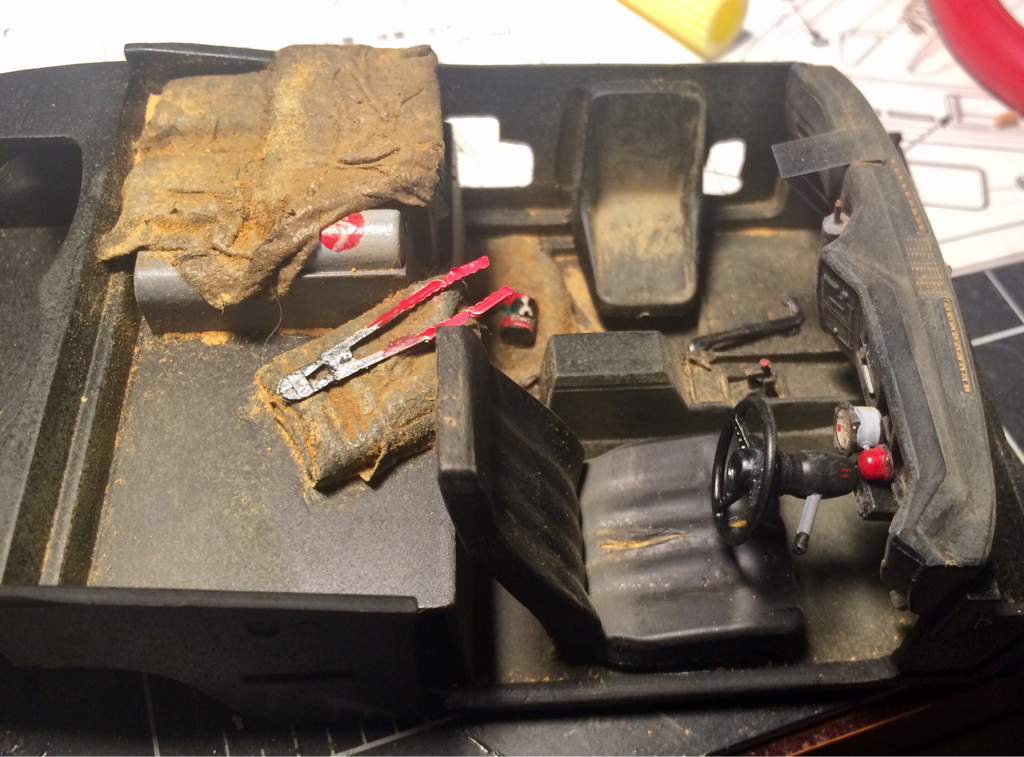
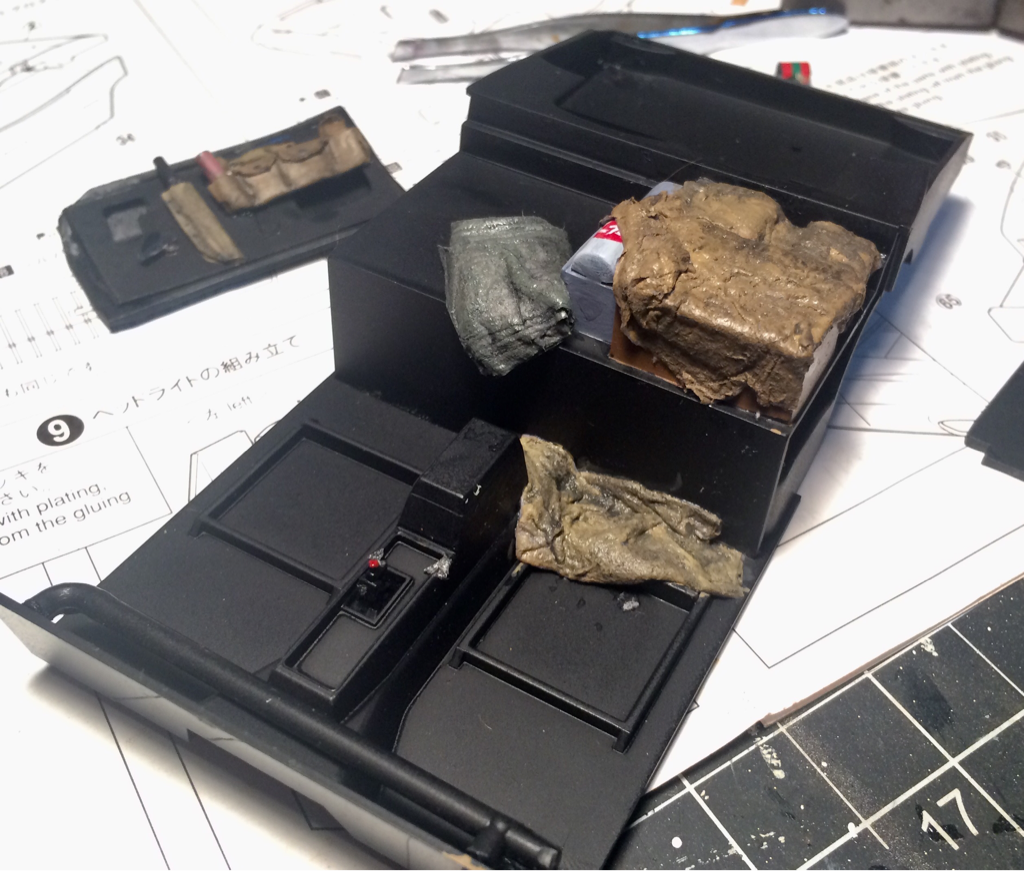
A muddy wash of black and brown inks was painted over the tarps to 'dirty' them up and bring out the creases and folds. A much lighter wash of brown was brushed over the bandoleer and the machete sheath. The passenger door frame piece was attached to the interior tub and dust added, in several stages using the same technique I used to dust the undercarriage and wheels. Several layers of dirt were applied and blown out to make the dirt build up realistic, gathering in deep unused areas and cleaner in other areas. Dog's seat was attached to the passenger's door, the driver's seat installed along with the dashboard and steering wheel. The bolt cutters, crowbar were painted and dropped into place along with the dog food can. A light dusting of dirt was then added to the interior of the driver's door. With that the interior is complete.
Paint time!! Using some kaki, sand brown, and OD Green I painted the tarps. While the traps are drying I painted the base colors on the doo dads on the driver's door. The bandoleer was colored a leather brown, the machete sheath and door strap was painted a slightly lighter leather brown, the can was painter with an orange/red mix, finely the metal studs on the sheath, door strap, the buttons on the bandoleer, and the window crank was painted with gunmetal. 
0 Comments
|
AuthorHi there, I'm Chris and welcome to my workbench. I've been building models since i was 6 or 7 years old. I thought it would be fun to share some of my projects! Archives
May 2017
Categories |


 RSS Feed
