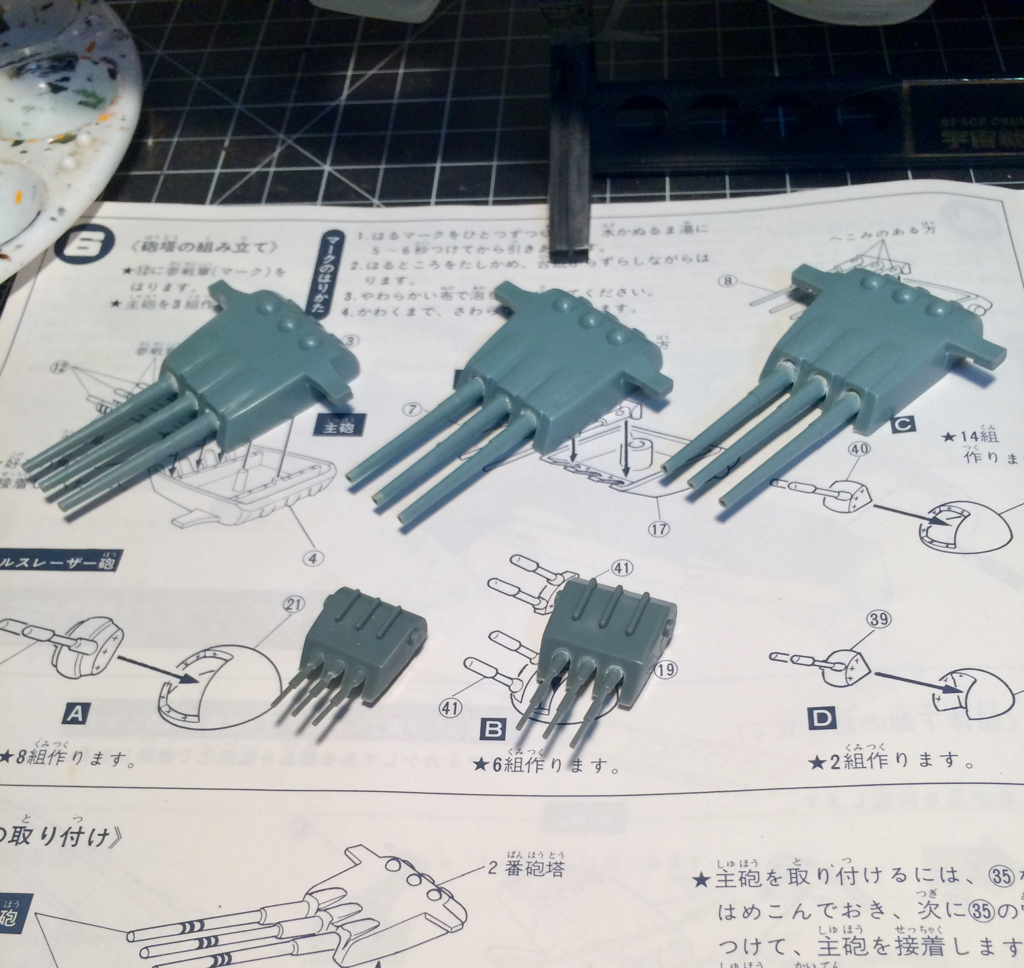
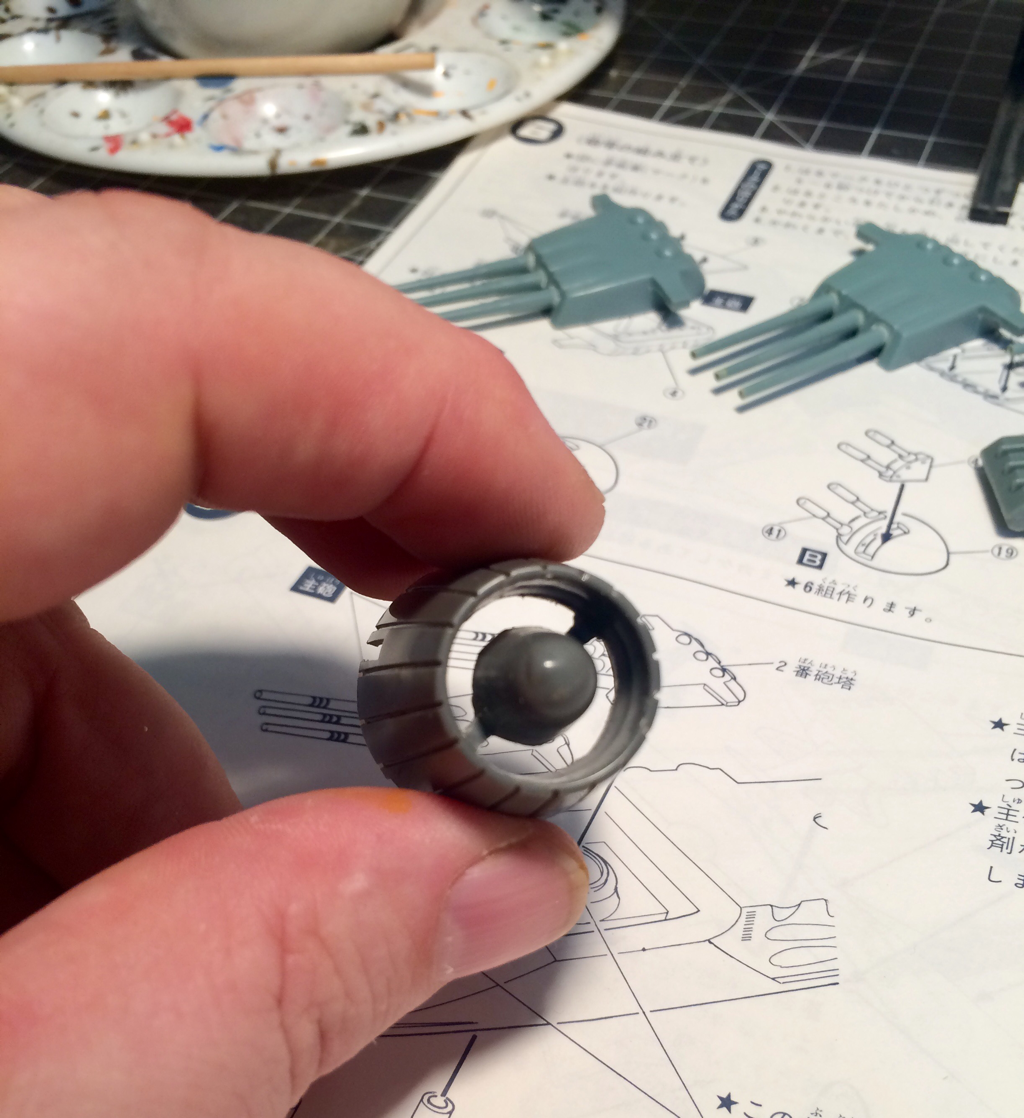
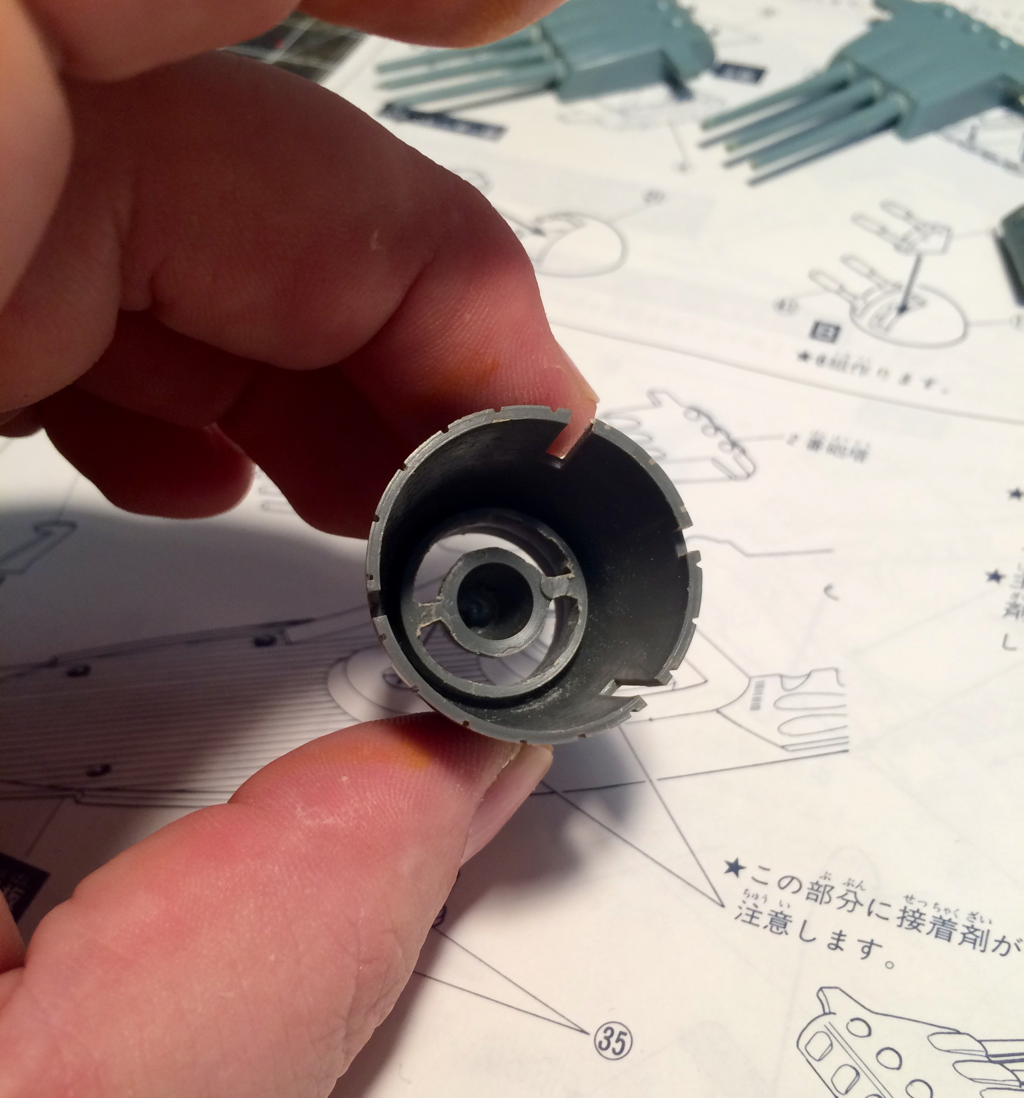
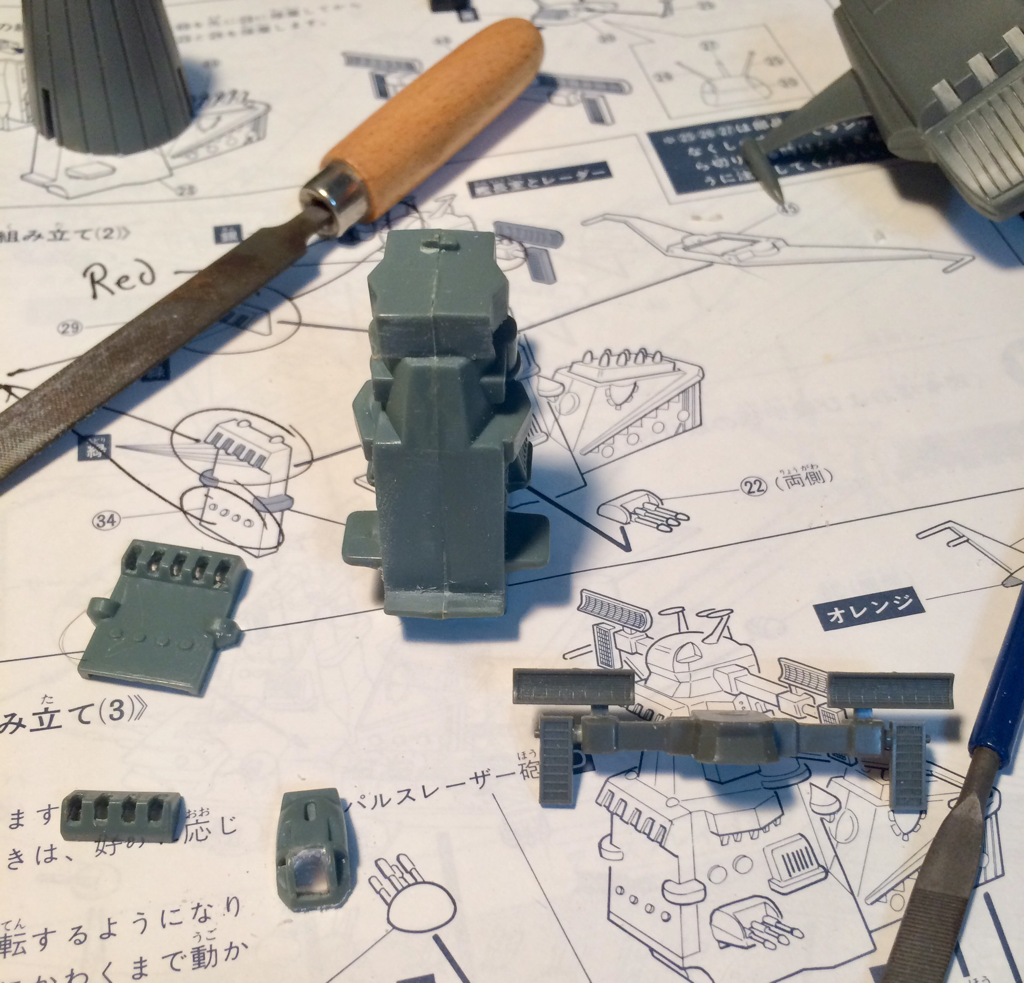
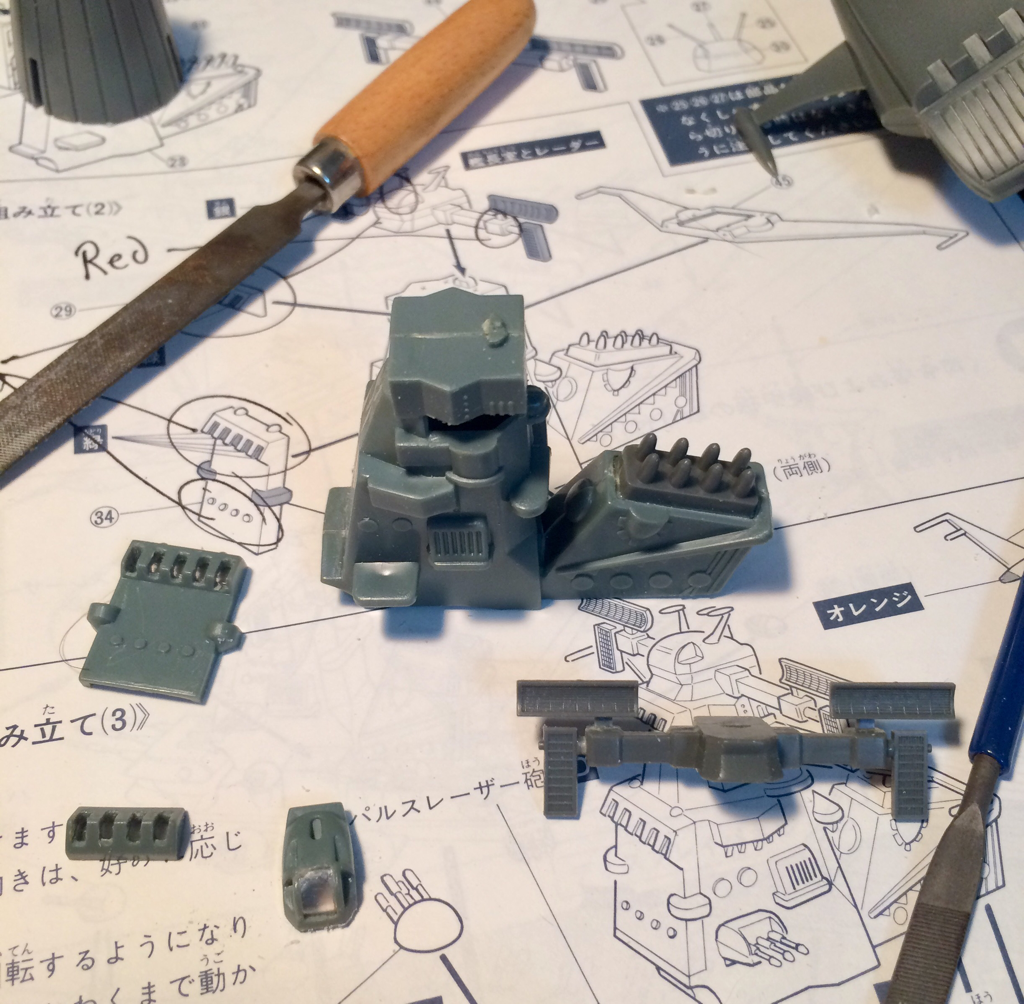
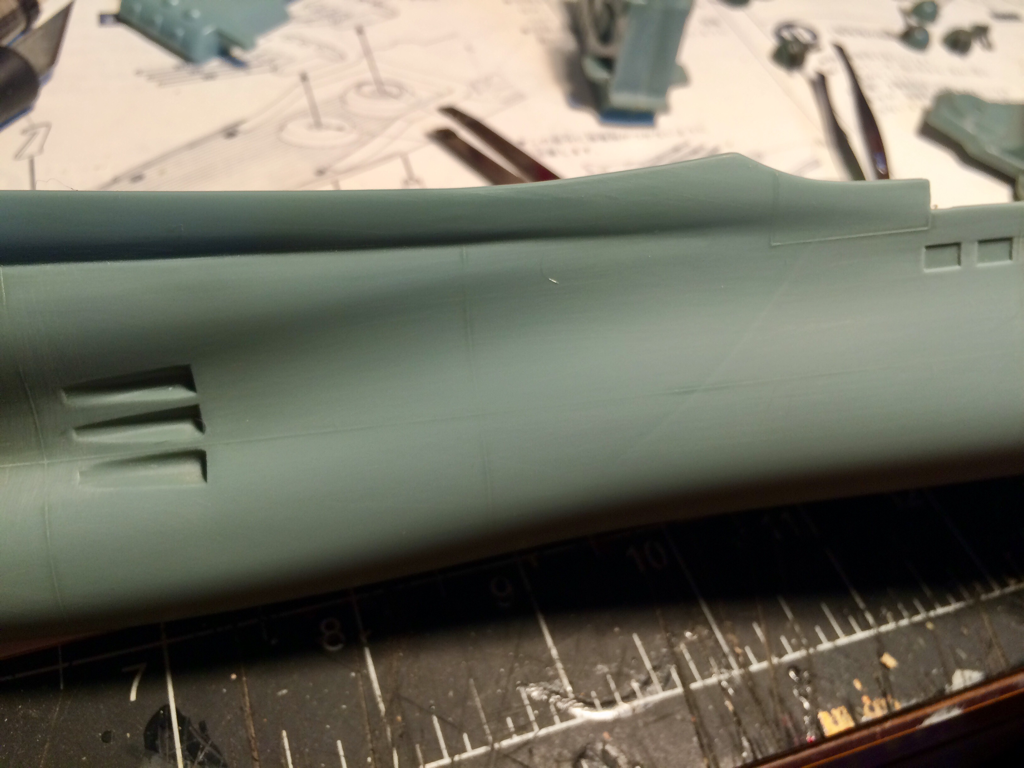
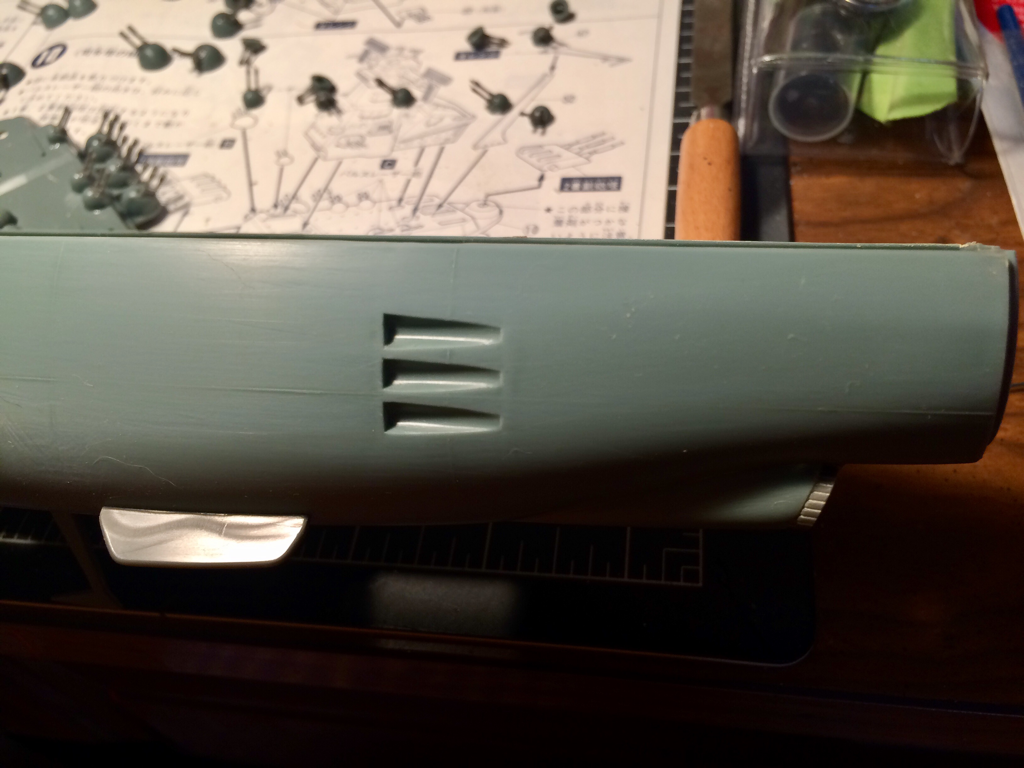
I tend to build my ship models in sections, building up subsections and prepping everything for painting. First the hull. I assembled the hull halves, added filler to the seam and then filled in the wing slots on the port and starboard sides. The Yamato has retractable wings used in atmospheric flight, sometimes, the show is not always consistence on the wing use. So as we’re displaying the Yamato in space the wings are off to the bits-box and the slots filled in. I then sanded all the raised panel lines off hull and smoothed all the filler. I’ll scribe the panel lines back in later. I cut the holes for lighting the windows in the side blisters, added the hull winglets, and blisters, and cut the holes for the secondary engine lights. While the hull was drying enough for me to start sanding and cutting on it, I assembled the main and secondary cannon turrets, if at all possible I’ll be lighting the side wings on the main gun turrets (these have green lights in the show). The main engine was then hollowed out for the lighting effects, I’ll be lining the inside of the engine with foil to better reflect the light for the LEDs.
The Conning tower was then assembled and the windows cut out and backed with clear plastic for the lights to shine through. I bit of sanding was needed to flatten the face of the tower for a good tight fit of the detail panels and the Captain’s tower. The Missile stack was then added, I’ll be detailing these a more later on. I also assembled the second bridge and test fitted it to the hull.
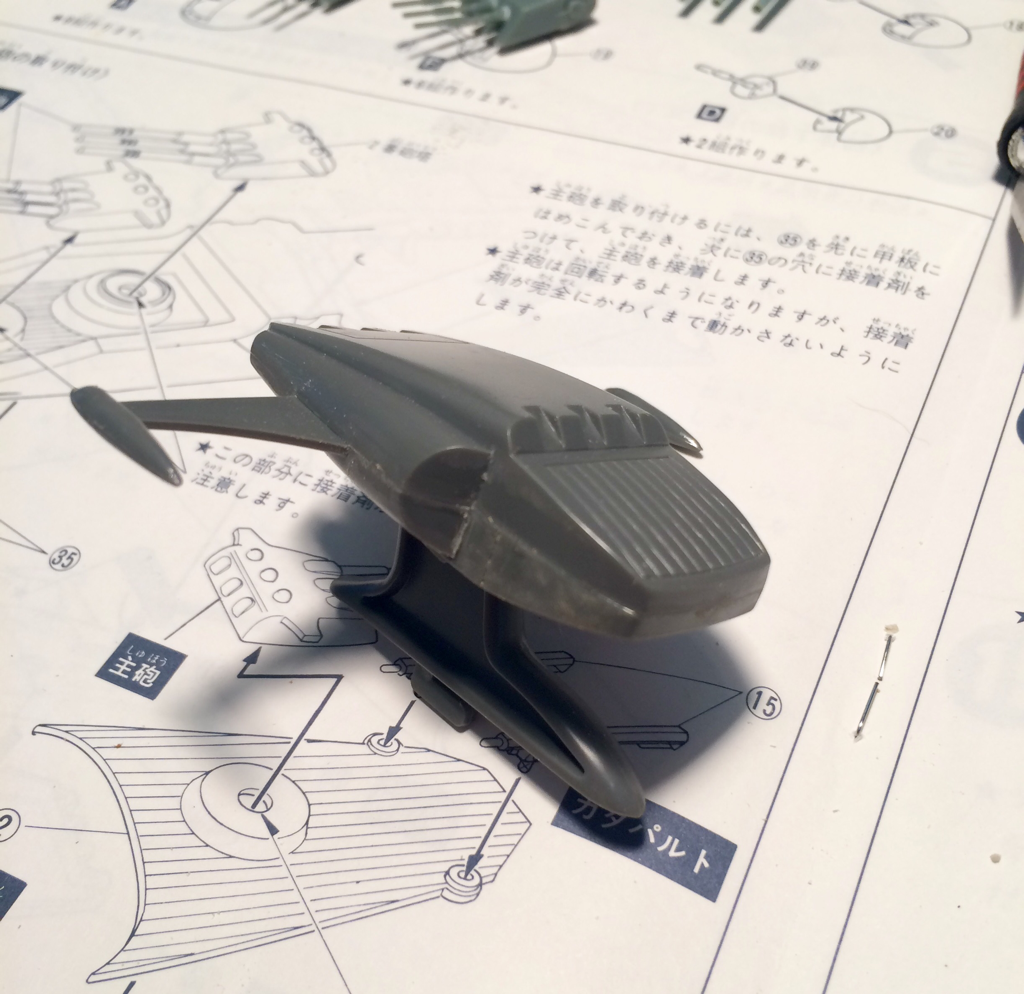
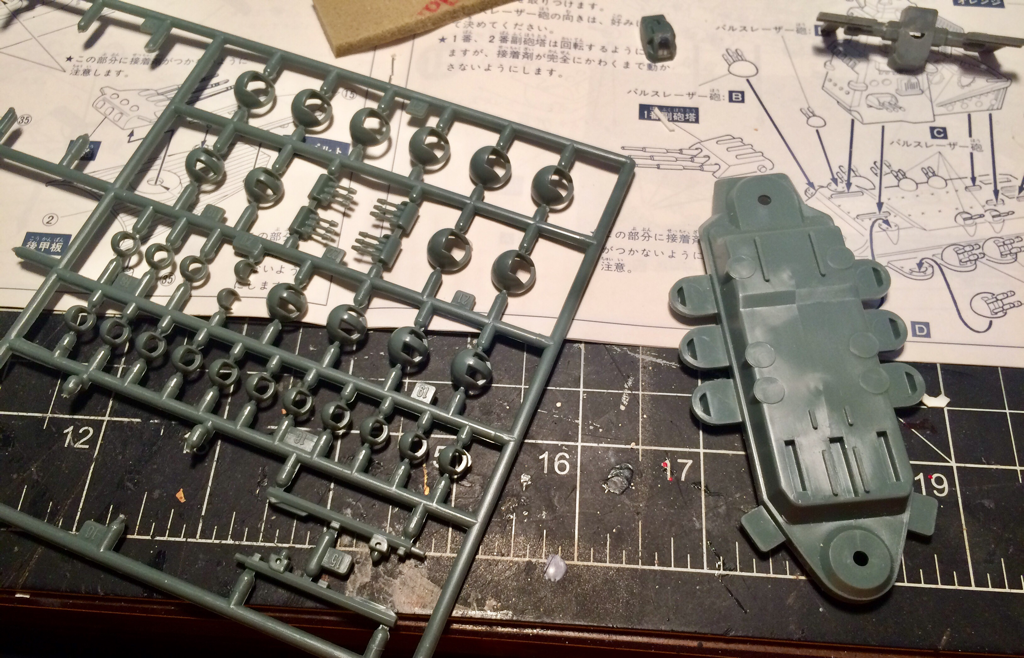
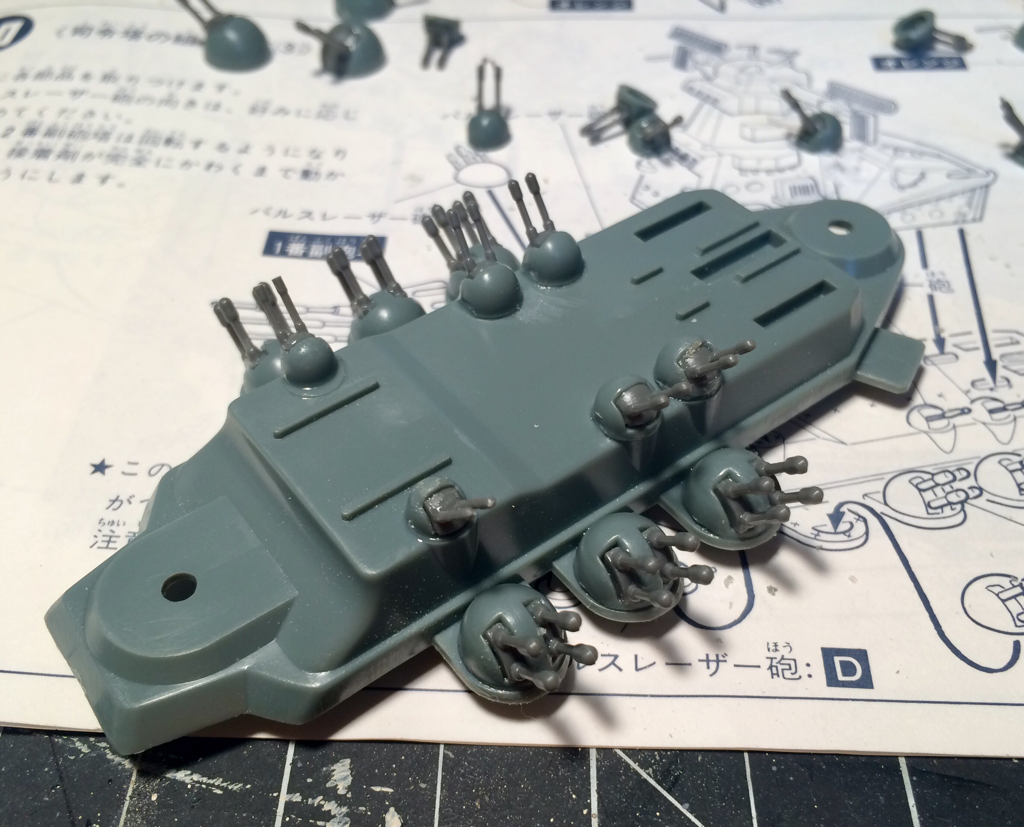
With the hull dry and sanded I cut out the landing/launch platform for the stern lower hanger. This will have the lower hatch extended with the inside of the hanger lit. However I slipped up a little, I over cut the opening and had to add a sliver of plastic back and add filler to correct my mistake. As the fix was drying I worked on the lowered launch platform, this was made from the removed piece of the hull with some styrene sheet added. I cut the retracting arms and attached them, then checked to make sure the fighter fit. I then cut the hanger box this will be the interior of the hanger, the inner walls will be covered with some artwork made on Photoshop. The hull need a little more filler in some places, so it’s STILL drying… Okay fine! I’ll work on the anti-aircraft batteries. There are a lot of these little buggers, but I got them all together and added them to the conning tower deck.
A final sanding of the hull and all the panel lines are gone, the seams are smoothed and the filler all cleaned up. I’m still debating on drilling out the torpedo tubes but I will be scribing in the blast vents for each tube.
Okay that’s all for now… I’ll need to set up for the lighting next!!!
So until next time, Keep Building!
0 Comments
|
AuthorHi there, I'm Chris and welcome to my workbench. I've been building models since i was 6 or 7 years old. I thought it would be fun to share some of my projects! Archives
May 2017
Categories |
 RSS Feed
