|
Welcome back! Well last time we finished up working on the hull, so the hull assembled and painted I started out by painting up the deck, the gunnels, and finishing up the deck-house. I started out with a base deck color on medium brown lightened with a little tan on both the main deck and on the deck-house roof and details. I then added a light wash of brown ink followed by a light dry brushing of tan to pick out some details. Next the deck-house was added to the deck and some more clean-up was completed. The deck hold cover was added to the deck and painted the say way the deck was, the deck-house ladder was installed, and the stern swan head was painted and mounted in place. I also painted up the carving on the bow with a light slate blue. F inely the skiff was painted and added to the hold cover. (I'll be adding some extra details like a folded mast, sail, and oars inside the skiff. The last piece for tonight was the addition and painting of the main mast and the bowsprit. I had to cut the mast mounting pin as the flag molded to the mast would have been pointing backwards. On a vessel propelled by the wind the banner at the mast head should be blowing to the forward of the ship not the aft. The main mast finial was painted brass and the mast stays were painted a dark brown. Well next up will be the rigging and the sails, so stay tuned!
Until next time, Keep Building!
0 Comments
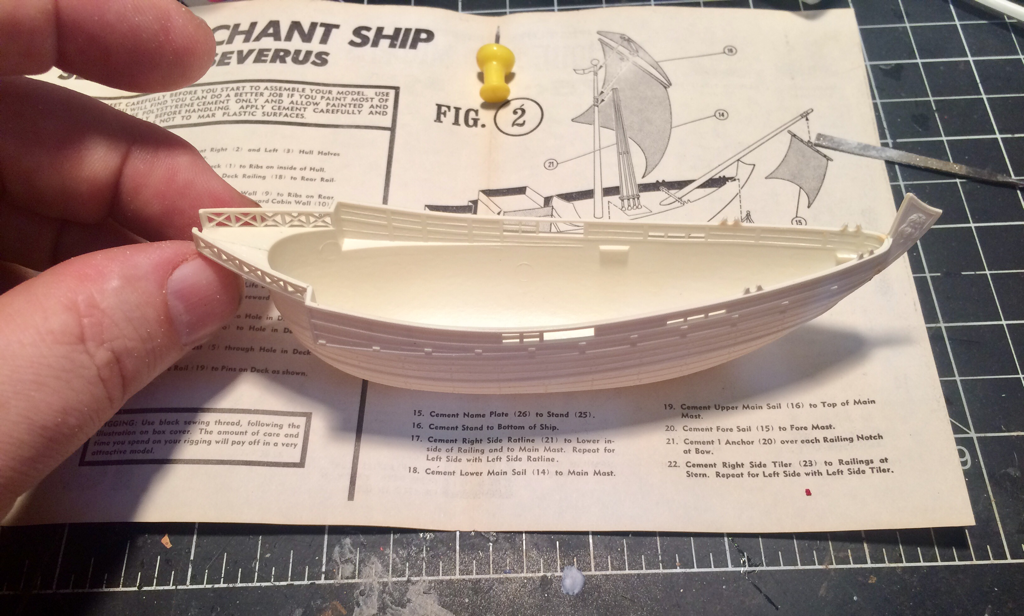
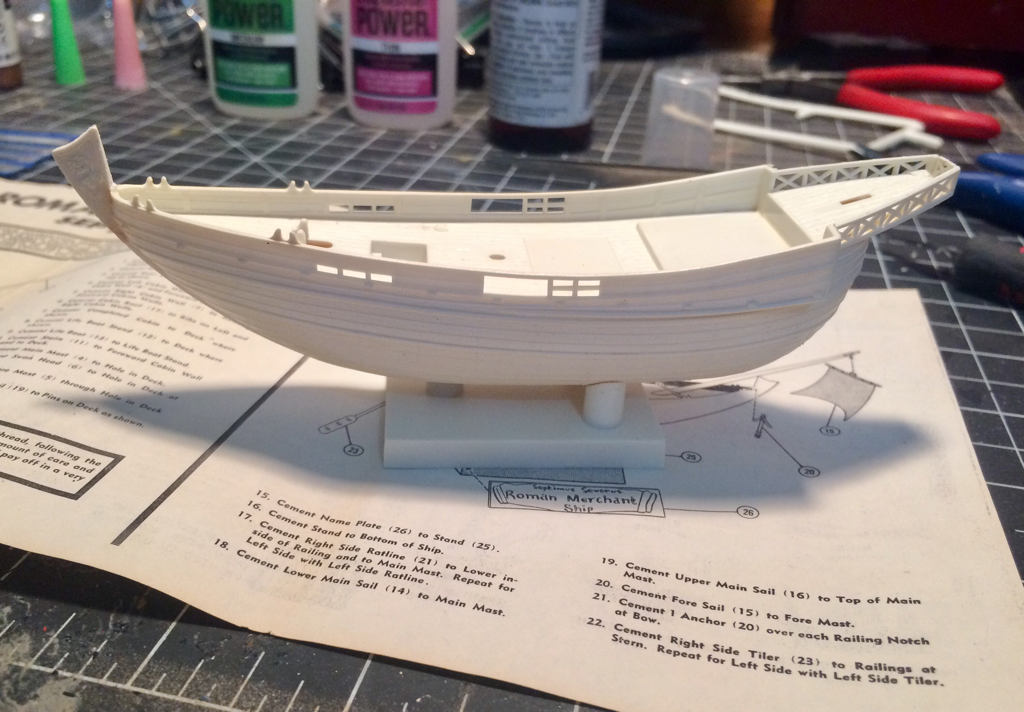
Okay I'll admit that title was a real reach for a joke. ;) Okay my next project is a Roman Merchant Ship by PYRO models. this kit is from 1967 so this kit is 2 years older than me! The Kit is completely molded in white and a bit brittle plastic (likely due to age) not a whole lot of pieces but some very nice detail. The wood boards are all molded on the hull the decking planks are clear, it even comes with thread for the rigging. It's a really nice kit. The instructions are very simple, just an exploded view with no color chart. Step one the hull: the hull halves fit together rally nicely with almost no seam, and a little sanding cleaned that up. The deck fits tightly into the hull with very little fuss, the tiny square of deck railing was a little fiddly but set into place nicely.
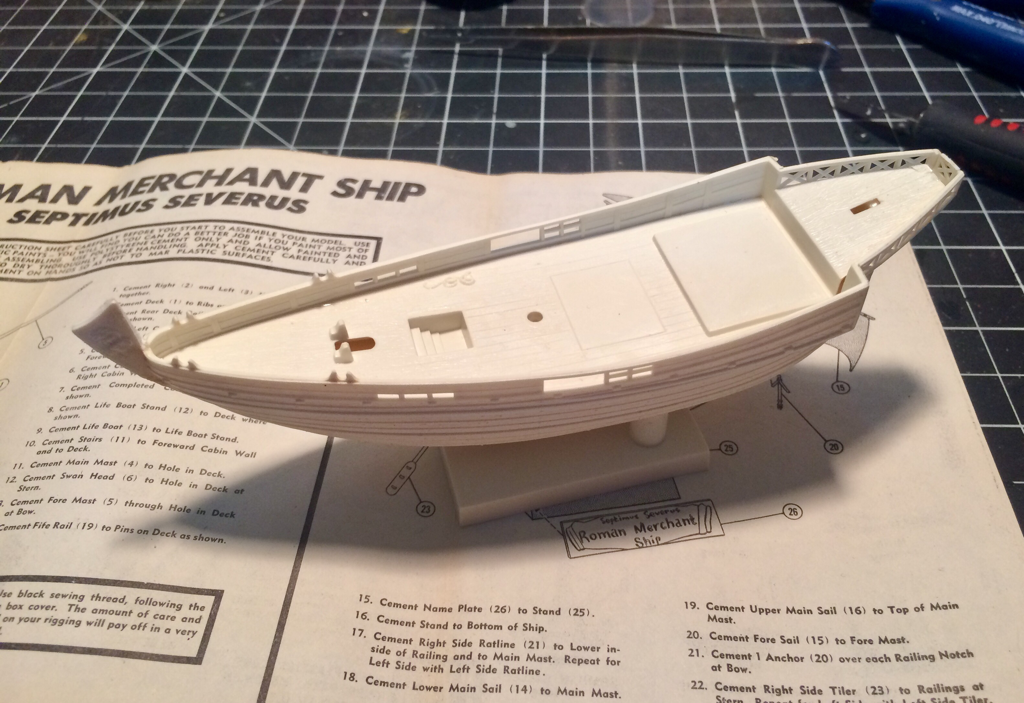
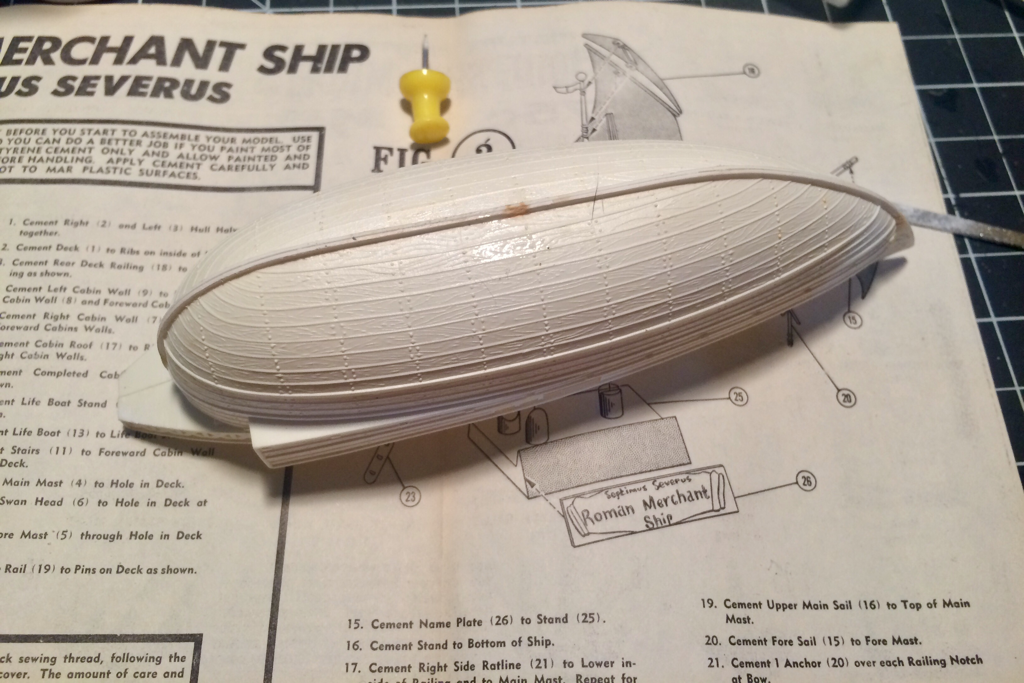
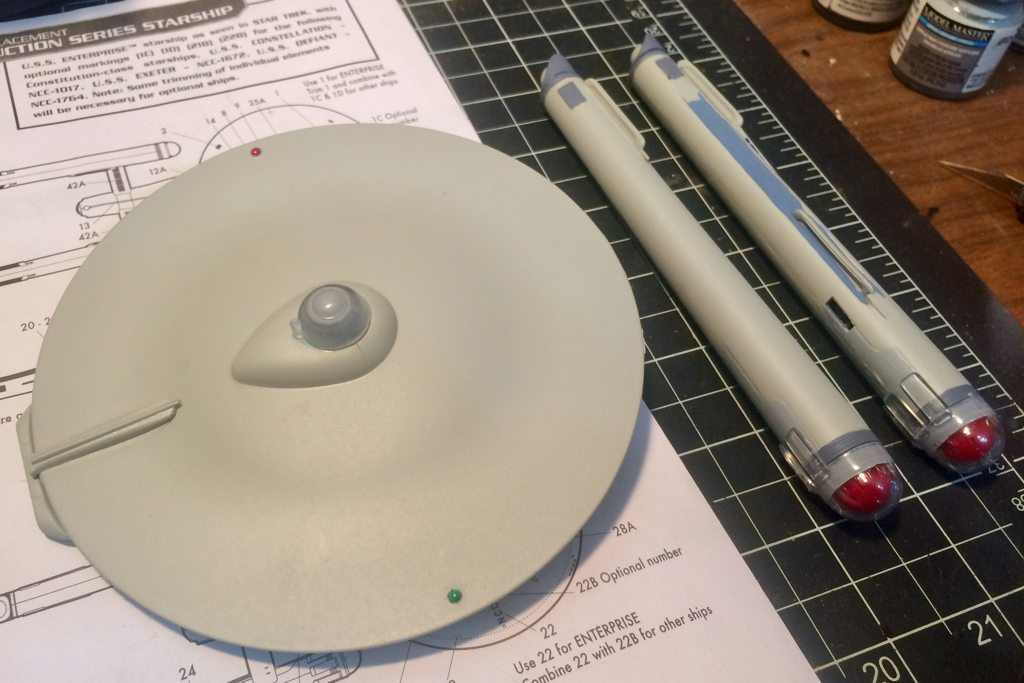
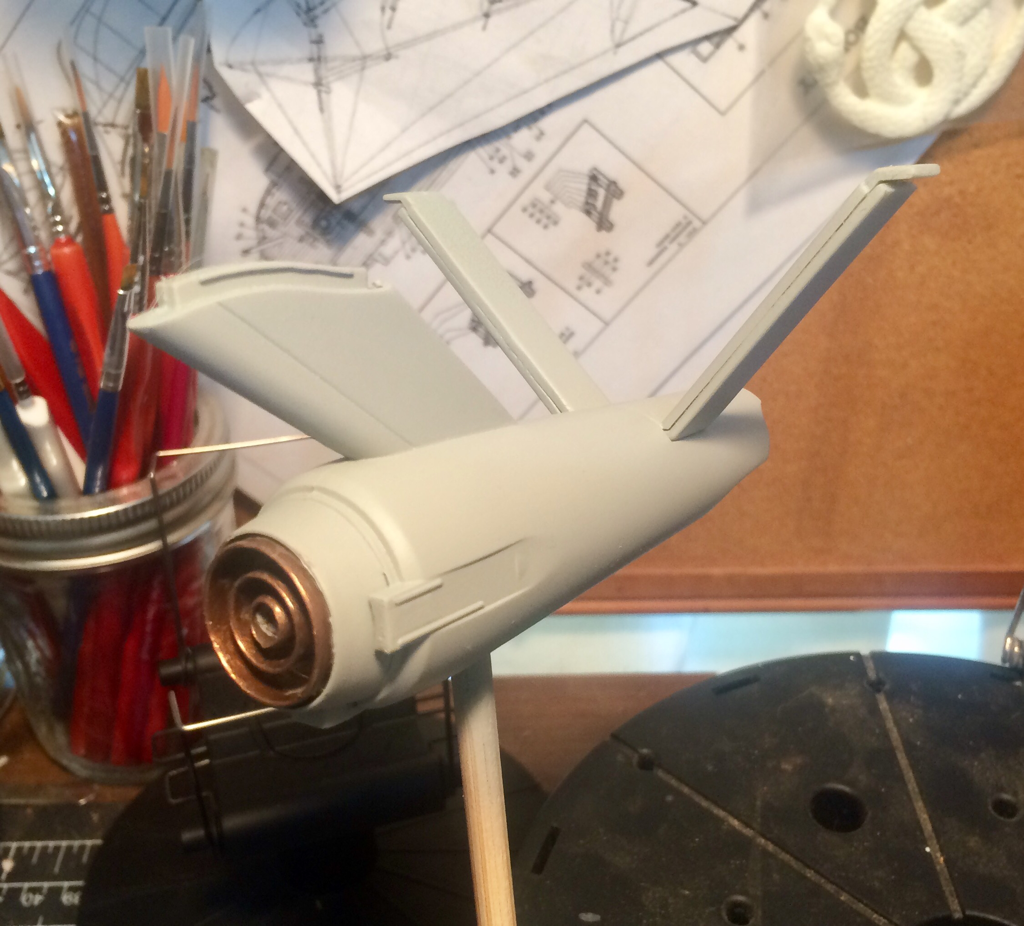
The first paint coat was a basic medium brown, while that dried I put together the deck-house sub assembly. With the hull dry I gave it a quick wash of brown ink, and painted the deck-house with a gold yellow. I dry-brushed the lower hull with a light brown to pick out some detail, then painted up the upper hull with a flat black and blue. I then painted the cill boards on the upper hull the same yellow as the deck-house. I'll set that all aside to dry before adding a light wash over the whole outer hull. So until next time. Keep Building!! My plans for this build is to paint it up with just some basic wood tones and a little color, like blue and yellow for accent. The one other change I think I'll make are the rat-lines (the rigging that braces the main mast to the hull) these are molded in plastic and are way too thick, so I'll use heavy thread and recreate that rigging. Step one the hull: the hull halves fit together rally nicely with almost no seam, and a little sanding cleaned that up. The deck fits tightly into the hull with very little fuss, the tiny square of deck railing was a little fiddly but set into place nicely. With the new basecoat dry (and looking much better than the unpainted surface) I repainted the details onto the nacelles and saucer section the secondary hull got a little touch up paint and the main sensor array got a good coat of copper.
The USS Enterprise is finished.
The finished product! The USS Enterprise encounters the SS Botany Bay in Space Seed. Wow! Two posts in a week! Not too bad... okay the next project will be unboxed soon.
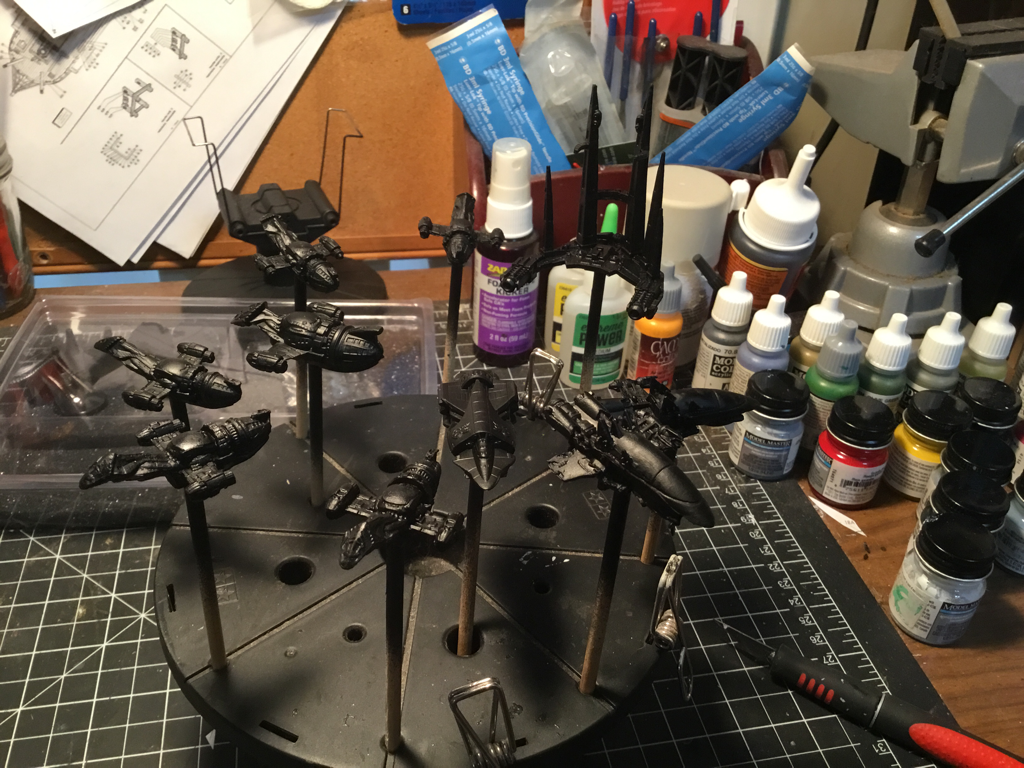
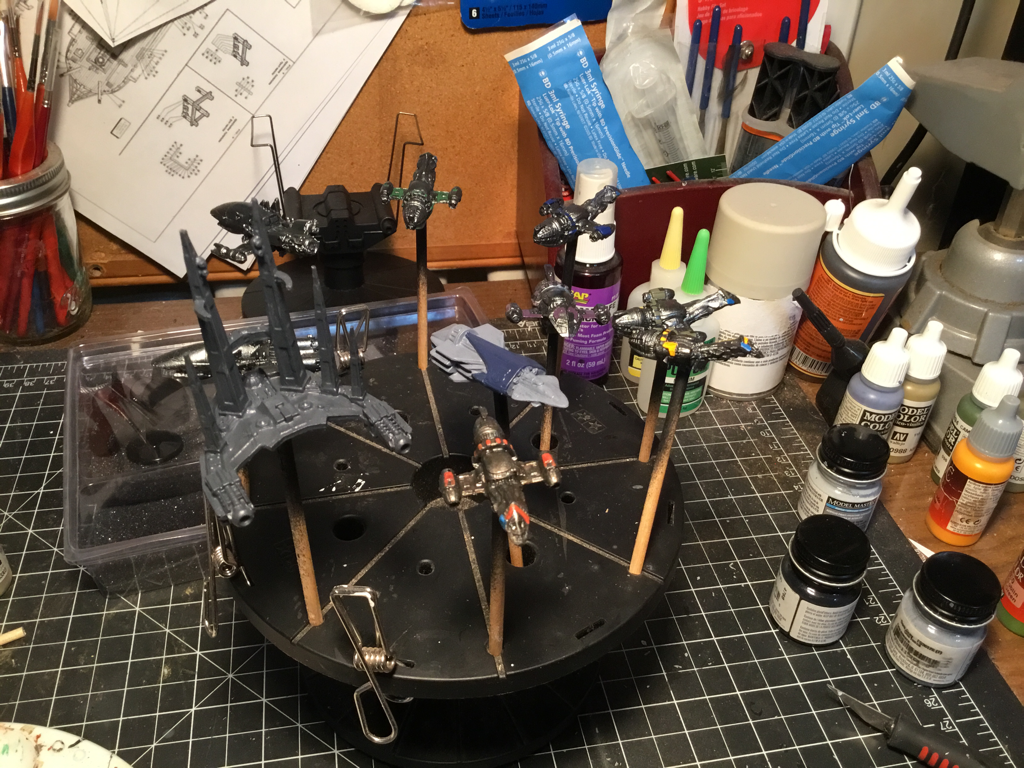
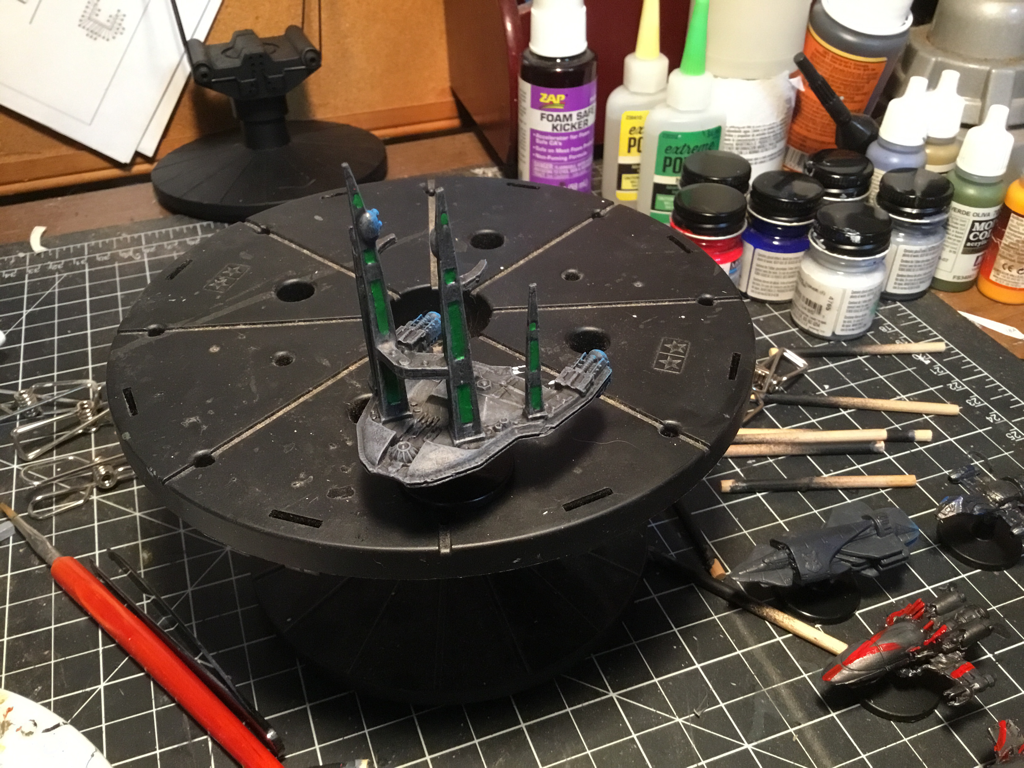
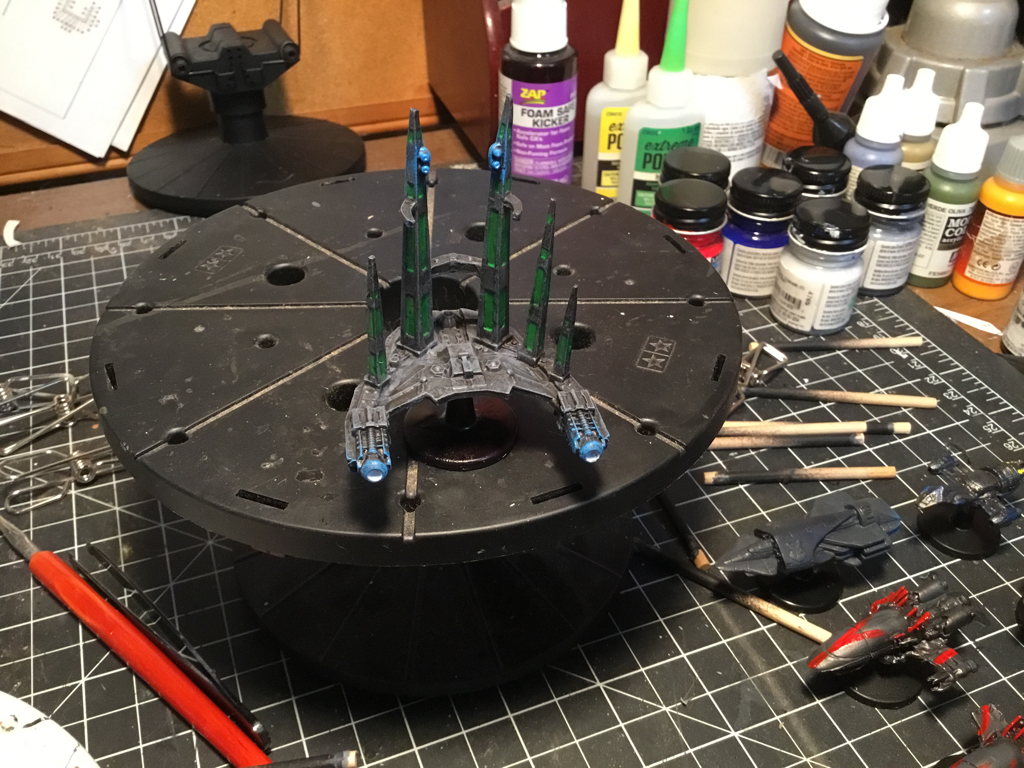
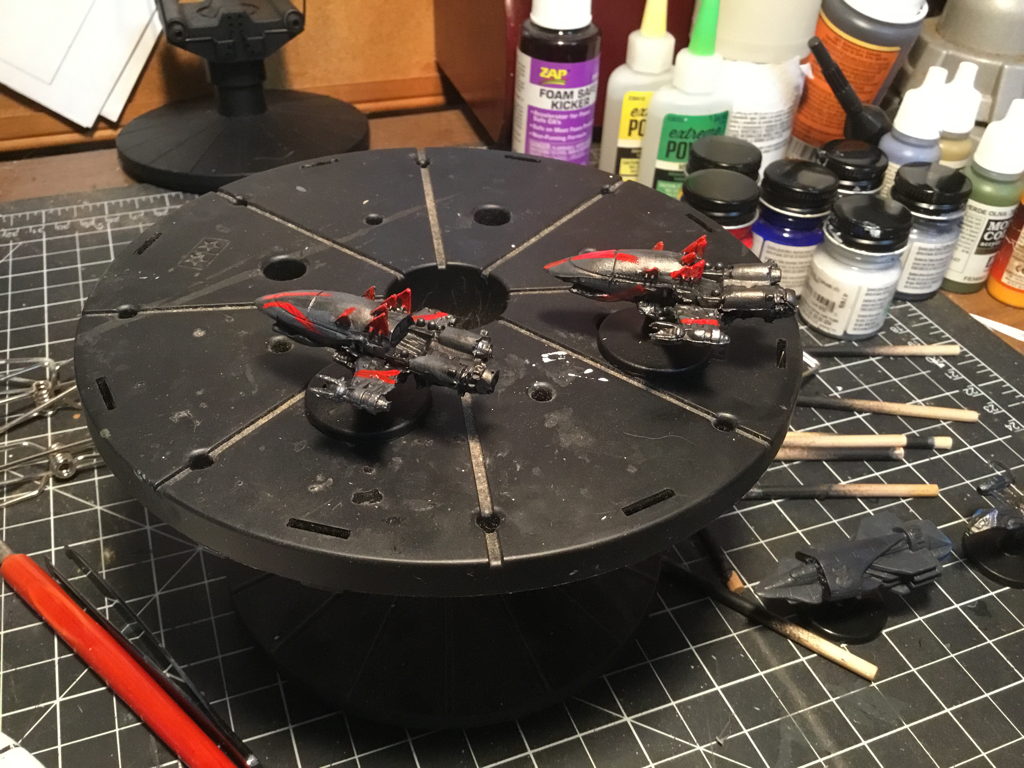
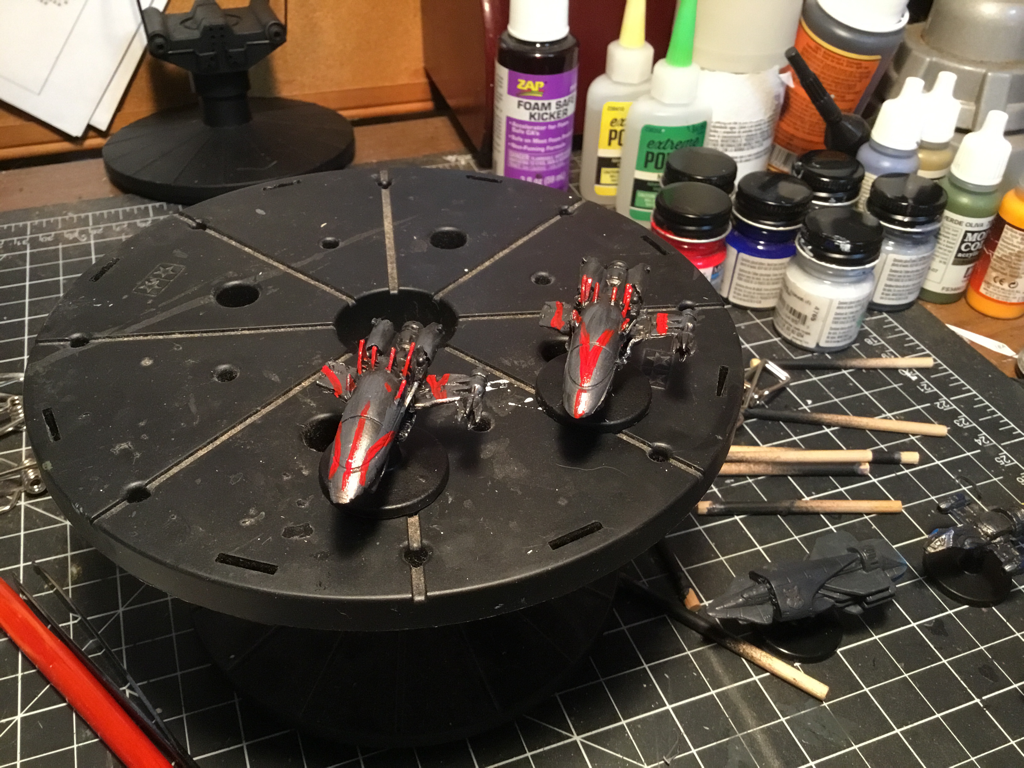
So until next time, Keep Building! Okay while the Enterprise is drying and knowing that I'm having a Game Night coming up, I took some time to get my game pieces in order. Okay, yes, I'm a Geek I own it totally, I love gaming too and lately the Firefly board game is a favorite. Well my lovely wife/enabler gave me the Customizable Ship Models & Esmeralda expansion and a friend got me the Jetwash expansion for Christmas. So since my paints are already out... 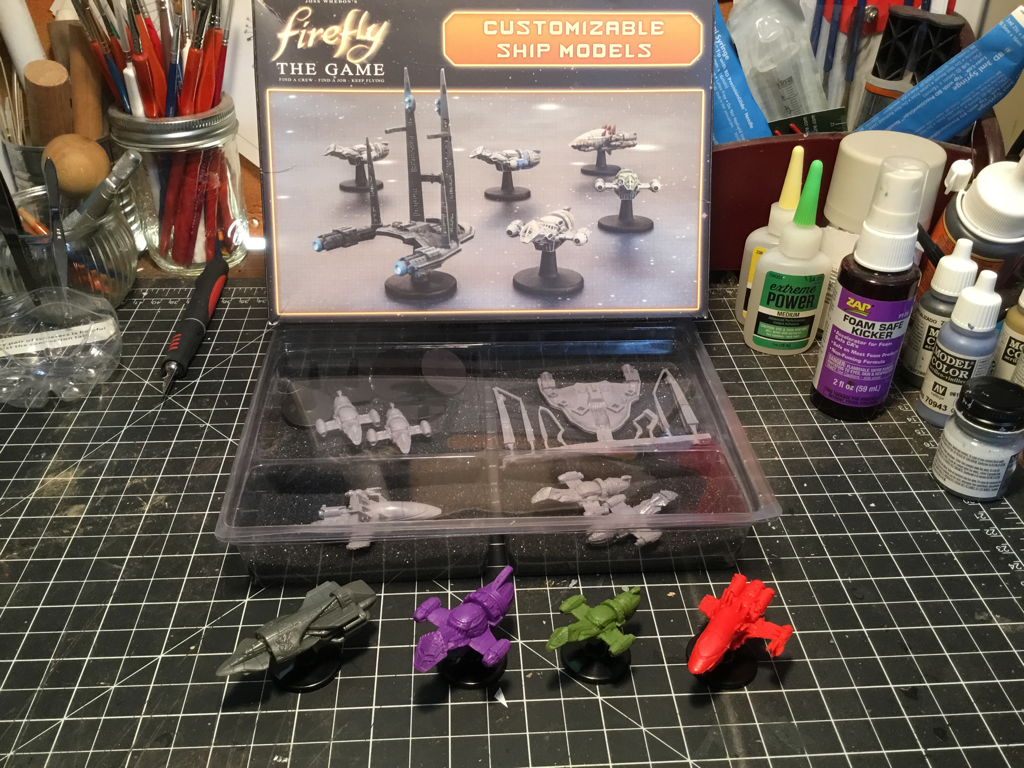 First a quick note, the models are resin and NEED to be washed before painting. I use just dish soap and warm water. This removed any residual release agent used when molding the pieces. The soft plastic pieces from the game need to be buffed lightly with some fine-grit sandpaper. We start everything off with a good base coat of flat black, the next step was to fill in all the basic colors Gunmetal for the bodies of the Firefly class ships, light gray for the Alliance Operative's Corvette and dark gray for the Alliance Tohoka-class cruiser. (See I told you I was a geek). I then added in the accent colors to denote the game pieces: green, bright green, yellow, blue, purple, and orange for the Firefly ships, and a deep purple for the corvette.
This was followed up with an overall wash of black ink followed by dry-brushing and final detailing.
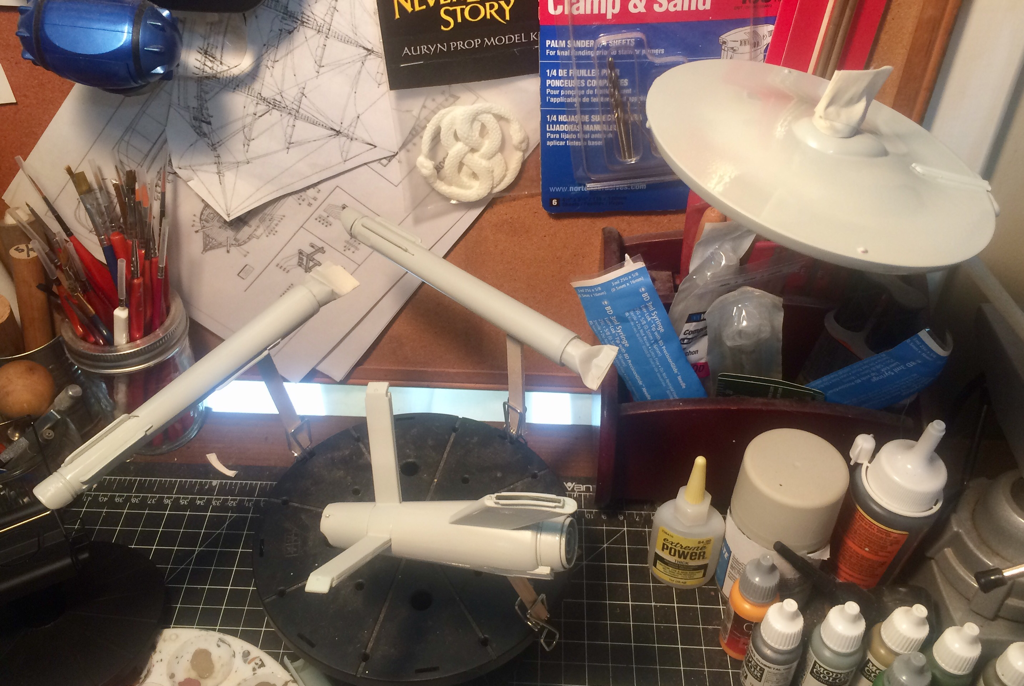
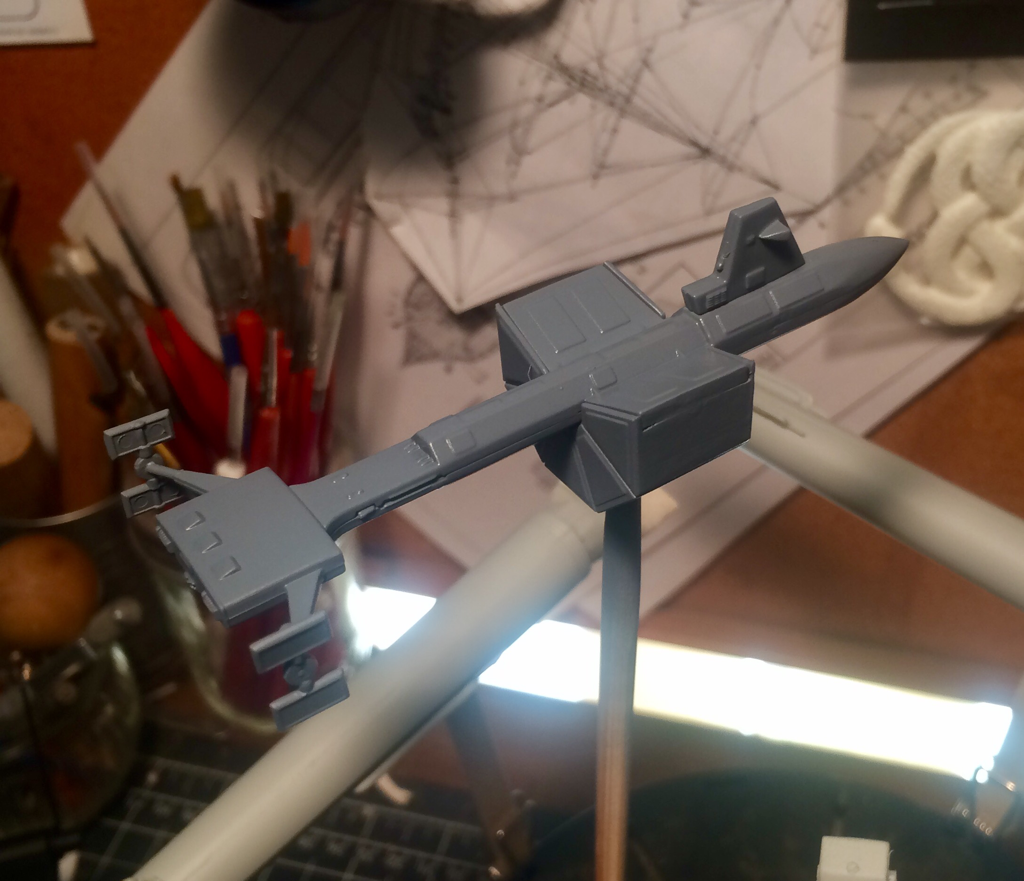
The next Issue I ran into was my kit came with the parts to build 2 left side nacelles for the production version of the kit. So I had to fudge a bit and use the nacelle pieces for the Mirror Universe/2nd Pilot version of the ship this means some details on the nacelles that should be there for the production version are not going to be present, but that's okay. I painted up the nacelles as directed with the dark and light grays and the colors for the inside of the clear parts. A quick note here, the clear parts are really good quality in this kit, very crisp, clean, and sturdy. The nacelles were then assembled. And set aside.
|
AuthorHi there, I'm Chris and welcome to my workbench. I've been building models since i was 6 or 7 years old. I thought it would be fun to share some of my projects! Archives
May 2017
Categories |

 RSS Feed
