|
Well we're heading into the final stretch of this build. This post is all about the engine panels, the painting was pretty straight forward a lot of dry brushing on the engines and panel painting on the hull piece that separated the left and right engine pods. This didn't turn out as well as I would have liked so I will be re painting those panels before further assembly 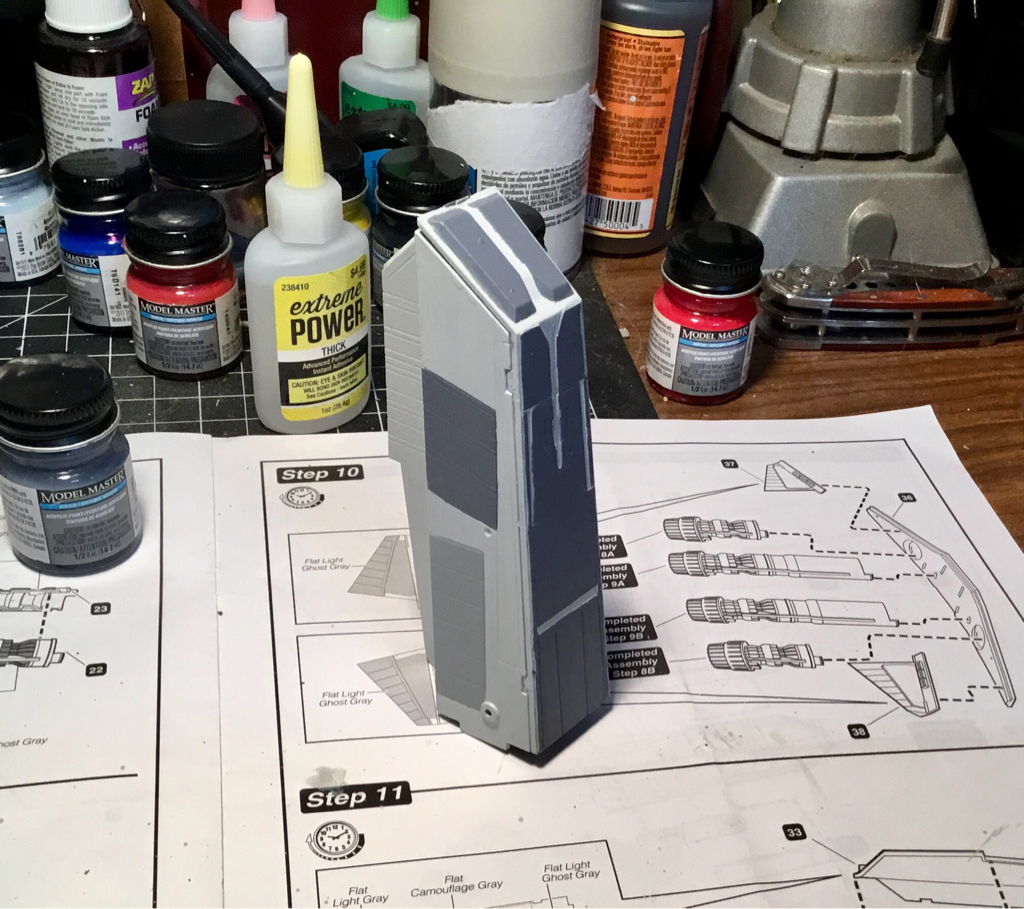 The engines mount very tightly into engine bulkhead, next the smaller engines are mounted onto the hull piece that separates the left and right engine pods. Once these pieces are locked into place then comes the hull assembly. I think I'm going to match the color of the raised bar to on the engine separator to the color on the bottom hull. The entire engine bulkhead fits VERY tightly into the slot in the bottom hull, once dried in place the top hull is installed. BE VERY CAREFUL to fit the top of the engine bulkhead into the fitting slot in the top hull half... once you have that aligned the rest of the hull clicks right into place. The final upcoming steps are to assemble the cannons, add the decals, and complete a nice ink wash to bring out the detail lines.
One important note, this kit does NOT have a display base! Nothing, nada, no way to display the finished build. Damn. Well I'll be drilling into the hull bottom to install a brass rod and a wooden base, for display. So keep a look-out for the final few posts on this build log, we're in the home stretch! Until next time, Keep Building!
0 Comments
Leave a Reply. |
AuthorHi there, I'm Chris and welcome to my workbench. I've been building models since i was 6 or 7 years old. I thought it would be fun to share some of my projects! Archives
May 2017
Categories |
 RSS Feed
