|
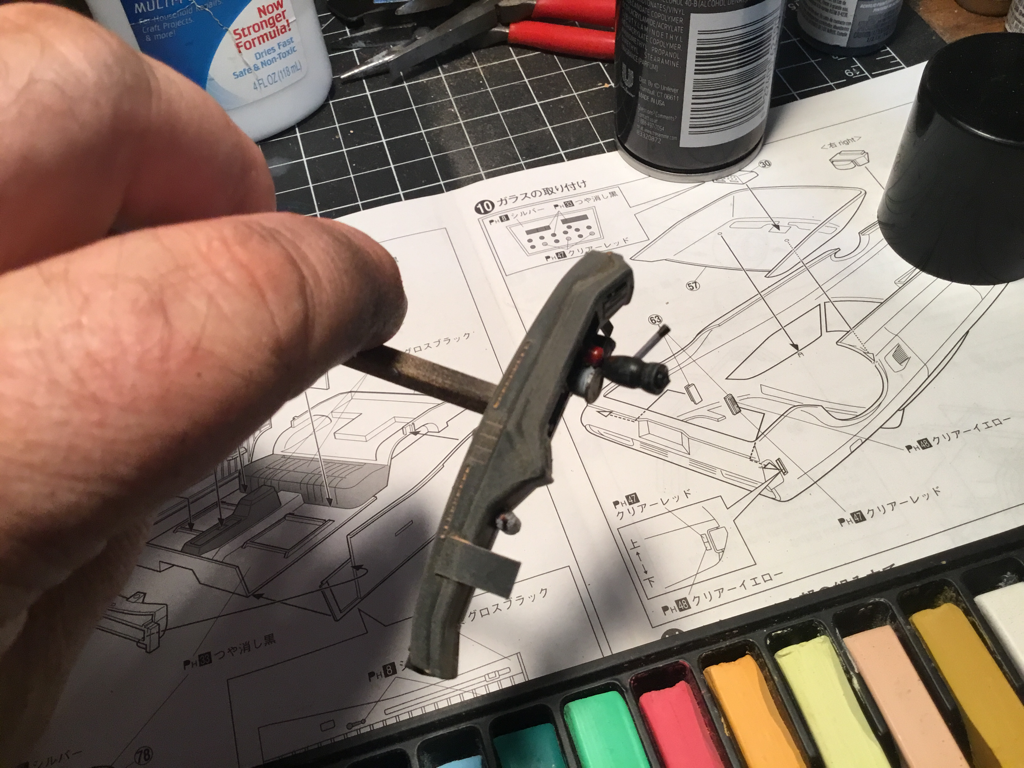
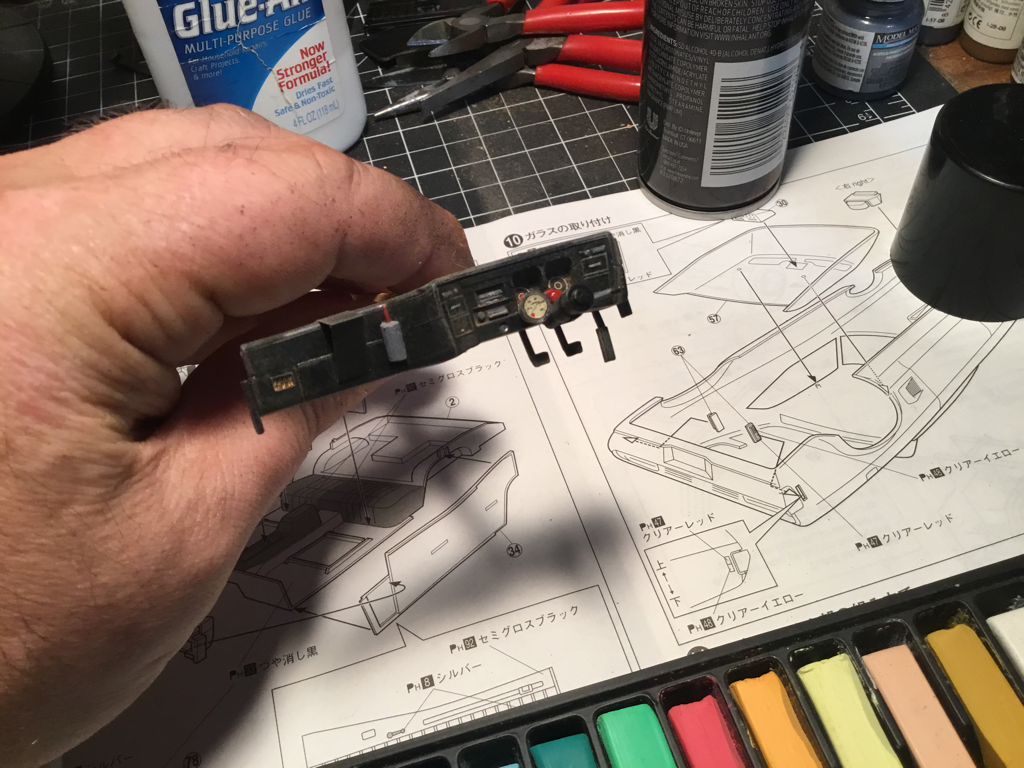
Time to begin work on the interior. First I assembled the dashboard and gave it a coat of flat black and then began picking out the details. With the details painted in I added the decals for the gauges and then applied a light dry-brushing of gray to weather the dash a bit and bring out a few more details. Finely I added a light dusting of the chalk "dirt" to dirty things up a bit more making sure I got the places where the dirt would collect like the defrost vents.
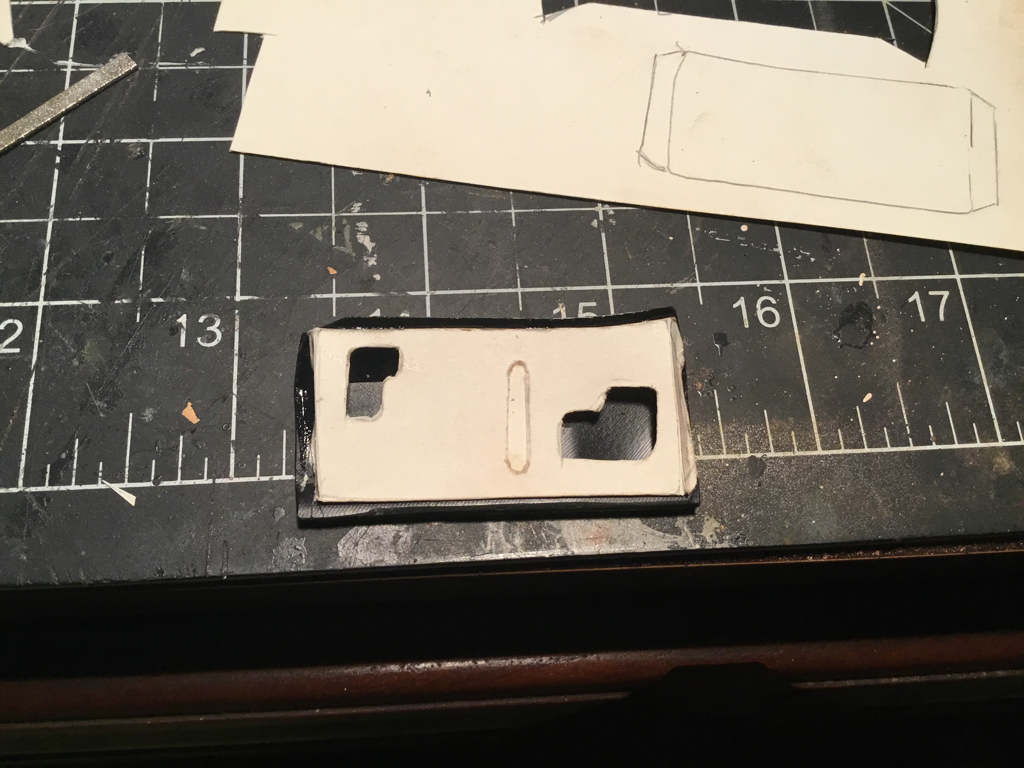
Next I had to add in the door panels, the kit had the doors with their intact interior panels but the reference images of the movie car shoes the interior panels are gone exposing the door internals. To do this I used a heavy card-stock and cut the piece to fit adding the openings that are found on the doors for access to the interior workings. I set these aside to dry before adding paint.
The last bit was blocking in some color to the 'cargo area' a lot of this will be covered by tarps, supplies, the new DinkiDi dog food boxes and odds and ends so all I wanted here was some blocks of color that will be darkened and shaded with washes and dirt. One fun thing I added a can of 7 Sisters oil, this is a call back to the file the truck tanker that Max drives at the end has the 7 Sisters Oil logo on the side, which in turn is an inside joke basing the name off the real life group of oil companies that existed from the 1940's to the 70's. Finely I painted the gear shift with its red supercharger switch/button, the tears in the driver's seat, and the wear on the dog's baby seat. Everything is now ready for weathering and the additions of the odds and ends that Max has crammed into the Interceptor or life in the wasteland.
0 Comments
Leave a Reply. |
AuthorHi there, I'm Chris and welcome to my workbench. I've been building models since i was 6 or 7 years old. I thought it would be fun to share some of my projects! Archives
May 2017
Categories |

 RSS Feed
