|
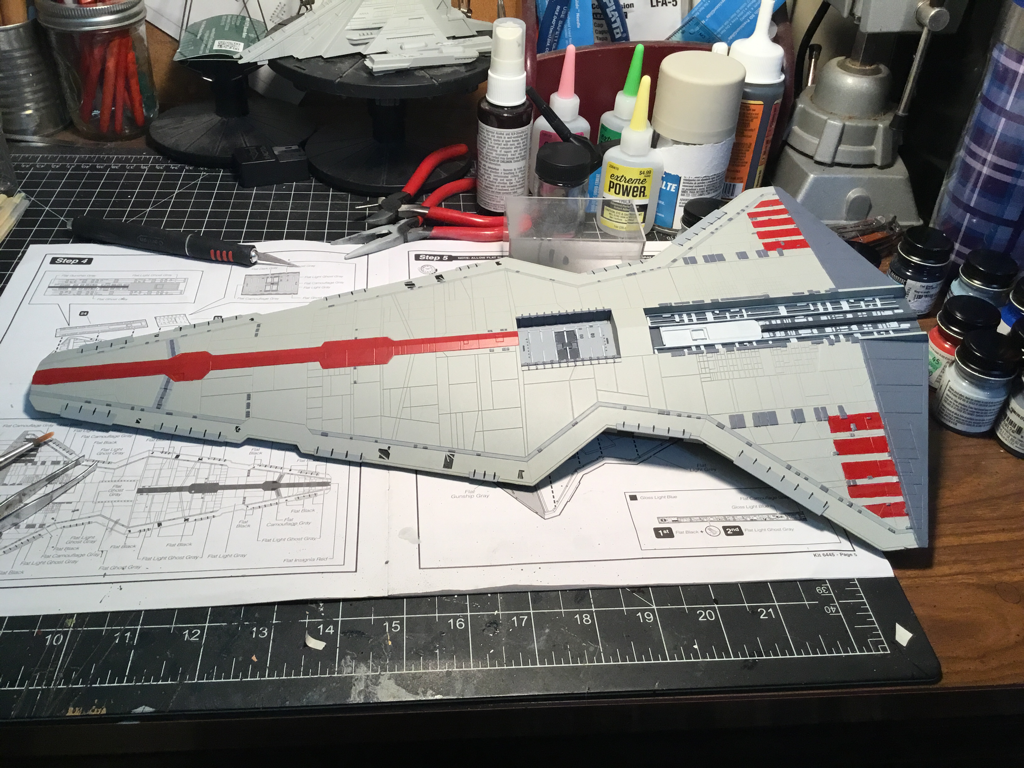
Well there is a lot of fiddly painting on the hull, the instructions even tell you where to dry-brush for the side wall details. I love that. So we begin with the prep for all the painting. The hull halve were sprayed the light battleship gray the plans called for and the side walls were painted a matte black for dry-brushing, and left to sit overnight to dry completely. While the hulls were drying I painted up the detail inserts for the bottom hull, the landing/launch bay and the engine detail panel. I used 0, 00, and 000, brushes to get to all the little panels. With everything dry I cemented the detail panels into place on the lower hull, I then went to work painting all the detail lines, plates and insets. Take your time here it’s pays off to have to paint several thin coats onto the details. Next I masked off the red markings, the center line is outlined by inscribed panel lines but the 10 (5 per wing) wing stripes have to be matched up the the instruction pictures… I put on and removed the masks 3 times before I was happy.
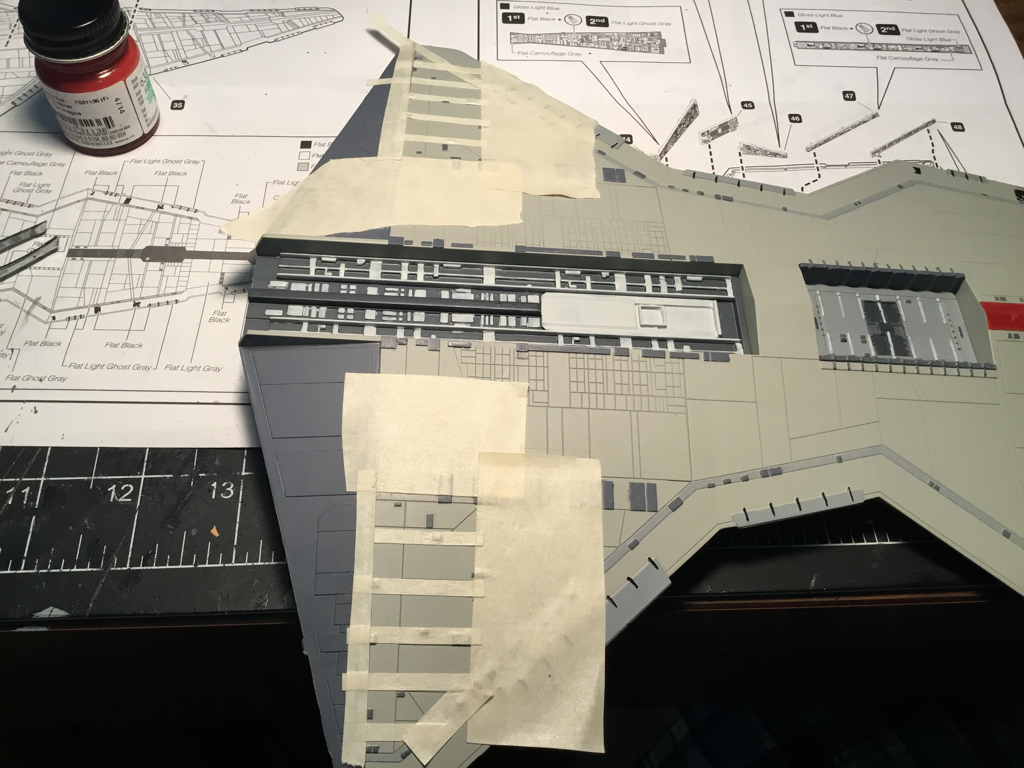
With the hull painted I set it aside to focus on the details on the side walls. A word on dry-brushing, I use a very soft brush round tipped, I have the same brush in several sizes, and these are only used for dry-brushing. When I load the brush with paint I swipe it across my paint cloth until nearly no paint can be seen coming off, then with light quick strokes in the direction the light should be falling I build up layers of color until I reach the level of visible detail I like. Again here it is best to really take your time and have to brush on multiple layers than to obliterate the details with too much paint. The instructions then called for the base wall of the side wall to be a flat camouflage gray, so working under my magnifier painted in the solid color make sure not to mess up my dry-brushing, finely gloss yellow and blue was added to the windows and lights around the landing bay doors. 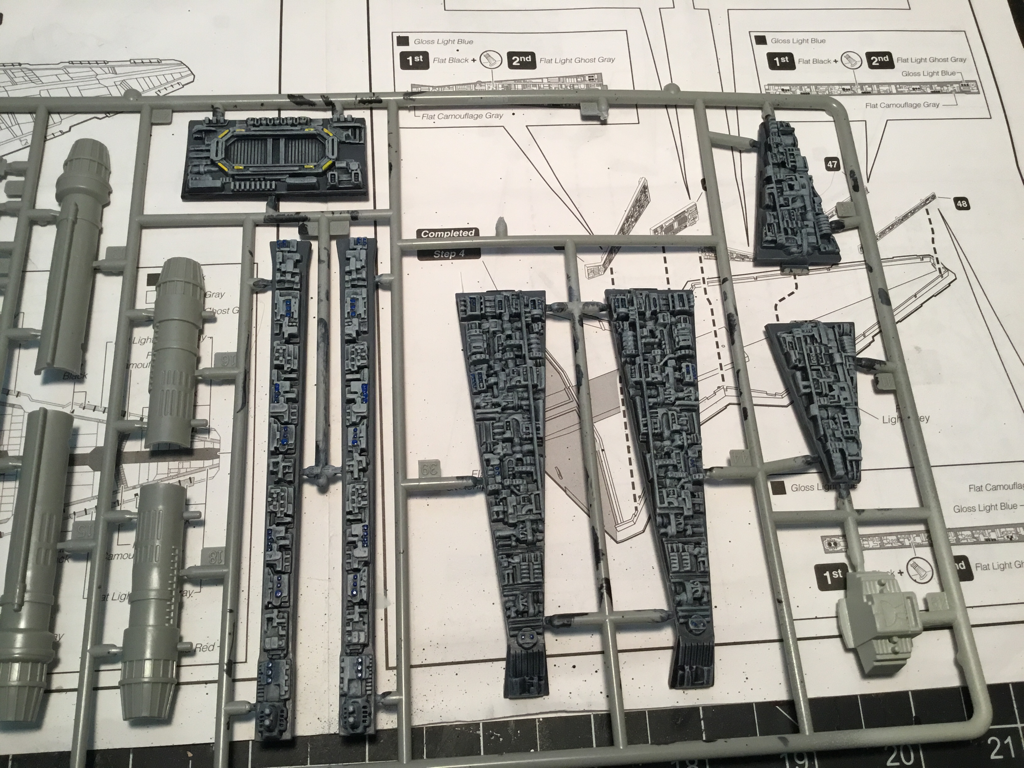 The last thing accomplished was to add the side walls to the now dry lower hull. With this finished we’re up to step 6&7 in the instructions. 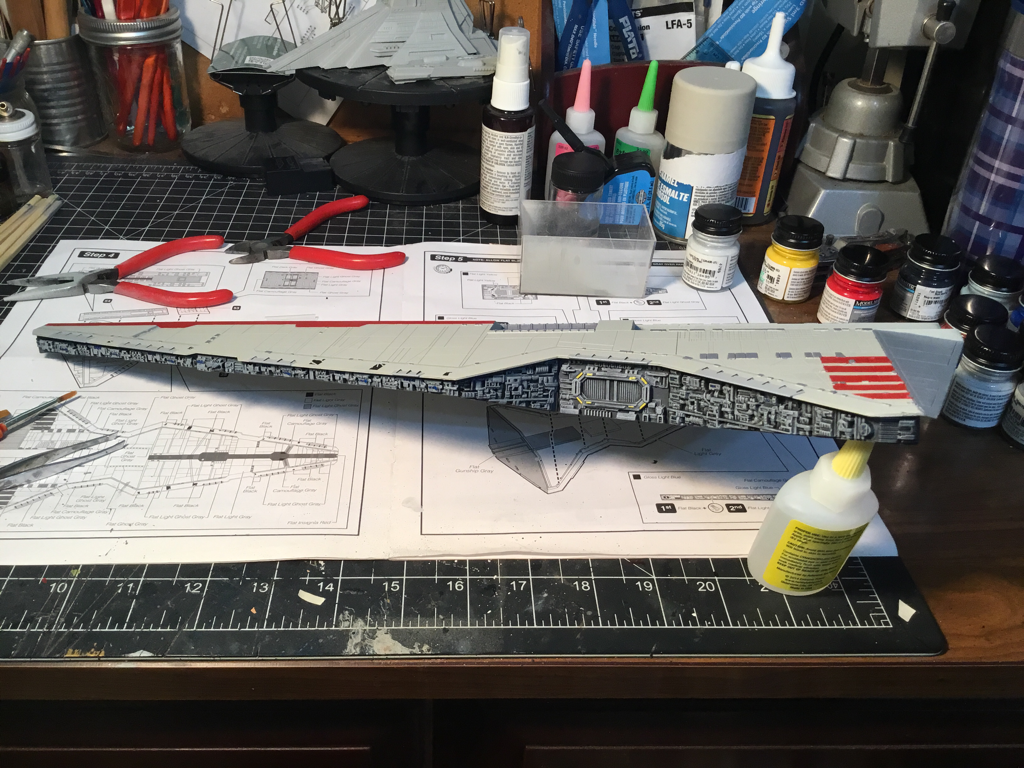 Tune in next time, until then:
Keep Building!
0 Comments
Leave a Reply. |
AuthorHi there, I'm Chris and welcome to my workbench. I've been building models since i was 6 or 7 years old. I thought it would be fun to share some of my projects! Archives
May 2017
Categories |
 RSS Feed
